Makely

Let's Make Life Awesome

  • Home
  • Decorating/DIY
    • Create Your Decor
    • Decorate Your Home
    • Paint Your Walls
    • Transform Your Furniture
  • Healthy Living
    • Essential Oils
    • Family Wellness
    • Household Care
  • Project Gallery
  • Contact
You are visiting: Home » Project Gallery » Page 70

Glazing Metal and Plastic Surfaces

by Lindsay Ballard on May 23, 2011 1,191 Comments

After I tried my hand at glazing Miss Matched, I can’t get the technique off my mind.  Glaze can be mixed in a wide range of colors, and it looks amazing applied to wooden cabinets and furniture.

But what about other surfaces, such as metal and plastic?  Could non-wood pieces be glazed?

Last week, I decided to find out for myself.  I had a black birdcage that I spray painted Valspar’s Mediterranean Blue, but it seemed a little flat.  So, I broke out a cheap chip brush and my left over Ralph Lauren glaze (tinted to Black Silk).  I applied the glaze to a small section, making sure I covered it well.
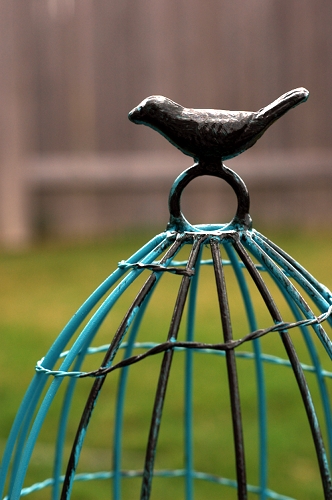
Then, I used a wet paper towel to wipe off the glaze – wiping off more in some areas than in others.

I glazed the whole cage section by section using that process.  When I got to the base of the cage, I glazed the round section by spiraling my brush around the circle.
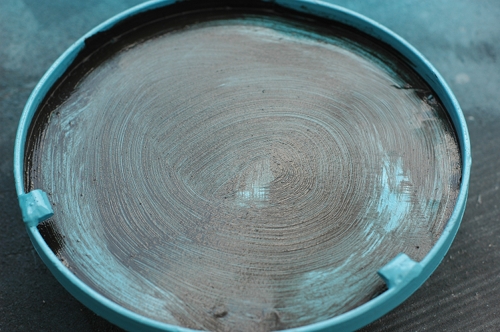
I wiped off the glaze with a wet paper towel following the same spiral pattern.  I left the pieces outside to dry in the sun for about an hour.
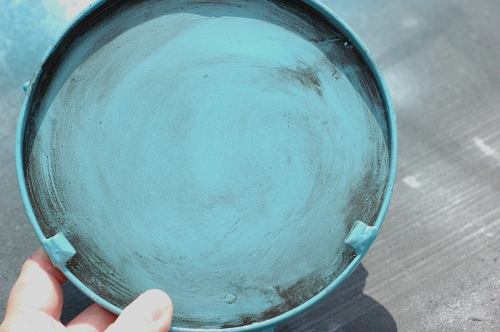
The glaze really brought new life to what was once really boring.  It has a lot of texture and depth now, and details are now pronounced that I didn’t even know existed previously – like the little claw feet.
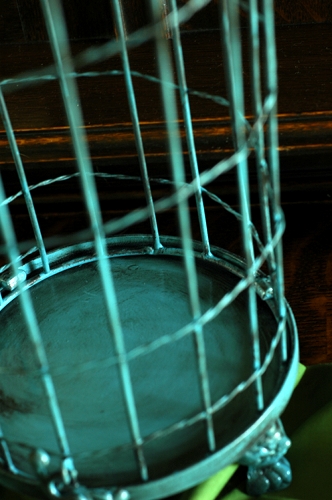
 

Glazing metal worked so well, that I decided to try it on plastic.  I sprayed a nondescript buffet lamp a shade of medium gray and applied the glaze to it using the same technique.  Again, it gave this boring lamp a new life.
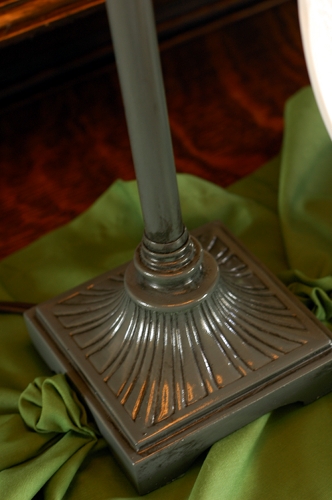
I’m starting to get worried that I’m going to glaze everything in my house now.  I really love the look!  What about you?  Have you tried your hand at glazing yet?  What do you already own that could you enhance with this technique?

P.S.  My friend Sara is in the running to win a huge sewing room makeover from Bernina and Home Depot. She’s a great gal and military wife who sells on Etsy and donates her time making memorial/burial gowns for sweet babies who became angels too soon. I’d love if you could give her a vote to keep her in the top 10. 🙂  If you have a FB account, you can vote by clicking here.  And I promise (maybe) that this will be the last time I ask for your votes for a while!

 
Tip Junkie handmade projects
Todays Creative Blog
 

{Another} DIY Knotted Table Runner

by Lindsay Ballard on May 19, 2011 2,312 Comments

Tom and I have running joke that he gets to be right about something once a month. It looks like he gets to claim his monthly victory in the Great Table Runner Debate.

Although there were a few comments and emails that were Team Lindsay (thank you!), the majority of you were on Team Tom. I love that you guys felt you could be honest with me about your hatred of the table runner, but all of the comments were still really nice at the same time. The Glue Gun Army rocks!

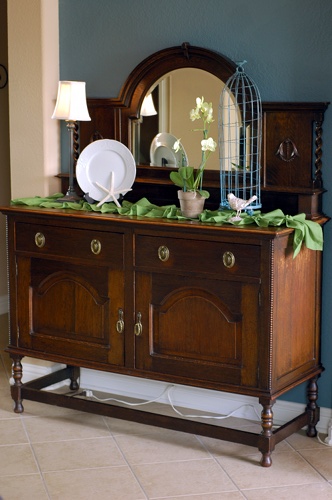
However, if you know me, you know I’m not going to give up on something that has the potential to be awesomesauce. Looking back, I know that Team Tom was right about it being too much.  So drawing from some of your comments, I set out to make another knotted table runner for that piece of furniture.

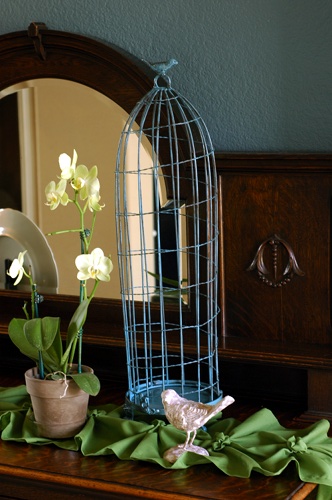
Much better, don’t you think?  This time I REALLY love it!  I had a green scrap left from the updated runner I did on my living room table (which is directly across from this piece), so I used the exact same knotting technique to remake this runner.  This new one works for several reasons:

  1. The fabric color works better with the antique sideboard and the wall color;
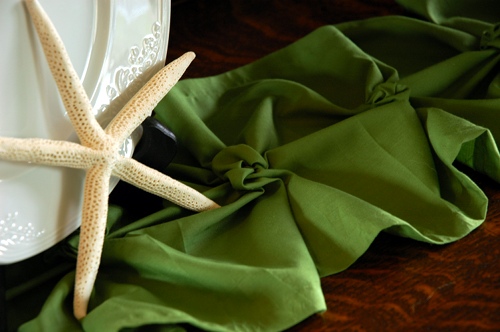
  2. The fabric is really thin, so it ruffles nicely;
  3. The fabric is a solid color, so it’s not too busy;
  4. It contributes to my need for color without being insane.

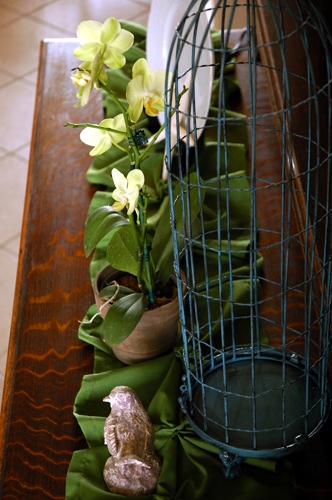
I know there was a lot of concern that you wouldn’t be able to accessorize due to the knots, but that’s actually not a problem at all.

The knots are spaced far enough apart that you can put flat items in between or in front of them.  Raised items, such as the birdcage and plate stand, can be placed right on top of them.

I guess I just had a crush on the previous runner, because this one I am full on in love with.  Tom even walked in from work and said, “Oh, that’s much better!”  Hooray!

Thank you for all of your comments about the crazy one.  Without creating that one, I never would have created this one.  Do you love this one, too?  Or, do you still think it’s bad?

On second thought, don’t tell me if you don’t like it.  I don’t think my ego could take it!  🙂

« Previous Page
Next Page »
  • Email
  • Facebook
  • Instagram
  • Pinterest
  • Twitter

About Makely

Lindsay Ballard is a former college mascot turned political geek turned roller derby playing, DIY fanatic.

Lindsay chronicles her projects, design ideas, and lifestyle tips here at Makely, where she shares tutorials and inspiration. Her DIY designs are bold and graphic, while her spirit is fun and full of color.


Archives

Categories

PRIVACY POLICY
Copyright © 2009-2019 Makely School for Girls | All Rights Reserved | Posts may contain advertising content or affiliate links