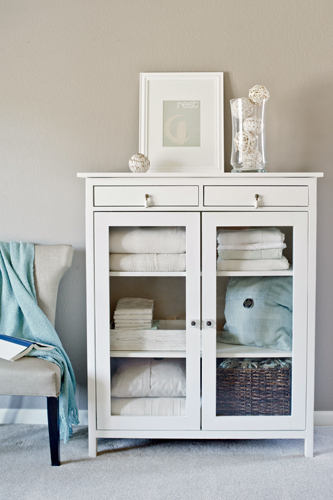
My favorite DIY projects are always the ones that involve painting. More specifically, I love the ones that allow me to update a vintage piece of furniture with brightly colored paint.
To date, I have only used three types of paint on furniture – latex paint, acrylic paint and spray paint. There is a world of different types of paint available on the market, but I have never wanted to rock the boat. I know how these paints are going to react on my surfaces, and 9 times out of 10 I reach for plain ‘ole latex paint.
I’ve been itching to try something new (I still haven’t tried Annie Sloan Chalk Paint, y’all). When I saw the gorgeous finishes that my friend Marian was achieving with her new Miss Mustard Seed’s Milk Paint, I decided that I wanted to try my hand at milk paint. She was sweet enough to send me a few colors to try out, and I couldn’t wait to get started.
Until I saw that the paint came to me like this.
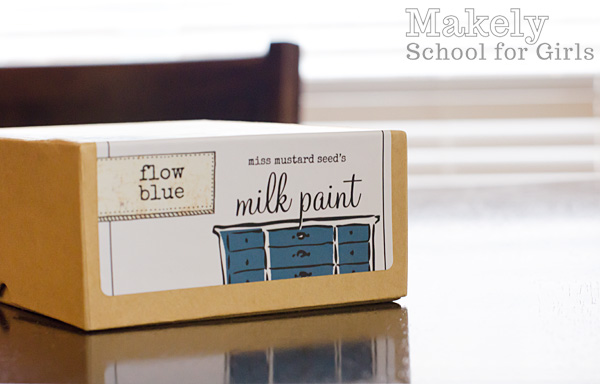
Yep, it’s a little cardboard box of paint. A beautiful little box, but still a box of paint. I almost froze in sheer panic – particularly when I opened that little box.

Crap! It was a bag of powdered paint. It reminded me of every failed attempt I’ve had with boxed cake and muffin batter in that I can never get all of the lumps out. Ack! I shut the box and stuck it in my office for a few weeks.
As fate would have it, I found the perfect desk for my office redo (if you follow me on Facebook, you should be happy to know that I have quit obsessing about it), and it screamed for me to use the gorgeous Flow Blue color that Miss Mustard Seed sent my way. I had to be a big girl and just deal with the powdered paint.
After a few problems along the way, I ended up with a beautiful finish on the desk. When it was all said and done, it was actually really easy to use! The cool thing is that you only mix what you need, so you don’t have 1/2 of an unused can of paint when you are finished with your project. It leveled beautifully (no brush marks) and in an hour I put the hardware back on my drawers. I could have never done that with latex.
I know I can’t possibly be the only one who’s nervous to try a new type of paint, so I put together some tips to help ease your nerves. There are several types of milk paint on the market, but I’m talking specifically about Miss Mustard Seed’s Milk Paint since it’s the only one I’ve used.
Five Beginner’s Tips for Working With Milk Paint
Tip #1: Watch the Instructional Videos
Marian has put together a series of videos that give brief tutorials on everything milk paint. She shows you how to mix it, how to apply it, and how to get a no-chip finish if you aren’t going for the chippy look.
Each video is only about 2 minutes long and can be found here. I highly advise watching them all before you begin, even if you don’t think you necessarily need to. It will be 10 minutes well spent.
Tip #2: Stir, Stir, Stir
To mix your paint, you add 1 part paint to 1 1/4 parts hot water. What? Yeah, I hate ratios like that, too. I ended up doing 12 tbsp of powder to 15 tbsp of water in an empty paint can, but you can use a plastic cup if that’s more readily available to you. That ended up being the perfect amount for what I needed for my project of painting the fronts of six desk drawers (the rest of the desk will be another color).
In one of her video tutorials, Marian says that you need to stir for about five minutes. Trust her on that! Stir, stir, stir with a paint stick. I didn’t stir long enough and the paint was too lumpy…which leads me to my next tip.
Tip #3: Test the Paint on a Scrap Piece of Wood
Even if you have painted eleventy million pieces of furniture, test the consistency of your milk paint the first time you use it on a piece of scrap wood. It is supposed to be thinner (i.e. more watery) than typical latex paint. If it’s not stirred well enough (see Tip #2), it’s pretty lumpy and chunky. If you think that it needs more water (instead of just stirring it more), it will be really runny.
Because I didn’t test my paint on a scrap, here’s what my drawer fronts looked like after the first coat.
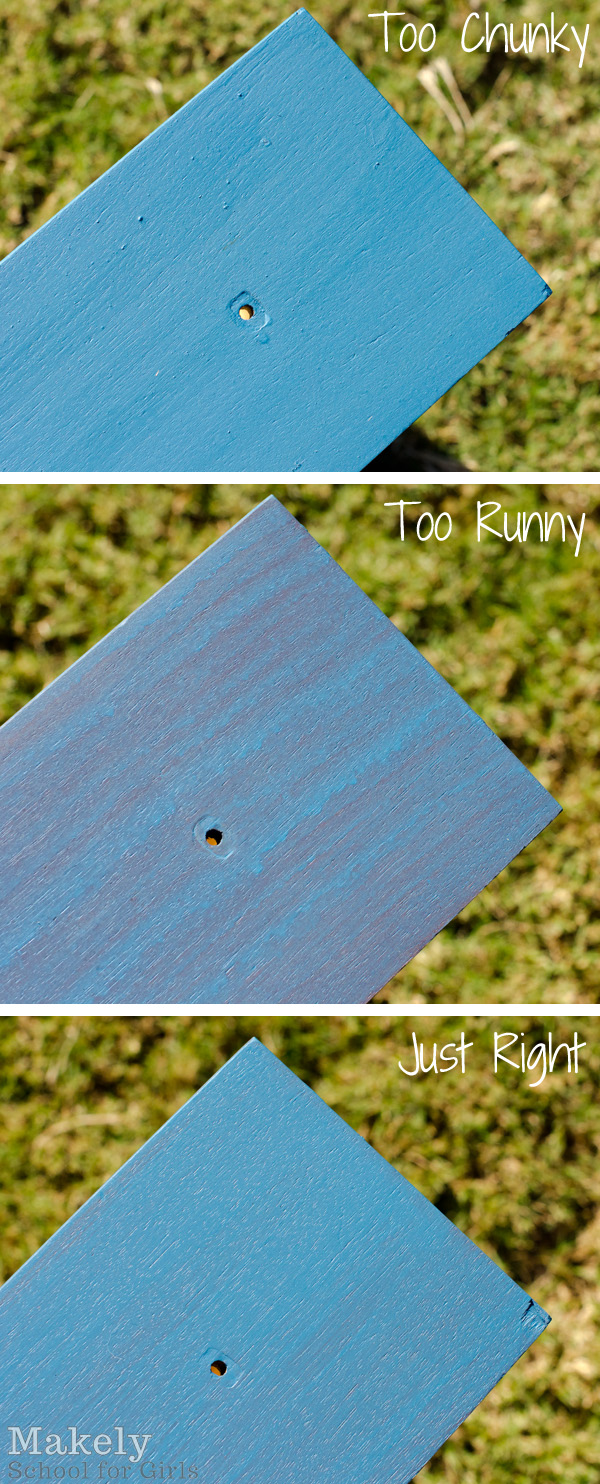
I’ve painted long enough to know that I can just sand down whatever is not working, so after the first drawer dried I quickly sanded down the lumpy areas. Once I applied the 2nd “just right” coat to the “too chunky” and “too runny” drawer fronts, they looked great. If I would have tested on a scrap, I wouldn’t have had the panicked feeling I felt when I saw my first and second consistency attempts.
Marian suggests using 1-2 coats of her milk paint, but I went ahead and used 3. I’m a rule breaker. I wanted complete opacity since the primitive/farmhouse/chippy look, though beautiful, is not my personal style.

Why, yes. I propped my drawers up with Solo cups. Necessity (and laziness) is the mother of invention.
Tip #4: Protect Anything You Don’t Want Painted
I learned the hard way that since milk paint is much thiner than latex, it is much runnier and dripper, too. Before I knew it, a few drops had slung off my paint brush and into my drawers.
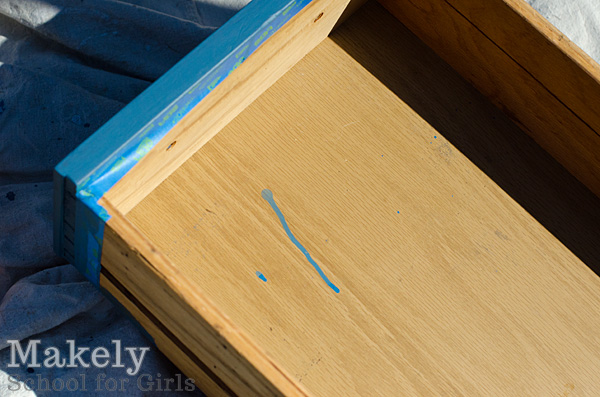
In the grand scheme of things, the drips were not a big deal to me. I’ll either leave them alone since I’ll never see them when they are covered in my desk junk or I’ll use some Krud Kutter to try to remove them. But, if the drips had gotten on an important surface, I would have been very irritated with myself. So, mask off anything you don’t want painted, just in case.
Tip #5: Don’t Panic
When it was all said and done, I found that my original panic about milk paint was unfounded. Once I got the consistency right, it was really easy to use. It dried quickly, which is a huge plus when you want to transform a project in a short amount of time.
Like with all paint, if you don’t like it you can lightly sand it off. I had to do that with the “too chunky” drawer shown above and it now looks no different than the others.
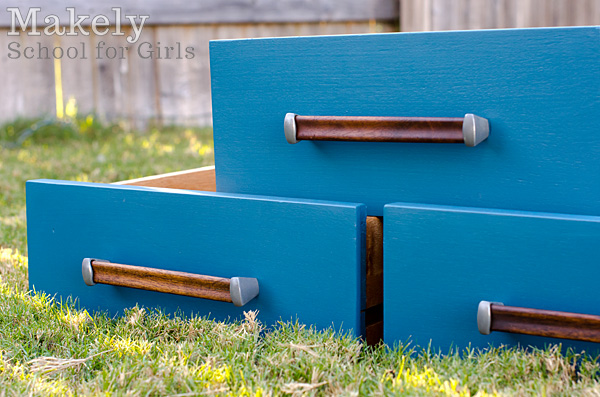
I can’t yet speak to the durability of the paint, but I trust Miss Mustard Seed’s judgement. I applied one coat of her furniture wax and plan on doing a second coat for added protection. This was also the first time I had used furniture wax, and I was pleasantly surprised in how easy it was to apply and buff off.
All in all, I loved Miss Mustard Seed’s Milk Paint and will definitely be using it for future projects if it is available in the color I want. There’s no need to prime or sand (you add in some liquid bonding agent if you have a glossy surface or if you don’t want to end up with a chippy finish) and the finish is very nice. I appreciate that her color palette includes some paint colors that can easily be used in more modern spaces.
There’s nowhere for me to purchase it locally yet, but I can order it from one of her retailers who sell it online.
I can’t wait to show you the finished desk! Hopefully, I’ll be able to show you that by the end of this week.
Have you used milk paint before? Have you been scared to try it? Let me know your thoughts!
I was provided with some Miss Mustard Seed Milk Paint products for the purposes of review. All opinions and mistakes are my own.