Makely

Let's Make Life Awesome

  • Home
  • Decorating/DIY
    • Create Your Decor
    • Decorate Your Home
    • Paint Your Walls
    • Transform Your Furniture
  • Healthy Living
    • Essential Oils
    • Family Wellness
    • Household Care
  • Project Gallery
  • Contact

My Project Gallery is Now Live!

by Lindsay Ballard on June 12, 2012 1,365 Comments

It’s hard for me to believe, but I’ve been going strong on this blog for about 3 1/2 years.  It’s been such a whirlwind of awesome and I am still giddy with each comment and pin a project receives.

One thing I’ve known for a long time is that my blog is WAY hard to navigate.  I like the projects and the paint – not so much the html and css.  I have pushed the computer stuff out of my mind for so long that now I have a lot of catching up to do.  I’ve got to make a way for you guys and future visitors to find what you are looking for when you visit my little home on the web.

To that end, I have finally put together a Project Gallery.  Eventually, it will be linked from my main navigation bar under my logo.  But, for now, I’m going to stick a little button in my side bar and announce it to all of you.  I went back through all of my blog posts and put together a gallery of the 100+ projects I’ve done over the years.  Each one is shown as a thumbnail with a brief title, and clicking on it will take you to the original post.  They are ordered from my most recent projects down to my first one.
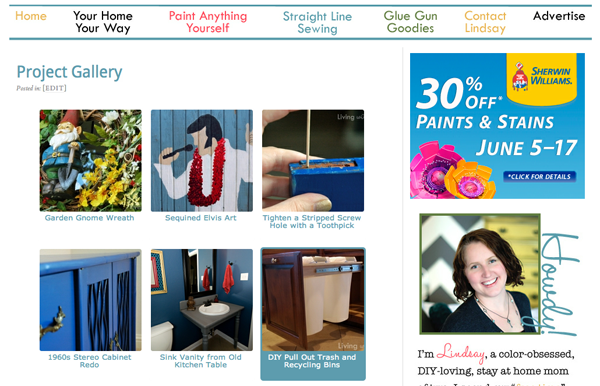
I hope that you find it useful and run across some old projects that you haven’t gotten the chance to see.  It’s kind of weird for me to see 3+ years of my life laid out in thumbnails.

If there is anything else that you think may make my site easier to navigate, please let me know!  I’ll be working on all of that soon, so it would be nice to have some ideas from actual readers.  I know I see things so much differently than you guys do.
How to Make a Wreath {Garden Gnome Edition}

by Lindsay Ballard on June 11, 2012 2,793 Comments

Now that summer is upon us and my landscaping is in full bloom, I thought it was time to swap out my spring wreath for a new summer version.  I didn’t necessarily have to, but I thought the turquoise clashed a bit with the flowers in my bed.

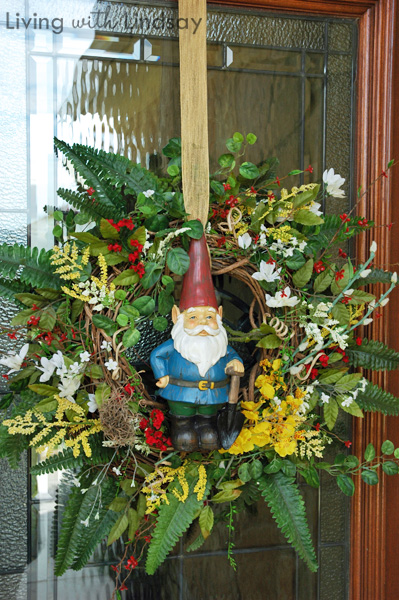
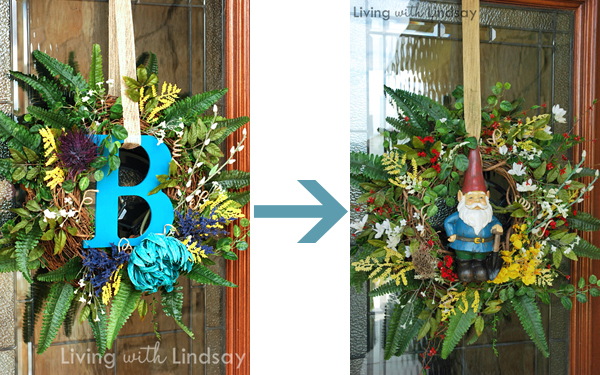
When I wrote the original fullest and fluffiest wreath ever tutorial, I promised that it would be a cinch to change it out for the seasons.  Well, here’s my proof.  I went from the wreath on the left to the wreath on the right in about 15 minutes (including photo taking time).

Easy peasy!

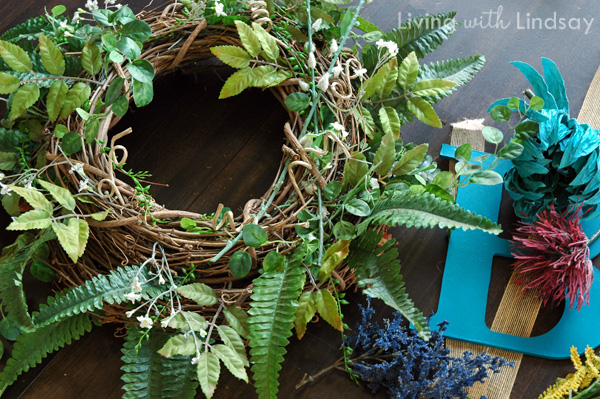
If you’ve already made one of the best wreath’s ever, it’s easy to make it into a new work of art.  You should begin by taking the original off your door and removing all of the colored florals, the center ornament and the ribbon.  Leave all of the greenery and the filler as is.

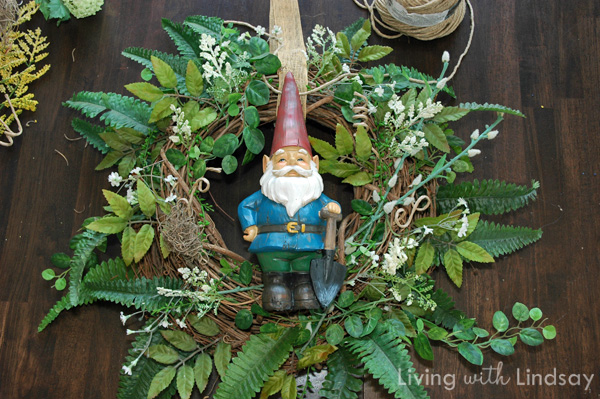
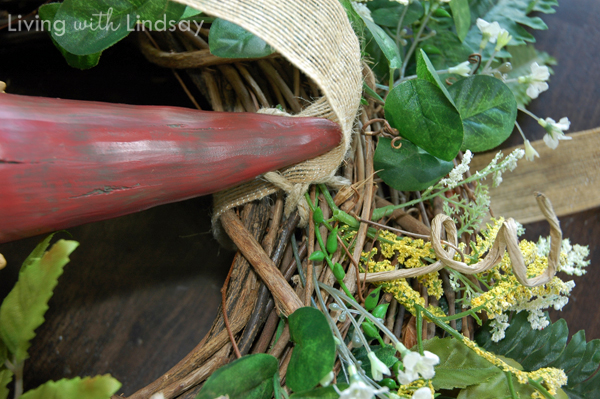
Next, figure out what you want your center ornament to be.  If you are doing a letter, you can repaint it to have a new look.  I’ve been obsessing over garden gnomes this summer, so I knew I wanted one to use on a wreath.  I found one at Garden Ridge and drilled a hole through both sides of his hat so that I could run a piece of hemp twine in it.  I placed him on my wreath so I could work around him with my florals.

For the record, my 6 year old son has named him Werewolf Catherine.  I have no idea…

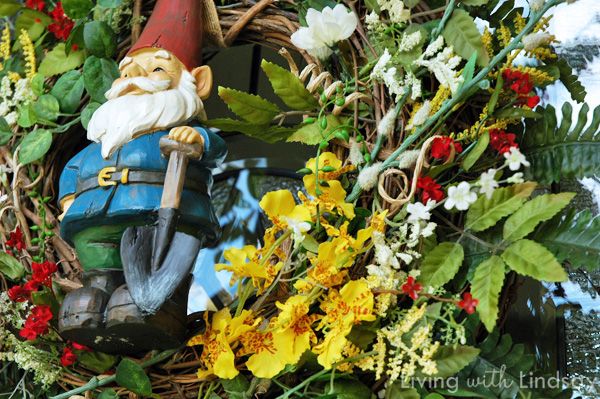
Back to the wreath.  I had a piece of moss from a tree that I wanted to add into the wreath, so I went ahead and placed it near the gnome’s feet.  I also tucked in some white filler flowers around the wreath.  As I always do, I cut the pieces off of stems of fake florals from Hobby Lobby and just shove them into the grapevine.  They hold just fine.

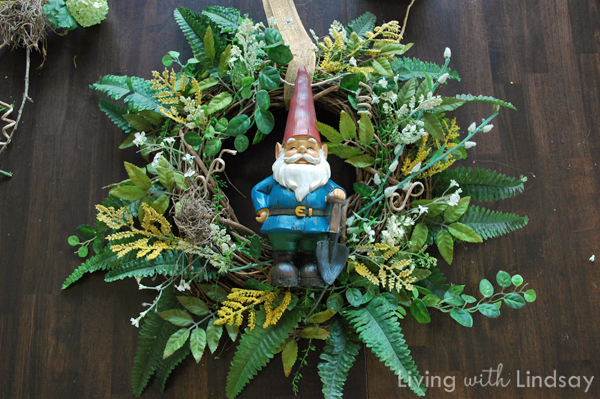
I decided to go red, white and yellow for this wreath, so I added back in some of the yellow florals I had taken out of the original wreath.  I added them all the way around.


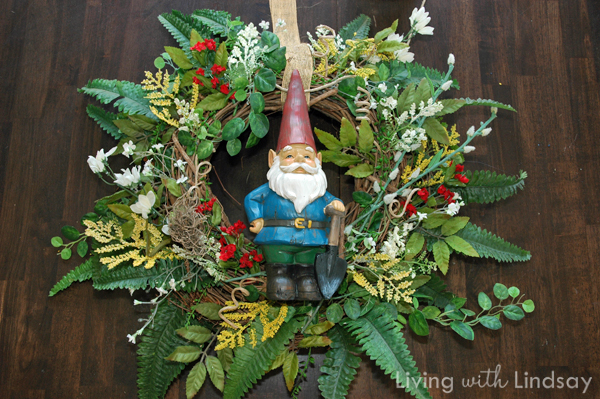
I found some little red flowers in my stash and added them sparingly around.  I didn’t want to go overboard with the bright red since the gnome himself is in muted colors.

To attach Werewolf Catherine the gnome to the wreath, I pushed the twine through the grapevine underneath the hanger ribbon.  I tied it in a few knots and cut off the ends of the twine.

Per usual, once I hung the wreath on the door and stepped back to the street, I realized that there wasn’t enough “stuff” on it.  I added in some more red flowers on branchy things and bunched some yellow stems right at his feet.  I like to concentrate a color on the bottom right of the wreath for some reason.  I guess that’s just where my eye is drawn.

In just a few minutes, my front door got a complete makeover.  Now my little gnome friend is going to protect my front flower beds from weeds.  At least, that’s what I told him to do.  Let’s see if he holds up his end of the bargin.

Have you made an interchangeable wreath yet?  Do you believe me that it really is that easy?

Don’t miss my other related tutorials – How to Create the Fullest, Fluffiest Wreath Ever and How I Hang Wreaths on My Front Door

Joining my friends’ great linky parties :

Home Stories A2Z shabby creek cottage The Shabby Nest

« Previous Page
Next Page »
  • Email
  • Facebook
  • Instagram
  • Pinterest
  • Twitter

About Makely

Lindsay Ballard is a former college mascot turned political geek turned roller derby playing, DIY fanatic.

Lindsay chronicles her projects, design ideas, and lifestyle tips here at Makely, where she shares tutorials and inspiration. Her DIY designs are bold and graphic, while her spirit is fun and full of color.


Archives

Categories

PRIVACY POLICY
Copyright © 2009-2019 Makely School for Girls | All Rights Reserved | Posts may contain advertising content or affiliate links