I’ve never met a person who didn’t love chalkboard paint. With this ingenious invention, you can turn anything – from glass to walls – into a chalkboard in mere minutes. Now that it comes in an array of colors, you can easily match any color scheme or decor. What will they think of next?
Well, I’ll tell you – chalkboard fabric! I’m sure chalkboard fabric has been around for a while now, but I’ve just discovered it as of a few weeks ago. I saw it in the JoAnn circular and rushed to the store to pick some up. It must be new to them, too, because the ladies at the cutting table had no idea what I was talking about. I eventually found it in with the utility fabrics.
For $5/yard (before my 40% off coupon), I had my hands on something new that I couldn’t wait to make into a new creation. I made a few placemats for Zack so that he could use his sidewalk chalk indoors without us going into the 100-degree Texas heat this summer. Then, I decided to use it to make some tags to label the baskets on the changing table in the nursery.
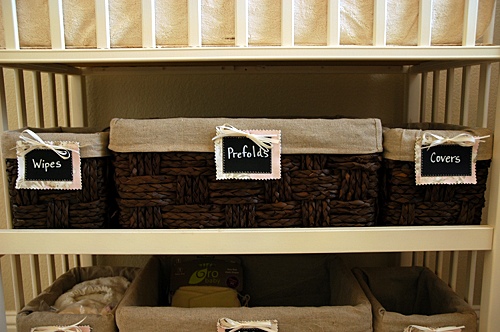
Like a chalkboard, the chalkboard fabric is easy to use. You have to “prime” the fabric, by rubbing the chalk on the surface. Then, you erase that rubbing with a soft cloth and you are ready to write or draw! You continue to erase with the soft cloth. If you want to clean the surface, you can wipe it with a wet cloth or even put it in the washing machine on the delicate cycle. Once it’s dry, “prime” it again and you are good to go!
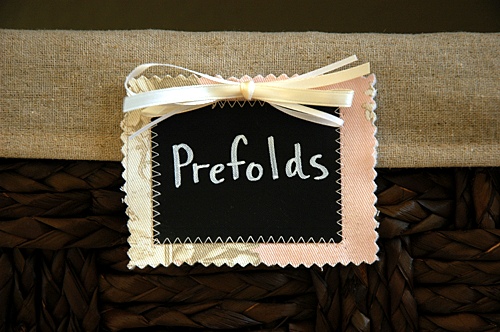
My tags were incredibly easy to put together, so I thought I’d share my technique in case you wanted to replicate it:
1. I ironed some fusible fleece interfacing onto the back of a large scrap of accent fabric I am using in my room. I had some of the thick craft interfacing left in my stash (yes, after all that, I still have a stash!), which gives the fabric enough thickness to lay flat without curling on the edges.
2. I decided to make the finished size of my tags 4 inches by 3 inches, so I drew out with a pencil and straight edge as many squares of that size that I needed for my baskets. I cut them out with my pinking shears (zig zag scissors) so that I didn’t have to worry about fraying edges.
3. I cut the chalkboard rectangles to be 1/2 inch smaller than the first rectangles, so that made them 3 1/2 inches by 2 1/2 inches. I used my rotary cutter and straight edge to make sure that my cuts were straight.
4. I put a touch of glue from a glue stick on the back of a chalkboard rectangle and applied it to an accent fabric rectangle. The glue helps hold it in place so that it doesn’t shift when I applique. I then used my sewing machine to zig zag stitch the chalkboard fabric onto the accent fabric.
5. Because my handwriting on small surfaces with chalk is so horrendous, I used a white ChalkInk marker to write out the labels. ChalkInk is a new-to-me product, but I know lots of you already have it and love it. It looks like chalk when it’s dry, and you can wipe it off with a wet cloth when you need to, just like chalk. I’m so glad to have these markers in my craft room now.
6. I simply pinned the tags to the lining of my baskets and used a bit of 50-cent a spool ribbon (I used white and cream) to tie little bows to hide the safety pins.

I’m so pleased with how the tags turned out, and they were SO easy to create! I love that they are fabric, too, and I didn’t have to go through the hassle of actually needing to use messy chalkboard paint. Chalkboard fabric is definitely a no-fuss, no-mess solution.
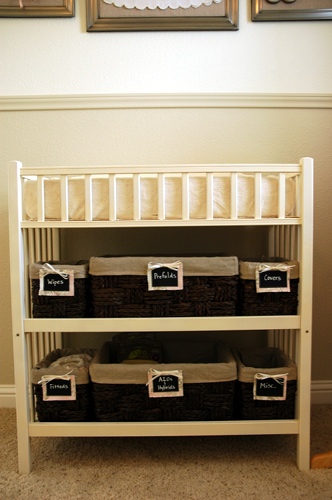
(This is as much of a nursery sneak peak that you are getting for now. I promise that it’s almost done. I just need another weekend to tie together a few loose ends, so hopefully I can have a big reveal for you next week! Although it doesn’t seem like it from my blog posts, I have been so busy working on it for months now.)
What would you create with chalkboard fabric? And are you running to the fabric store to pick up some today?
********************
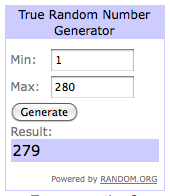
We have TWO winners from last week’s Fantsy Facade giveaway! The first person to win a $100 gift certificate to Fantsy Facade is commenter #29, Michelle B in Florida!
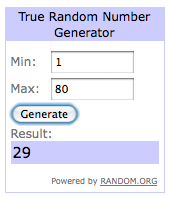
The second winner is commenter #26, Kay H in AZ!
 Congrats to both of our winners! I’ll be in contact with you soon to get you connected with Susan.