I don’t consider myself to be a big seasonal decorator, other than around Christmas. I just don’t have the room in my life to store a lot of “stuff” that’s only used once a year. However, my kids are of the ages (7 and 3) that they really enjoy when I do some special things in the house around different holidays. Today, I’m showing an easy Valentines craft garland tutorial that the kids will love, yet is so easy and stylish that the adults will love it, too.
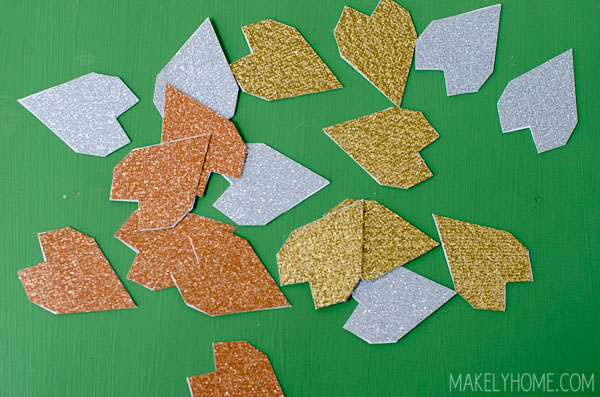
1. Choose 3 different colors or types of cardstock. I chose silver, gold and bronze glittered cardstock from Hobby Lobby – which is so awesome because the glitter doesn’t flake off while you are working with it! You could also use all one color if you prefer.
You will also need some clear plastic 9 oz tumblers, a roll of twine, a drill, a glue stick and your hot glue gun.
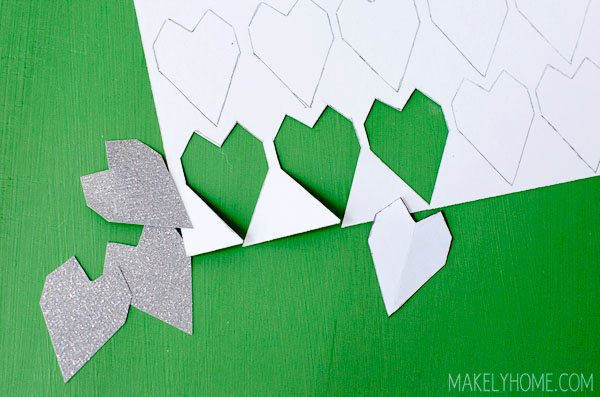
2. Trace and cut out 12 hearts that are about 1 3/4″ tall from each piece of cardstock. I wanted my hearts to have a geometric look, so I drew them angled. I made a template that you can download (click here for download) or you can create your own. Cut out each heart – you’ll have 36 total.
3. Using your glue stick, glue the backs of two matching colors together so that you’ll have a heart with the same color on the front as the back. You can skip this step if your cardstock is the same color on the front and back. You’ll now have 18 hearts.
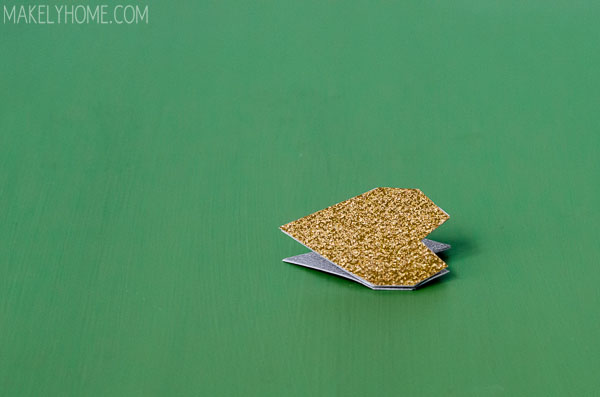
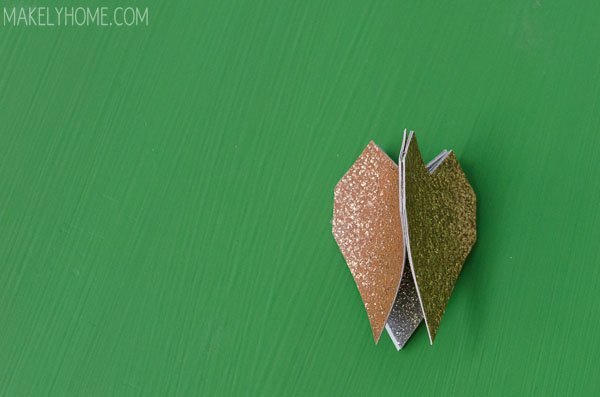
4. With your glue gun, run a small line of glue on the straight side edge of a heart and glue a different color heart to it. Hold it together while the glue dries, and then pull off any glue that seeped out of the edge. You’ll end up with a little heart ‘V.’
5. Glue the next straight edge and place the 3rd heart color on it. Then, join all three hearts with another little line of glue. You’ll end up with a shape like this:
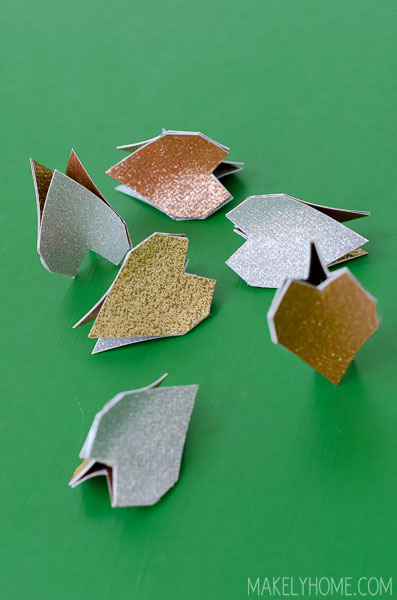
Follow that process for all of the hearts, which will yield 6 heart groupings.
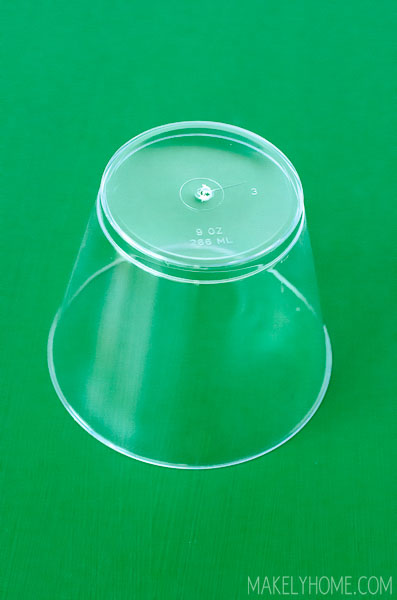
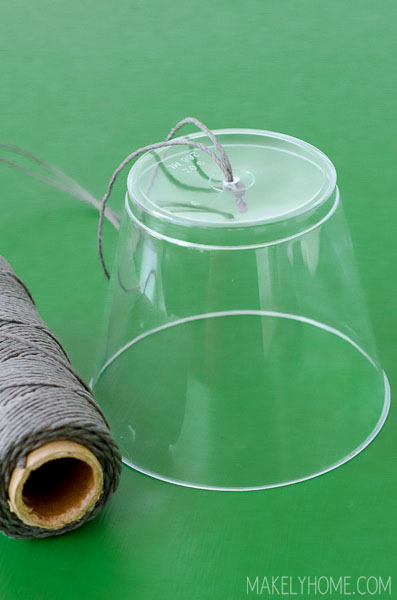
6. With your drill, make a small hole in the top/center of your 9 oz plastic tumbler (which you can find at the grocery store). You’ll want the hole large enough that two pieces of twine can fit inside of it. So, for my twine I used a 7/16 bit, but that size will vary depending on the thickness of your twine.
When you are drilling, go very slow. You may end up cracking some of the tumblers. If the cracks are small, that’s okay. If they are too large, you’ll want to just throw that one in the recycling bin and grab another. Make 6 of these in total.
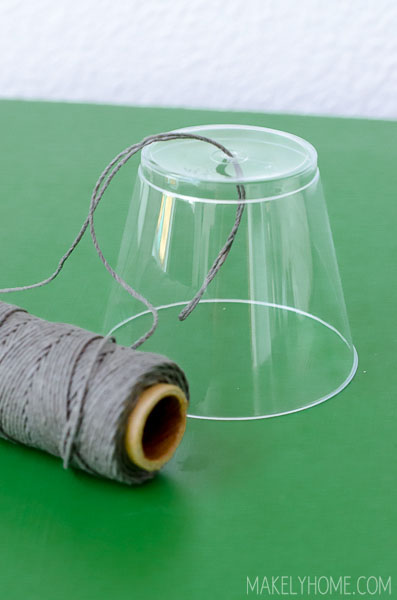
7. Then, take a loop of twine and stick it through the hole. One side of the twine will be the end of your garland (so like a tail) and the other end will still be connected to the roll of twine.
8. From inside the cup, make a small knot in the loop of twine so that it can’t pull out of the cup.
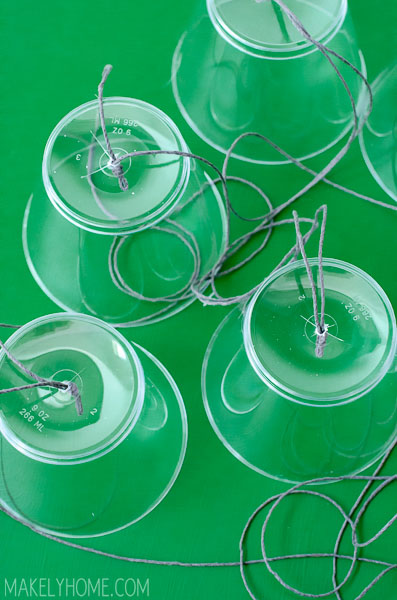
9. Place your six cups along this same length of twine in the same way, spacing them about 18 inches apart. After your last cup, cut a long “tail” of twine as your other end of the garland.
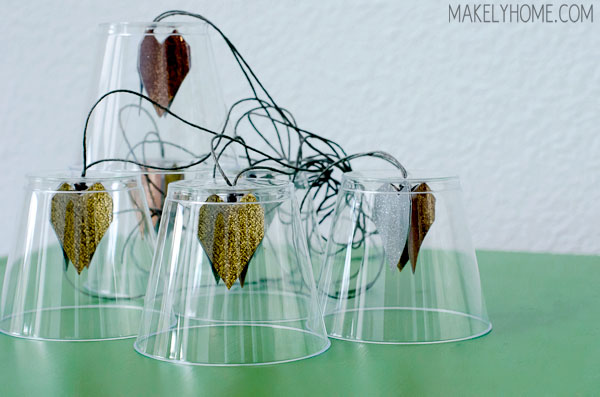
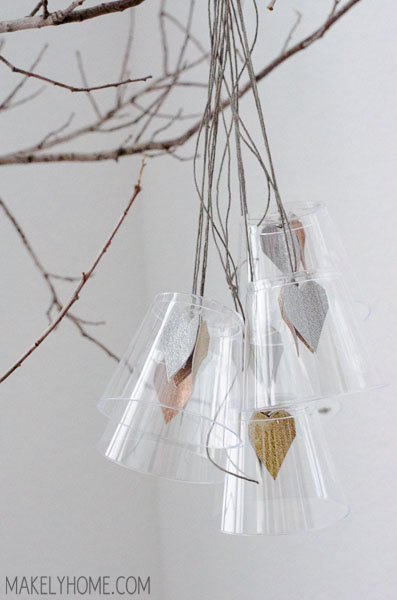
10. Put a drop of hot glue on the top edges of each heart grouping, and glue it to the inside top of the cup (with the twine knot inside of it). Do this for all six cups and heart groupings.
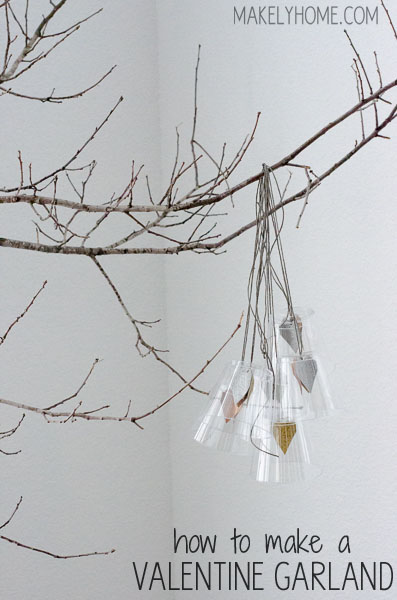
11. Now all you have to do is hang your garland. You can use it traditionally on a mantel, across a mirror, or on a headboard. Or on a dead tree in your living room if you happen to have one of those.
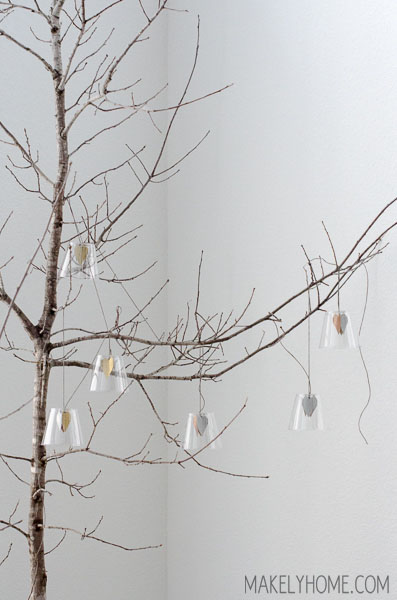
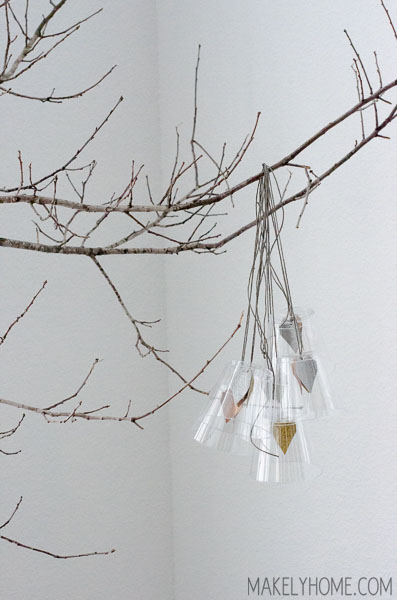
Or, you can use it non-traditionally. I gathered the twine in between each cup and tied a small piece of twine around it to hold the garland together. Then, I hung the grouping in the tree. I absolutely love how it looks like this!
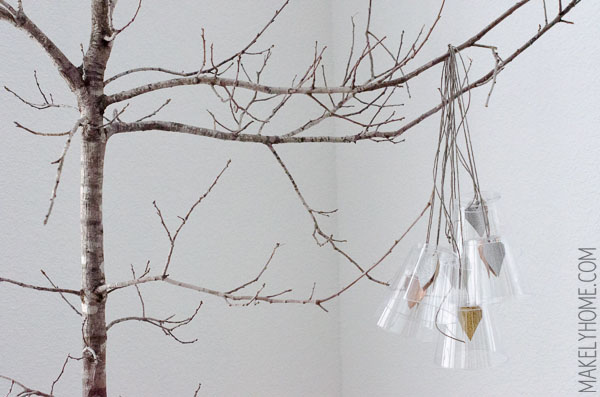
Isn’t that fun? If you don’t have an awesome dead tree, I think it would be great hanging off of a cabinet knob, over the edge of a picture frame, on a lamp or hanging off of one side of a mantel.
So with just some easy supplies, you can create a stylish Valentines craft piece that both kids and adults will love.
Is something that you think you will make? How would YOU hang it?
Super cute! I like them all clustered together like that too. Have a great weekend Lindsay! xo Kristin
These are so cute, such a fresh and modern idea!
PS…stopping by from East Coast Creative, I’m their new blog assistant!! 🙂