Over the past few months, I’ve been feeling that the drapes in my dining room were just way too heavy. They were custom treatments that I rushed into like 2.5 seconds upon moving into our house, and they blocked too much light. I knew that they had to come down once I realized that I was going out of my way to keep them from being photographed.
Once the curtains came down, I loved how light and airy the room felt. I wanted to put new treatments on the windows, but I wanted to make sure they let enough light in. Oh, and I wanted a super cheap solution.
I ultimately decided to hang drop cloth drapes like you’ve seen all over Blogland. I will admit, I really hated the look the first few times I saw them online. However, I’ve grown to love them (beat it into my head enough and I might change my mind!) and thought they were a nice solution for my dilemma.
My windows needed a little more “oompf” than just plain drop cloths, though. They needed something with a natural texture. They needed something to highlight one of the window’s arches. They needed 99-cent Ikea bamboo placemats.
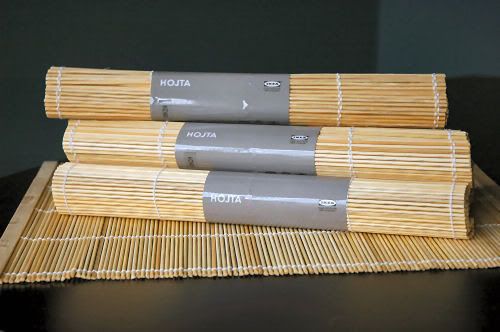
I’m pretty sure ‘Hojta’ means ‘really cheap placemats’ in Swedish. Thanks, Ikea!
The light color of the placemats wouldn’t work for my dining room, so I headed out to my garage and spray painted both sides of each placemat with dark brown spray paint (Espresso by American Accents). I didn’t want them to have an even color – because when do you ever seen an even color in nature? – so I randomly hit them with a little left over Krylon Hammered spray paint in Chocolate Brown.
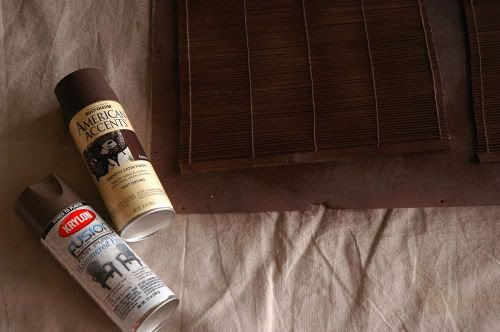
In order to make sure that both sides dried without getting messy, so I strung some twine across the rails of my garage door and hung them with wire.
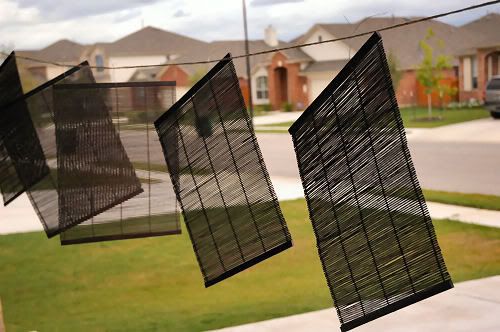
Then, I apologized to my neighbors for turning our street into the ghetto for a few hours. I swear, they must always wonder what in the heck I’m always doing in my garage.
After the placemats were dry, I took them inside and fired up my trusty glue gun. I overlapped the ends of the placemats and glued them together…right there on my living room carpet. Don’t worry, Tom! I didn’t get any glue on the floor later picked the bits of dried glue out of the carpet pile.
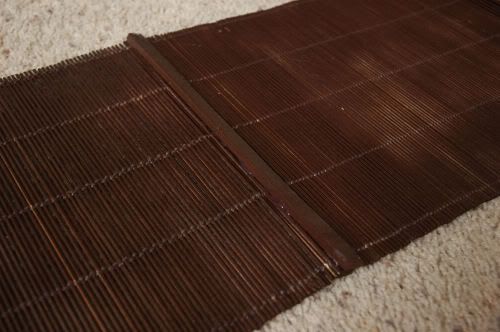
The valance was a little wider than I wanted for my window (and I didn’t want to cut it because it would mess up how the bamboo was strung), so I rolled it up on both sides and glued it together.
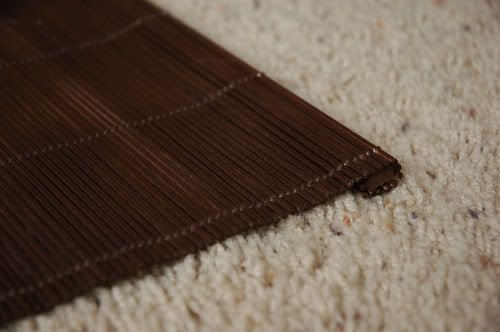
Next, I grabbed my drill and drilled little holes in the top of each section that I glued together. I then used a plastic needle and threaded some thin black ribbon through each hole.
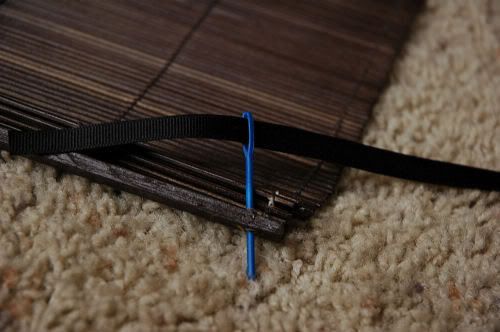
I already had a double curtain rod hung in my dining room, so I just tied each black ribbon to the top of the 2nd rod. When I stepped back, I had a gorgeous scalloped valance.
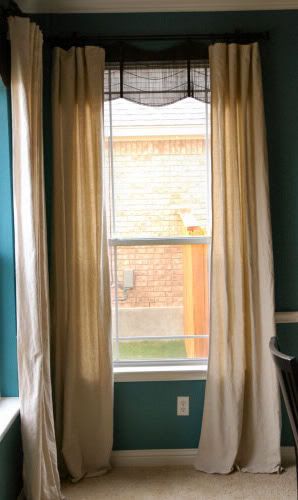
I was originally planning on using invisible thread to pull up the middle of each placemat so the valance hung straight across, but I was so pleased with the scalloped look that I scrapped that idea. Don’t you love it when things work out like that?

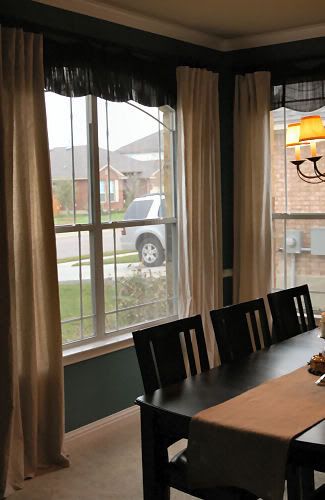
So, just remember that you don’t have to spend big bucks to get a great custom look. I spent about $10 on my valances, and I think they are so much more exciting than anything I’ve seen in stores.
Love the look? Check back for tomorrow’s Teach Me Tuesday to see a very elegant way to update those plain drop cloth drapes. You’re gonna love ’em!
Added to Kimba’s DIY Day at A Soft Place to Land…