Part of the price of my constant furniture rearranging and thrift store transforming is that I always manage to ding up the walls when I’m moving things around. Always. Between myself and my three-year old son, our walls have lots and lots of scuffs and dings. And my husband can always find a new scuff on the wall as soon as he walks in the door after work. Always.
Don’t you hate that? Scuffs and marks on our walls and trim make our homes look worn, used, and abused. What’s worse is that I put off touching up my paint for as long as I can, and then I either forget the places that needed to be touched up or spend too much time having to touch up all of my marks. I know I’m not alone in that, right?
Recently, I had an idea: instead of saving all of those marks and dings to touch up once a year (’cause lets be honest, it didn’t happen much more often than that), why don’t I touch them up as they occur? Since we all tend to start overlooking flaws after just a few days, touching up problem areas as soon as we see them will help keep our interiors looking freshly painted.
Touching up paint is really a quick and easy process when you take a few simple preparations and have your tools ready in advance. Follow these quick steps today so that you can be ready for what life throws at your walls tomorrow!
1. Gather a few small lidded glass jars, such as baby food jars. If you don’t have an infant at home, check Craigslist or Freecycle for people in your area giving away these types of jars for free. Or if you don’t mind spending a few dollars, buy a couple of baby food jars at the grocery store and empty the contents. Regardless of how you obtain your jars, make sure they are washed and dried. You will need one for each paint color on your walls.
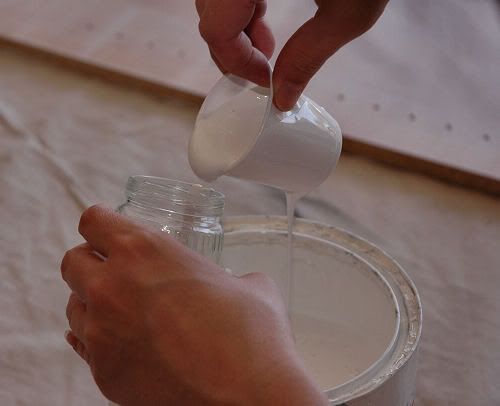
2. Fill each jar about 2/3 full of left over paint from your original paint can. If your paint is more than a few years old, you should have a new can mixed (you can take it to a home improvement store to have a paint match if you don’t know the name of the color). To make filling the jars a lot less messy, use a small plastic cup, such as a disposable bathroom cup, to dip into the can and then pour it into the jar.
3. Close the lids tightly on the jars and label with the name of the room (or location) where you have used that paint. Keep jars in an easily accessible location, along with a collection of 1″ foam brushes.
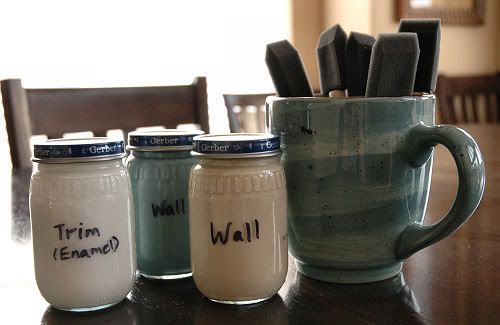
Now, whenever you scuff the wall or ding the trim…
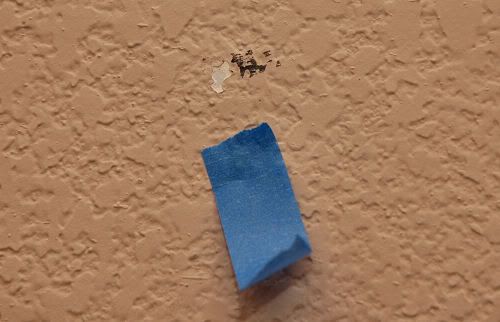
…just take a few minutes to grab your coordinating jar of paint and a foam brush, give the jar a good shake to mix up the paint, and take care of the touch up immediately!

When you are finished with your touch up, close the jar and wash out the foam brush (or if you are like me, throw it out because they cost about 40 cents each). Within minutes, your paint will be as good as new…and your husband will never know you scuffed the wall!