Makely

Let's Make Life Awesome

  • Home
  • Decorating/DIY
    • Create Your Decor
    • Decorate Your Home
    • Paint Your Walls
    • Transform Your Furniture
  • Healthy Living
    • Essential Oils
    • Family Wellness
    • Household Care
  • Project Gallery
  • Contact
You are visiting: Home » Archives for Lindsay Ballard » Page 343

Too Many Projects, Too Little Time

by Lindsay Ballard on April 29, 2009 33 Comments

Procrastinator. P-R-O-C-R-A-S-T-I-N-A-T-O-R. I can barely spell it, but I am one indeed. In fact, I’m procrastinating writing my procrastinator post by seeing how many times I can type a variation on the word procrastinate in one paragraph. The answer is five.

Then, Melissa issued a call to paint brushes, a procrastinator party of sorts where we share the projects we’ve been ignoring and then come back two weeks later and share our shiny, happy completed projects. I broke into a cold sweat and tried to ignore her. Although I do plenty of projects every week (every day, even!), I have a list a mile long and couldn’t even narrow it down to what I’d like to work on next. Wouldn’t I rather just make another wreath and call it a day?

But then, I realized that I need to make some changes that will do more for my home (and enjoyment level) than another stupid wreath (and also, Melissa kept talking about it and I got sucked in).

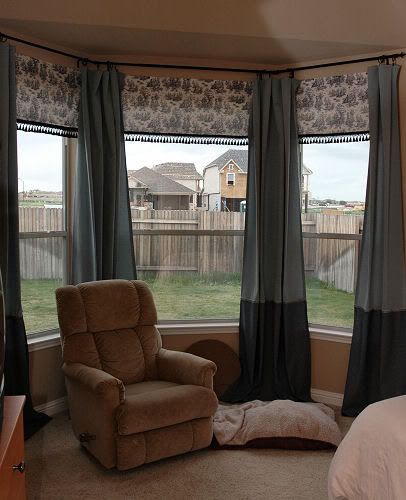
Which project should I choose? How about this area of my bedroom that currently houses Mr. Ugly-But-Comfy-La-Z-Boy Recliner, a dog bed, and the top of a decorator table that’s legs were eaten by said dog:
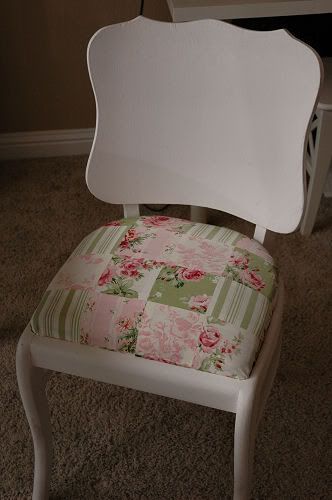
Or, I could recover the cushion on this chair to match my new window treatments in my craft room:

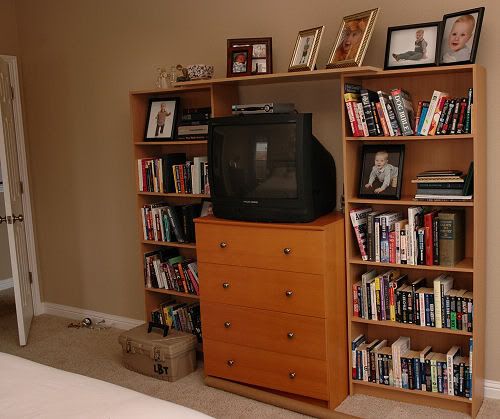
I could address my “Secret Shame”, my bookcases/dresser/TV/shelf combination that is my current collector of random, well, crap:


Note: I am a GENIUS who pushed our 2 old bookcases up to our old dresser and put a shelf on top to create a faux entertainment center in our bedroom. Much work needs to be done (painting anyone?), but I am very smug about how GENIUS this is going to be.

At the end of the day, the lofted playroom won my attention.
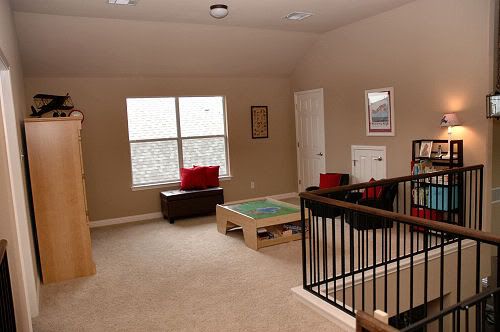
My son is so stinkin’ lucky to have such a great playroom! The thing is, he hardly ever uses it. My craft room is right off of the playroom, but I hardly ever use it. Why?

1. There is a total lack of adult seating in the playroom and Zack refuses to be more than 5 feet from me at all times. There was a couch in there, but in an only-in-Lindsay-land moment, my cat peed on it, I washed the cushions and left them on the back patio to dry, and my dog ate them while I was running errands. I found him in a pile of white, fluffy down in my backyard. I was so furious that I’ll I could do was laugh.

So, now we only have those adorable kid-sized club chairs, which Zack never even uses.

2. The lack of a window treatment makes it really warm in that room in the middle of the day.
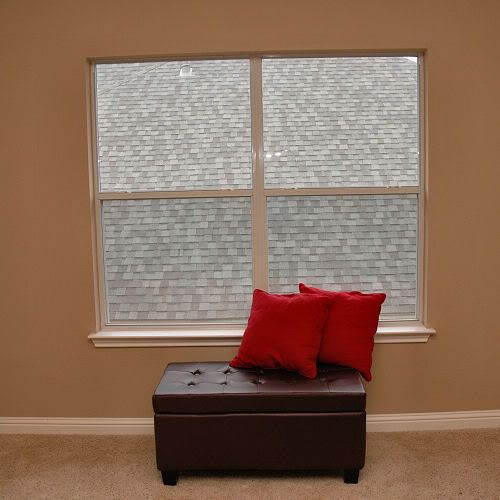
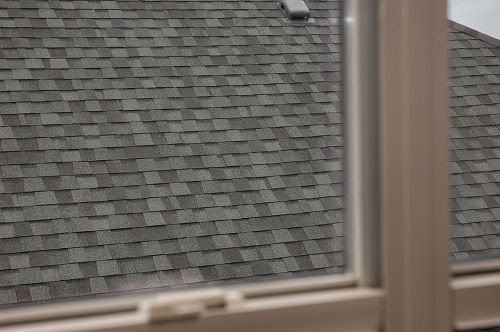
And also? The view. Not long ago, that window looked over acres of former farm land. Now, we have this lovely sight:

At least I can let the new neighbors know if they have any hail damage on their roof, right?

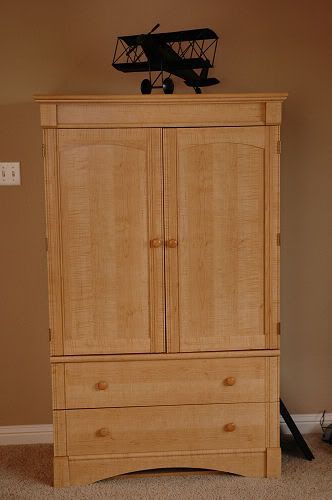
3. There is a TV/DVR/cable box in the armoire, but I haven’t figured out how to hook up all three devices at once. So, we either watch Bolt or Cars or Wall-E or nothing at all.
There is so much (SO MUCH!) I need to do in this room, but I have decided that I will (try to) tackle three projects:

Project #1 – Window Treatments. I’m thinking I’ll do sheers in the center and a solid color panel on either side. I’ll find some fabric that I love to make a valence and then do a coordinating fabric on the bottom of the solid color panels. And of course, I’ll add some trim.

Project #2 – Armoire. DH I will figure out how to hook up my entertainment trifecta. I would also like to paint the armoire another color entirely, but I’m not sure if that is going to happen in the next two weeks. At the very least, I’m going to cover the panel inserts on the door with the same coordinating fabric I’ll be using on the window treatments.

Project #3 – Adult Seating. I DH will move Mr. Ugly-But-Comfy-La-Z-Boy Recliner upstairs. It kind of kills two birds with one stone – I get him out of my bedroom and have a place to sit in the playroom. Maybe I could come up with some way to dress him up? Suggestions?

What are your thoughts? Do you see something I should pay more attention to other than these three projects? And do you think I can do it all, or in true procrastinator style, will I put it all off until the last minute?
Sealing Grout Makes Cleaning Tile Floors Easier

by Lindsay Ballard on April 28, 2009 2,236 Comments

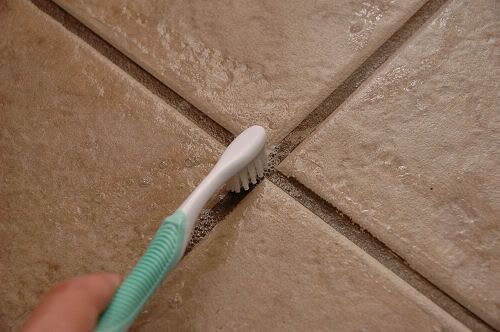
Today, I got down on my hands and knees and scrubbed my tile floor with a toothbrush.

No, I’m not Cinderella, although I may be channeling her from last weekend’s trip to Disney World. I was actually preparing the grout on my tile floors to be resealed.

If I asked you, “When was the last time you sealed/resealed the grout on your tile floor?,” how would you answer?

A. Within the last six months
B. Um, it’s been a while
C. I think we did it when our tiles were installed
D. I don’t know what you mean by “resealed the grout”

If you answered A, then ding, ding, ding! You’re a winner! You can skip this post and move on to something more fun. If you answered B, C, or D, then please read on.

The 411 on Grout Sealing

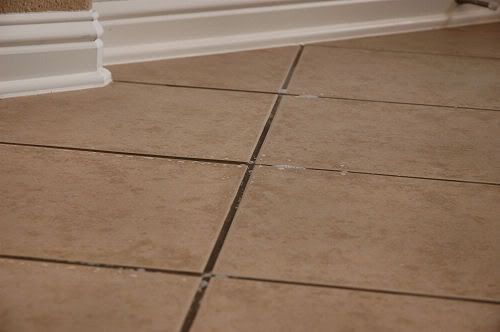
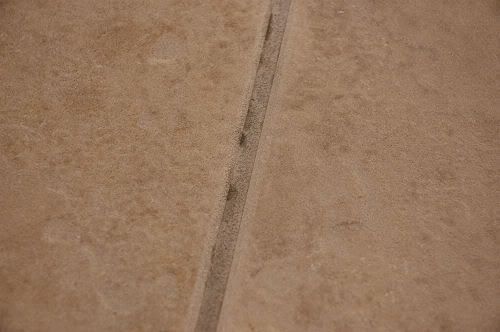
When tile floors (and backsplashes and bathroom walls) are installed in a home, they are most often left unsealed. What this means is that your grout will suck in dirt, spills, and stains like a magnet. Clearly, this is no bueno.

Sealing the grout is extremely easy and requires little effort beyond painting a straight line. Once the grout is sealed, spills and stains literally bead up and make it a million more times easier to clean.

I suggest you work on one room or section at a time. For instance, today I sealed our entry way. Tomorrow, I will do the kitchen and breakfast room. Perhaps Thursday I will do the bathrooms. Breaking it into sections like this means you don’t have to turn over your whole afternoon to the grout sealing endeavor.

Before you get started sealing, you’ll need to clean the grout so that you start with a clean surface. If your grout is mostly free from stains, you can use a mix of warm soapy water (I use liquid dish detergent).

Steps to Clean Grout:

1. Inspect your grout and look for stains that will need extra attention. Make a mental note of those areas.

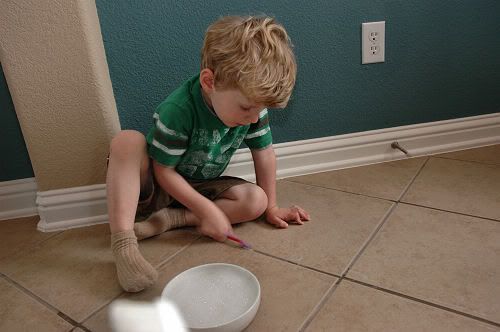
2. Dip an old toothbrush into your warm soapy water mixture and scrub the grout, paying extra attention to the areas you noted above.

I have found it easiest to work in line segments, scrubbing one entire grout line at a time. It’s also faster if you have a helper join in on the scrubbing, although it would be better if said helper had an attention span longer than 3 minutes.

The process won’t take long at all. It took me about 15 minutes to complete a 30 square foot area (and would have only taken about 10 minutes if I didn’t have Zack’s help).

3. Allow the grout to dry for about 45 minutes (the grout is a darker color when wet, so you can tell when it is dry). After it’s dry, inspect again and scrub any places where stains remain.

If you still can’t get the stains off, you can buy a cleaning solution, such as this one which is made specifically for cleaning grout.

Once the grout is clean and dry, it’s time to seal it! We strive to reseal our grout every six months (since it does eventually wear off), although I’ll admit it’s been much longer that that since the last time we did it.

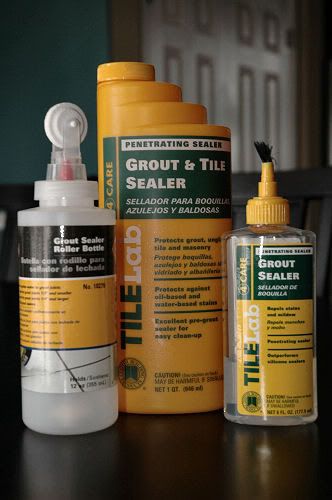
You’ll need to purchase some grout sealer at a home improvement store. There are several different kinds of sealer, but I prefer a penetrating sealer. This means that the sealer will keep spills and stains from soaking into the porous grout. You will also need a means to apply the sealer – you can use a small paintbrush, or a brush-tipped bottle or roller-tipped bottle specifically made for sealing grout.

Steps to Seal Grout:

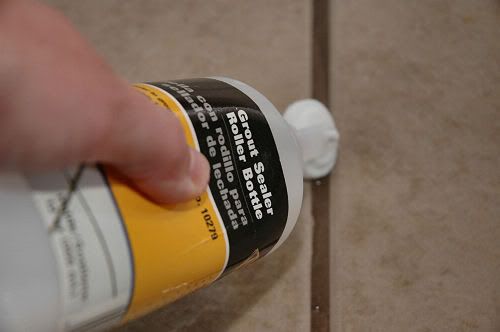
1. Paint or roll the sealer onto the clean, dry grout. If your grout is newly installed, you’ll need to wait about 48 hours before you can seal it.

Apply liberally so that it forms a little river in the valley between the tiles.

2. Just as when you cleaned the grout, it’s easiest to work in line segments. This process will be much faster than the grout cleaning. It took me about 5 minutes to seal my 30-square foot section.

3. When you have finished sealing the grout, allow the solution to soak in for about 10 minutes. Then, use a microfiber cloth, towel, or old t-shirt to wipe the excess solution off of the grout and tiles.

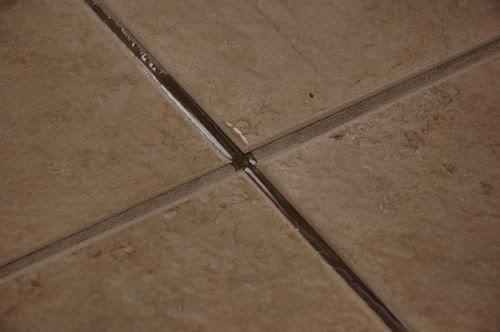
4. The next day, run a wet mop over the area you sealed, just to make sure you got up all of the excess solution. You may see a white residue on your tiles from the excess sealers, but it will come off when you mop.

5. Repeat the process of cleaning and sealing in about 6 months!

You will be so amazed at how much easier it is to clean spills off your tile floors once the grout has been sealed. A few hours of work a twice a year will help make your floors look brand new! The difference in the how the newly sealed hallway floor looks when compared with my needs-to-be-sealed kitchen floor is night and day.

Have a tip that really works for you? Join Kristen for Works for Me Wednesday at We Are That Family!

« Previous Page
Next Page »
  • Email
  • Facebook
  • Instagram
  • Pinterest
  • Twitter

About Makely

Lindsay Ballard is a former college mascot turned political geek turned roller derby playing, DIY fanatic.

Lindsay chronicles her projects, design ideas, and lifestyle tips here at Makely, where she shares tutorials and inspiration. Her DIY designs are bold and graphic, while her spirit is fun and full of color.


Archives

Categories

PRIVACY POLICY
Copyright © 2009-2019 Makely School for Girls | All Rights Reserved | Posts may contain advertising content or affiliate links