Makely

Let's Make Life Awesome

  • Home
  • Decorating/DIY
    • Create Your Decor
    • Decorate Your Home
    • Paint Your Walls
    • Transform Your Furniture
  • Healthy Living
    • Essential Oils
    • Family Wellness
    • Household Care
  • Project Gallery
  • Contact
You are visiting: Home » Decorating/DIY » Create Your Decor » Page 105

DIY Snow Drift Candle Holders

by Lindsay Ballard on December 14, 2010 2,041 Comments

Every Christmas, I like to do something a little different in my dining room.  Last year, I made sequined Christmas trees.  This year, I wanted it to snow.

With the help of my son Zack, I created some super easy but beautiful candle holders for our centerpiece.  I wanted to make them look as if they had been caught in a snow drift.  It worked, huh?

You can create these in under 30 minutes, from start to finish.  Just be prepared to have a huge mess on your hands if your 4 year old is helping you!

Supplies

  • Glassware
  • Mod Podge
  • Paper towels
  • Epson salt
  • Glitter (optional)
  • Tea light candles

1.  Begin by pouring your Epson salt into a high sided dish.  I used the entire bag (1 pound), although I probably didn’t need quite that much.  We mixed in a bit of silver and red glitter (the Martha Stewart fine glitter is the BEST!), although that’s not entirely necessary – your candle holders will sparkle just fine without it.  Mix together the “ingredients.”

2.  Using a paper towel (or a foam brush if you are fancy), wipe a thickish coat of Mod Podge on your glassware.  Be haphazard in your wiping – you don’t want to cover the entire surface with the Mod Podge to make the candle holders really look like snow blew over them.

*A note on glassware – You can use any sort of glassware that you have on hand.  Mine are actually drinking glasses that I picked up at Target for about $3 for a set of 4.  I think mismatched glassware from a thrift store would be gorgeous.  Just remember that glass gets hot to the touch very quickly when it is heated.

3.  Quickly roll your Mod Podged glass in the Epson salt, making sure to coat all sides.
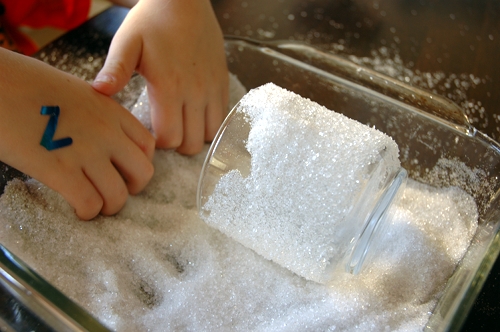
3.  Set aside and allow to dry.  Mine took about 15 minutes to dry, but it could be more or less depending upon the thickness of your Mod Podge.
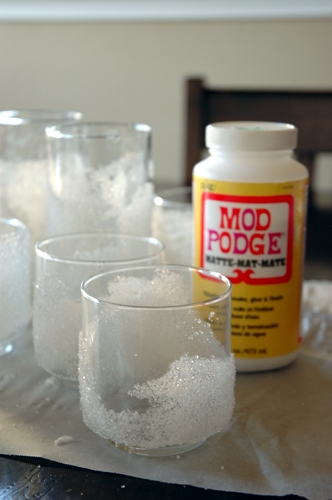
4.  Place a tea light candle in the bottom of each glass.  I always remove the silver tin from around the tea light because I hate seeing that little tin.

5.  Light the candles and dream of snow.
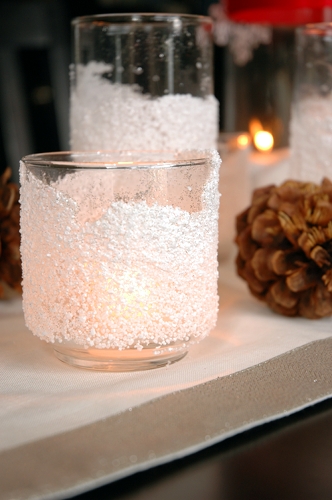
Wouldn’t this be a fun project while the kiddos are out of school?

P.S. I’ll show you my whole dining room in a few days so that you can get the full effect…I just don’t want to give away my next project yet!

P.P.S. – I’m getting my craft on at Today’s Creative Blog!
A Pottery Barn-like Halloween

by Lindsay Ballard on October 19, 2010 1,539 Comments

This is a re-post from Halloween of last year.  I love these pumpkins so much that we are making them again this year at our house!

As soon as the Halloween-themed Pottery Barn Kids catalog hit our mailbox, Zack got busy pointing out all of the things that he “wished he could have.” Yeah, you and me both, Kid.

One of the things that he kept going back to was the Pirate Build-A-Pumpkin kit.


Pottery Barn Kids

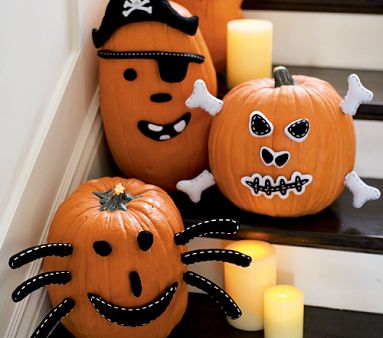
After looking at the photo in the catalog and reading the description, I figured I could make my own version of the adorable pumpkin accessories. Pottery Barn wants $12 each for the Pirate, Cat, Skull, and Spider sets, but I knew I could make all four of them for half of that.

Wanna know how? Yeah, of course you do. :)

Pottery Barn Inspired Pumpkin Accessories

1. I began by drawing out each of the pieces I wanted to add to each pumpkin.

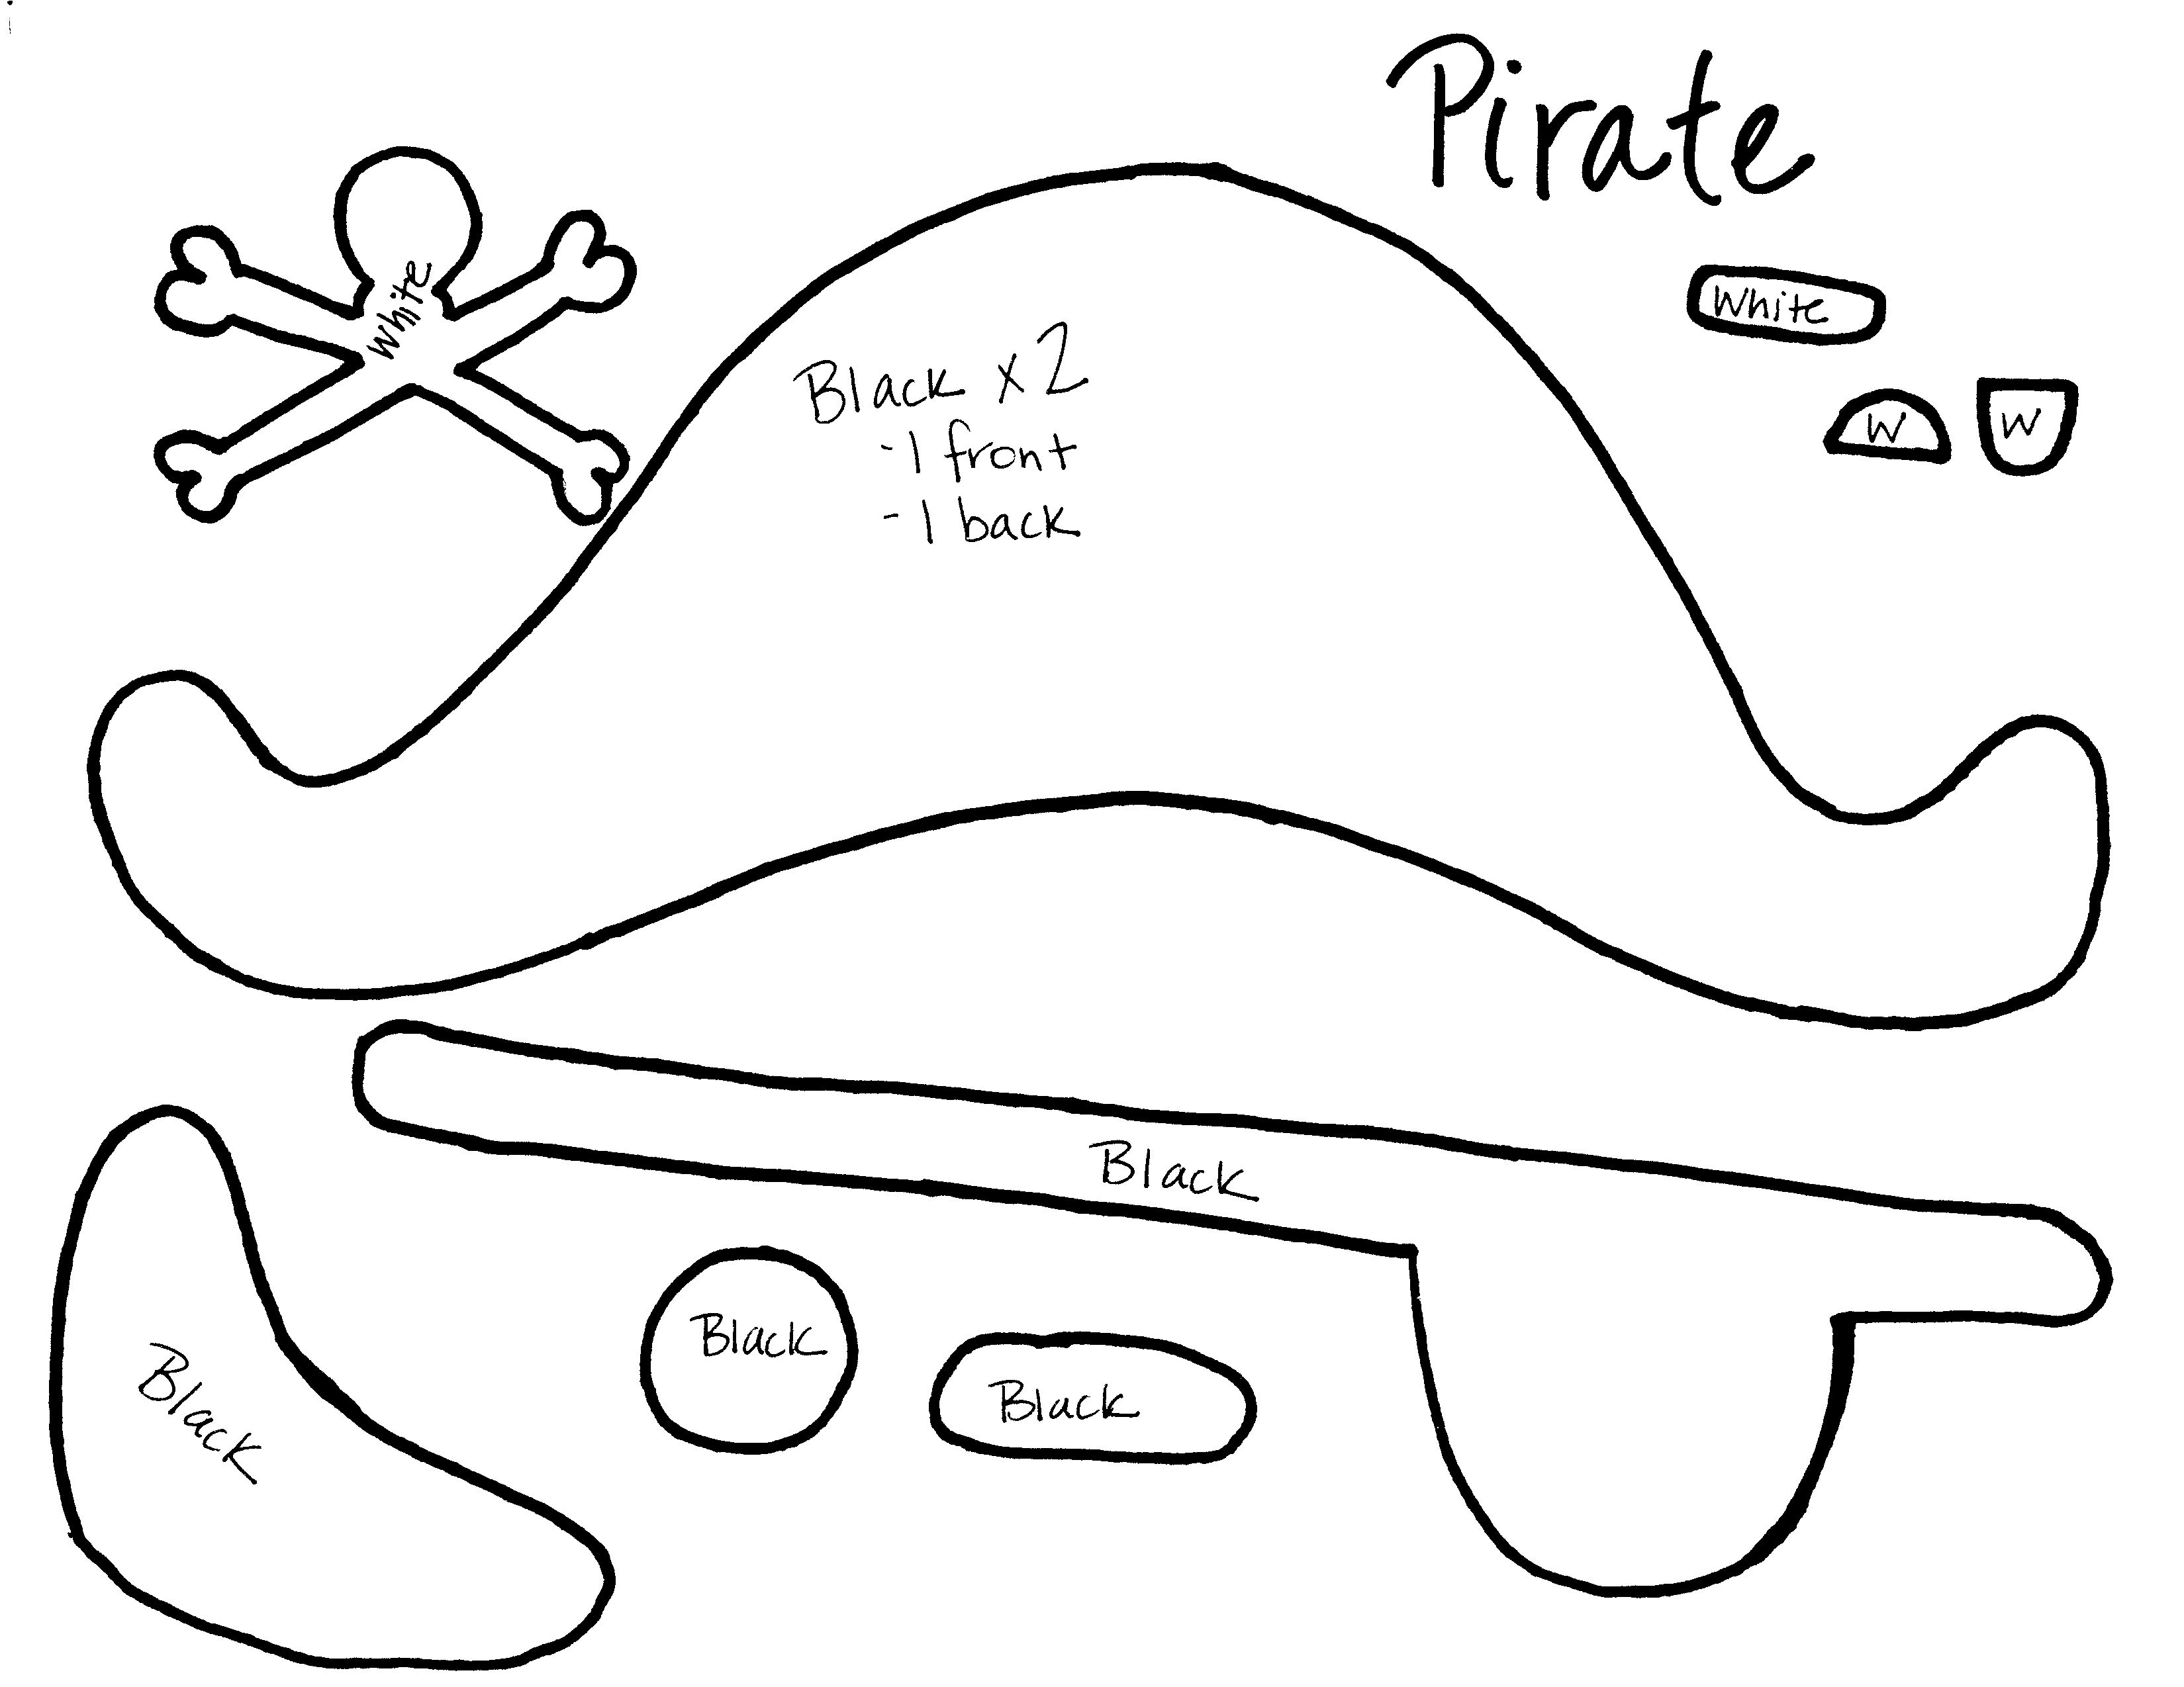
Don’t fancy yourself an artist? No worries. I did the hard work for you and drew out everything you need for the four pumpkins. Click here to download the .pdf file of the artwork. The artwork is scaled for a medium sized pumpkin, so you will need to enlarge or reduce if you are using a large or small pumpkin.

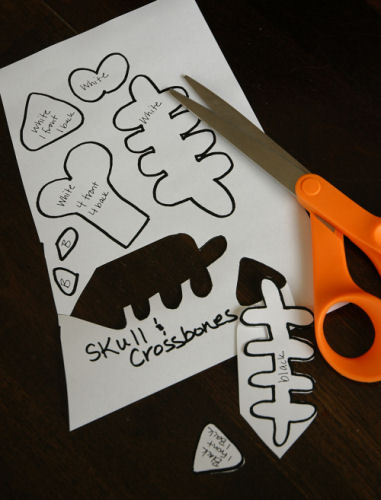
2. Print out the .pdf and cut out the shapes for the pumpkin(s) you want to put together. For this tutorial, I am showing the Skull accessory kit.

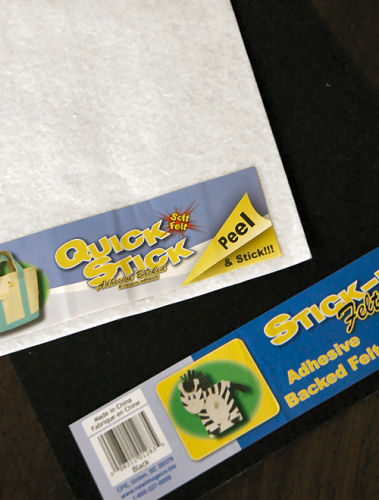
3. At your local craft store, pick up some sheets of sticky-backed felt (about $1 each). You will need white and black for each set. I put all four sets together and only ended up using one sheet of white and two sheets of black.

I advise against using the “soft” sticky-backed felt. It’s a pain to peel the backing off of it.

4. Trace and cut out the shapes on each piece of felt. On the artwork, I labeled each piece with the color and the number of each shape you will need to cut out. Some are labeled front and back, which means you need to trace the front side (the side with the writing on it) and the back side (without the writing), so you’ll have mirror images of each piece.

Note: On the Cat set, you actually need to cut out 4 front and 4 back of the white rectangles, not 2 of each as noted on the artwork.

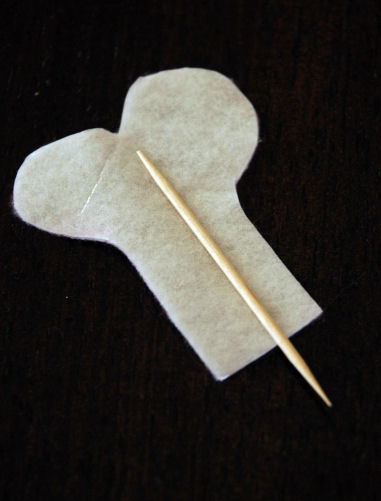
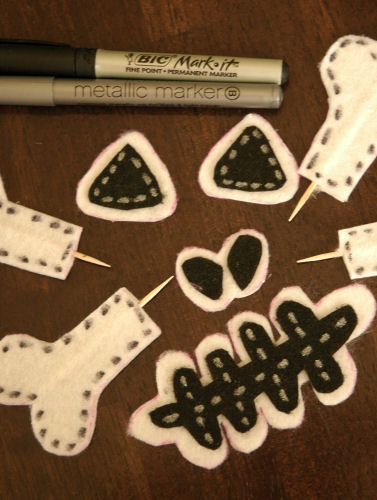
5. On the pieces that stick out of the pumpkin, I inserted a toothpick in between the front and back shapes to make a little toothpick sandwich. I just left a small portion of the toothpick sticking out to stick into the pumpkin. I had to break a few of the toothpicks in half so that they wouldn’t be too long. Once your little sandwich is put together, you will probably need to trim the edges so that the pieces match up nicely.

The pieces you will need to set up with a toothpick are:

  • Pirate – Hat (I put one toothpick in the center and one on each side)
  • Cat – Ears, whiskers
  • Skull – Bones
  • Spider – Legs

6. After assembling the rest of the pieces that layer on top of each other, draw in the faux stitching. On the white pieces, I used a thin black marker. On the black pieces, I used a silver metallic marker I found at the craft store for a few dollars.

Sorry that picture is so oddly lit. I’m not sure what’s going on there.

7. Now, all you have left to do is to peel the backing off of the pieces and stick them directly to your fresh pumpkin or craft pumpkin. The pieces on toothpicks can be easily stuck directly into the pumpkin.

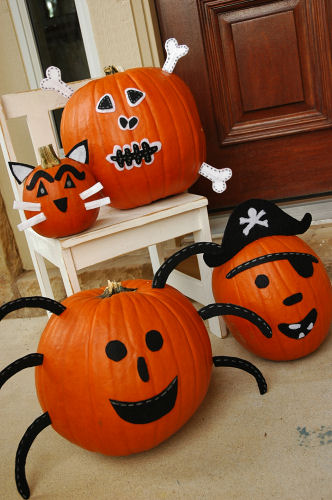
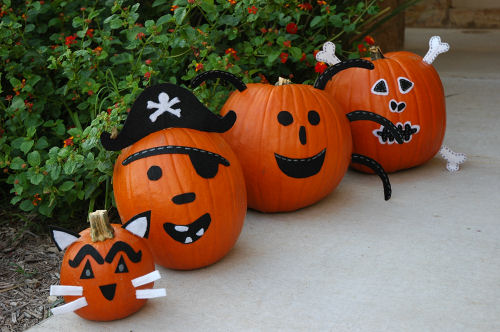
8. Display your new friends proudly!

I can’t believe how much my knock-offs look like the “real” ones!

You can create your own Pottery Barn-inspired pumpkin kits for under $5 for all four of them. The only difference between these knock-offs and the real thing is some polyester stuffing in some of the pieces and actual stitching instead of faux stitching. Oh, and $43.

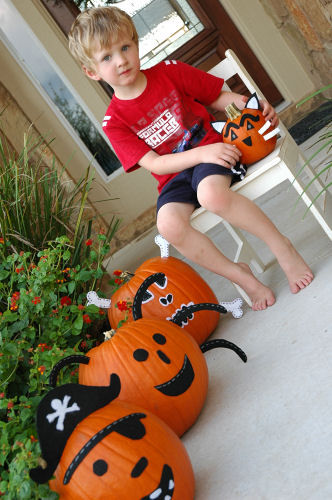
Zack really wanted his picture taken with his new pumpkins. Here he is posing with his favorite, “Fat Cat.”

Our pumpkins will eventually be carved into Jack-O-Lanterns a few days before Halloween, but until then, we’re going to enjoy Fat Cat and all of his fun little friends.

Will you create a set of your own?

********************

It’s time to announce the winner of the Heart Break Kids tutu giveaway!  Congrats to commenter #3…

…Amy P, who wants a black tutu!  Thanks to Holly for the awesome tutorial and giveaway!

« Previous Page
Next Page »
  • Email
  • Facebook
  • Instagram
  • Pinterest
  • Twitter

About Makely

Lindsay Ballard is a former college mascot turned political geek turned roller derby playing, DIY fanatic.

Lindsay chronicles her projects, design ideas, and lifestyle tips here at Makely, where she shares tutorials and inspiration. Her DIY designs are bold and graphic, while her spirit is fun and full of color.


Archives

Categories

PRIVACY POLICY
Copyright © 2009-2019 Makely School for Girls | All Rights Reserved | Posts may contain advertising content or affiliate links