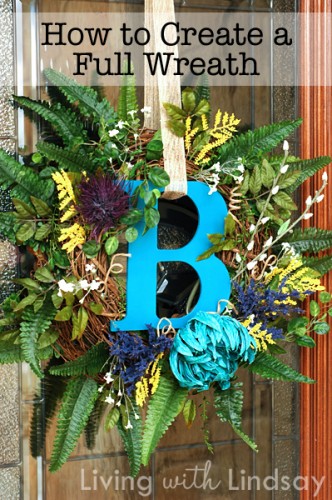
The advent of Pinterest has been a lot of fun for many reasons, but one of my favorites is that I am able to see which of my old projects have suddenly gone viral. I’ve been amazed at the things I put together years ago that are really popular again – and I likely would have never given them a second thought.
Recently, my Fall and Spring wreaths have taken off. They have been pinned and re-pinned thousands of times, and I can barely keep up with the emails from readers asking me to make one for them.
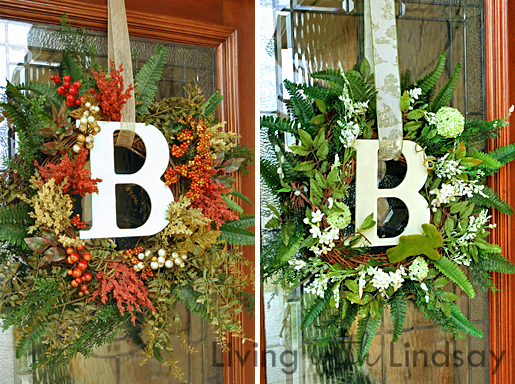
Of course, I’d love to make one for each of you. Unfortunately, with 18-month old Miss Emma (who is into EVERYTHING these days), it’s just not possible. So instead, I decided to teach you how to make one yourself. See? It’s like I’m empowering you to make the fullest, most fluffiest wreath ever. Plus, the great thing about this wreath is that you can redo it each season since we aren’t going to actually glue anything to the wreath.
How to Create a Full and Fluffy Initial Wreath
You will need a few things before you get started:
- 18-inch grapevine wreath
- 14-inch grapevine wreath
- Assortment of natural-looking greenery
- Assortment of natural-looking florals
- Chipboard initial
- 1 1/2 yard-ish length of 2+ inch width ribbon
- Craft wire
Let’s do it!
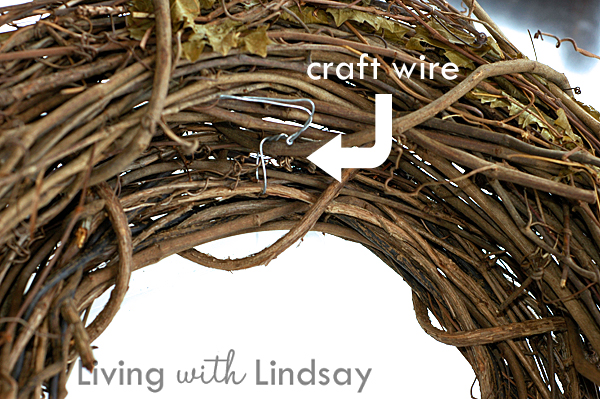
1. I begin by placing the small wreath on top of the large wreath and securing them together on the underside with craft wire. I run the wire through some of the vines of each wreath and then just twist.
2. Next, I gather all of the florals and greenery that I’m going to use. You will want 4 or 5 different types of greenery and 3 or 4 different colors of florals. The most important thing to keep in mind is that you want your greenery and florals to be very natural looking. I really can’t stress this enough. Don’t pick any ferns that are fluorescent green or roses that have fake dew drops on them, okay?
Most craft stores that carry floral stems have a line that is called “naturals.” They are a bit more expensive, but if you buy them when they are 50% off (they are through the end of the week at Hobby Lobby, FYI), they aren’t too bad. The cost of putting my wreaths together is about $40 the first time, but then you can reuse it all when you redo it for the next season. I normally just add some different colored florals the next time I make it. I’ve been using a lot of the same pieces for two years.
Here is a portion of the typical cast of characters that I would assemble. I will strip the leaves and florals from each stem.
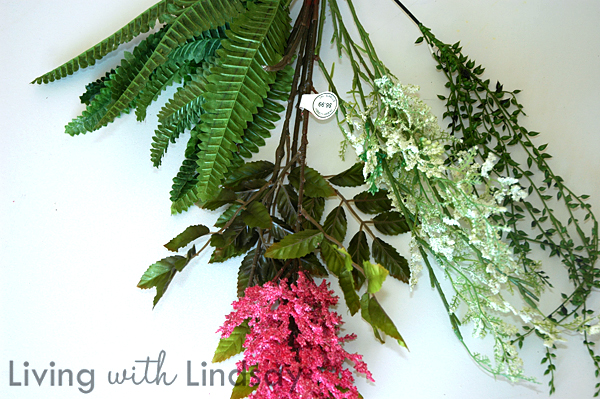
3. I always begin a wreath with some fern-y leaves. I cut each one from a bush (like in the above photo), and literally jam them into the wreath all the way around. Sometimes, a stem won’t fit through the grapevine exactly where you want it, and you have to adjust it a little. You’ll want to keep the ferns spaced pretty close together. I usually stick most of them into the large wreath, but I do add a few in the small wreath. That keeps it from looking too fabricated. If you aren’t planning to add an initial or other object to the center of your wreath, you want some of your greenery to go to the inside, too. I also like to leave a little empty space at the top where my hanging ribbon will go.
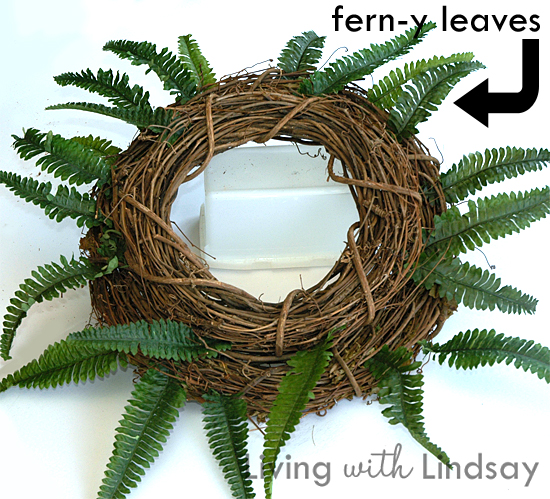
I totally propped the wreath up on a box of baby wipes so that I could more easily photograph it. I’m a stay-at-home mom and that was the first white box that came to mind. I apologize for being so fancy.
4. Next, I strip some leaves from some of the floral stems I have (like the pink one in the Step 2 photo) and add them around both wreaths in the same fashion. I like to turn them so they are facing different directions – not just all facing out.
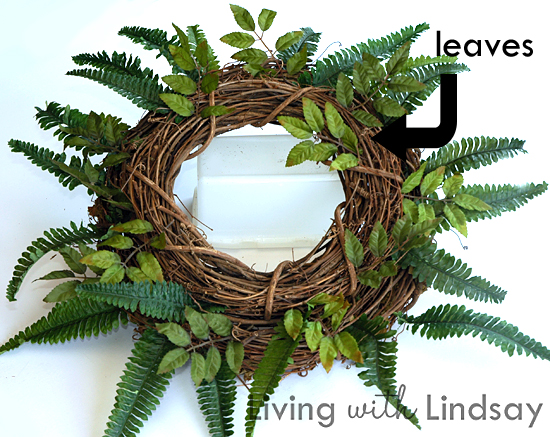
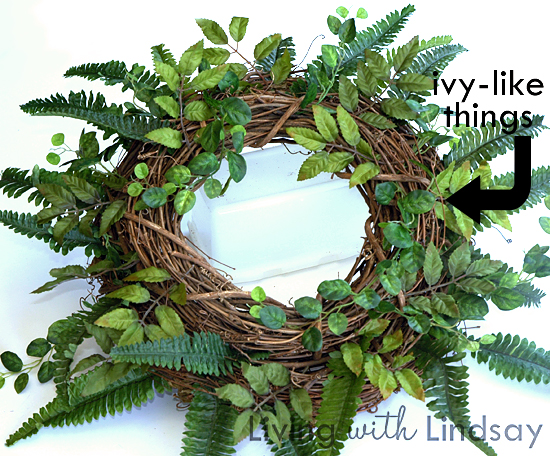
5. Believe it or not, you still need some more greenery. This time, I added some ivy-like things. It’s good to keep your greenery in different leaf types and various shades of green. Some of the ivy points out, and other pieces go across the small wreath.
6. To give the wreath some more dimension, I wrapped some vine-y guys around the grapevine this time. I also let some hang down from the wreath and let a few wrap around leaves.
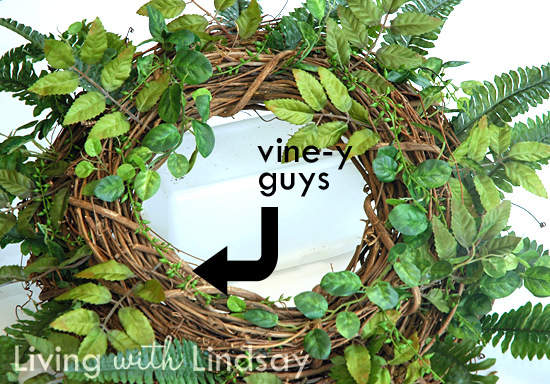
See how full it looks now? That’s what you want to see before you start adding any color to your wreath.
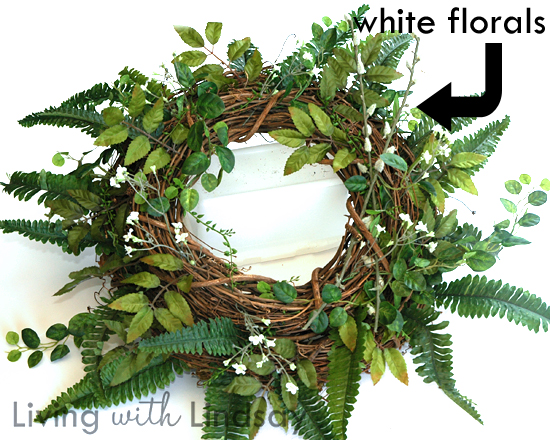
7. Finally, it’s time to add some color! I always begin with adding some white filler florals. In this one, I added two stick-like things that had some fuzzy white things on them (I’m sure they have a name – anyone know what it is?) and a few bunches of small white flowers. Keep the white fillers clumpy – don’t put them evenly spaced all the way around.
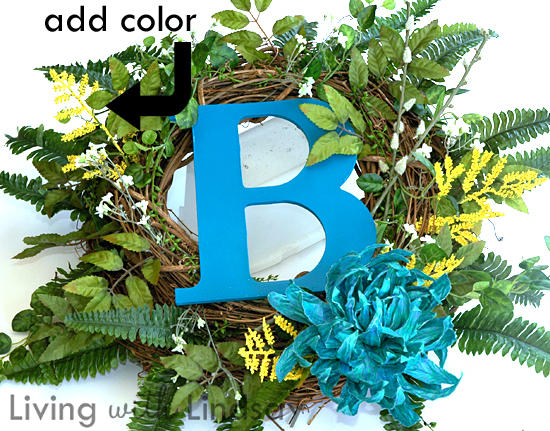
8. If you are using an initial or other object, go ahead and lay it on the wreath so you can see where it will ultimately go. I like to let a few florals or greenery pieces overlap the letter.
Now, you should add some large, natural-looking florals to your wreath in just a few key places – not all the way around. Limit yourself to one or two colors at this step. Obviously, I chose turquoise and yellow for this year’s Spring wreath.
9. Next, I add some contrasting color. Here, I chose dark purple. Again, keep it to a few key places and don’t add more than 1 or 2 different colors.
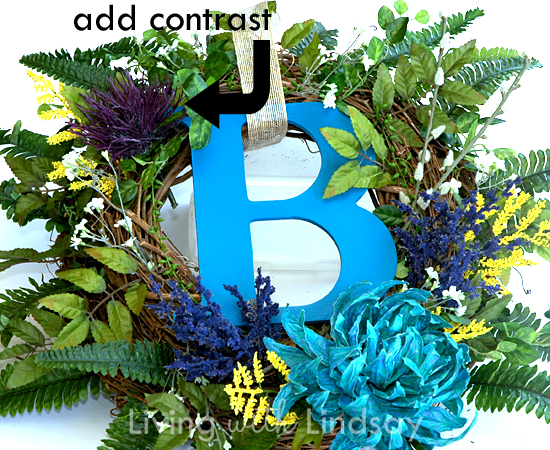
As you can see, I also looped my ribbon around my wreath and through the initial (if you have an initial such as M or L, you’ll need to drill a hole in the letter or hot glue it to the ribbon). I like to have some greenery overlap the ribbon a bit, and this is where I can go in and see if I need to add more or adjust what’s already there.
10. The last thing I add to my wreath are some natural-colored curlies. These are called “paper stems” and they are sold in the floral section of the craft store for about $2 for a package of 6. They come in long pieces, and I cut them in half. I like to wrap them or twist them around a pencil to make different curly shapes. I like the dimension they add.
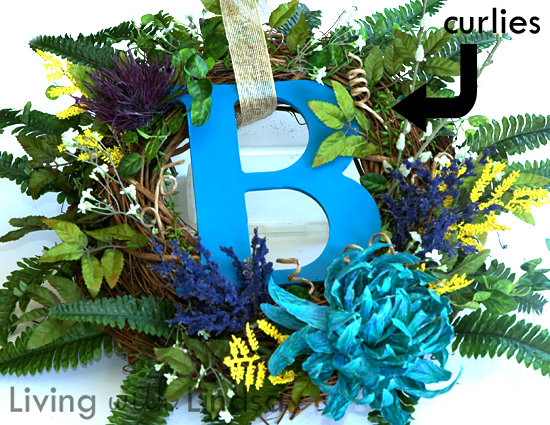
For my Fall and Winter wreaths, I also like to add natural-looking stems of berries at this point.
11. To hang my wreath, I attach the ribbon to the very top (the top, not the front) of my door with a tiny nail. I have been using the same nail and hole all of these years, and it still works great. You are able to hang the wreath so much lower than with a wreath hanger (most wreath hangers make your wreath hang way too high on the door). I like the top of my wreath to hit the bottom of the top 1/3 of the door. That sounds super complicated, but it really isn’t.
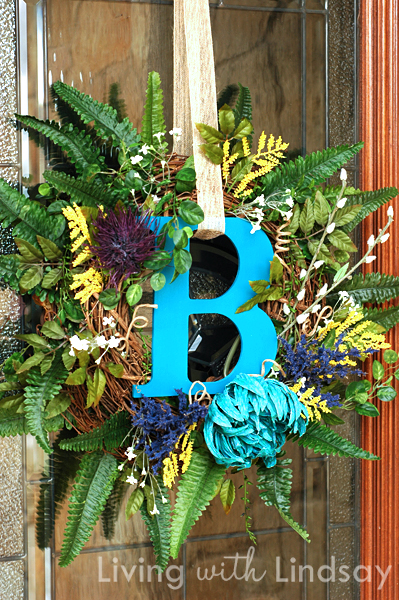
12. Once the wreath is hanging, I always make little adjustments to the way it falls. I’ll adjust a fern-y leaf here or a white floral filler there. Just adjust things a little bit until you love the way it looks.
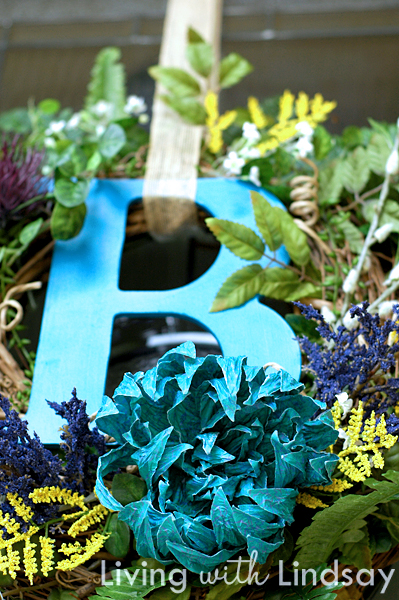
Now, all you have to do is smile when your friends and neighbors “Oooh!” and “Ahhh!” as they enter your home…because I promise that they will. You will be able to tell them that you made it yourself. You’ll also be able to laugh at the stuipidly overpriced wreaths for sale at Michaels that don’t look even half as good as yours. Yippee!
Are you ready to get started on your own fullest and fluffiest wreath that your neighborhood has ever seen?
Note: I live in a very, very windy area, and I don’t have too many problems with items falling out of my wreath. Occasionally, I will find a leaf or some filler on my front porch, but I just stick it back in if I do.