After I took my crewel work class a few weeks ago, I forced myself to close my computer and work on finishing the stitching on my sampler pattern. Each night, I worked on it for about half an hour instead of randomly flipping between Pinterest, Facebook and Twitter. I’m not a person who relaxes very easily, and I have to say that working on this needlepoint project worked well for me. I see more hand embroidery in my future – for the sake my own sanity.
Once I completed the project, I realized that the sampler was an odd size. I wanted to frame and hang it in my powder bath for the finishing touch to that room, but I was going to have to get creative on finding a frame. I decided to just build my own with some wooden trim from The Home Depot. I made a few mistakes along the way, but I am ultimately happy with the way it turned out.
I put together a tutorial of the process so that you could easily build your own custom frame, too. Although I do use a compound miter saw, power tools aren’t necessary. I will explain below.
How to Create a Custom Sized Frame
1. Measure your piece and decide the inner dimensions of your frame. Purchase trim from the home improvement store in that size, making sure you buy extra length in case you make any mistakes. Trust me, and save yourself the trouble of having to go back a second time to buy more.
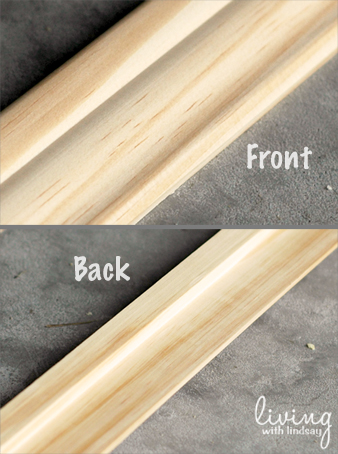
The trim I selected was pine panel casing, and it ran $1.16/foot. I chose this trim because it had a lip on the back. When I put my picture frame together, I wanted it to have a place for the glass or framed piece to sit into like a frame you buy from the store has. I hope that makes sense.
2. Using my compound miter saw, I cut out four lengths of trim with 45 degree angles on each end. The length of the shorter side of each piece is equal to the dimension I wanted for each side of the interior of the finished frame. Obviously, the outer edge of each length is longer since the ends are cut to 45 degrees.
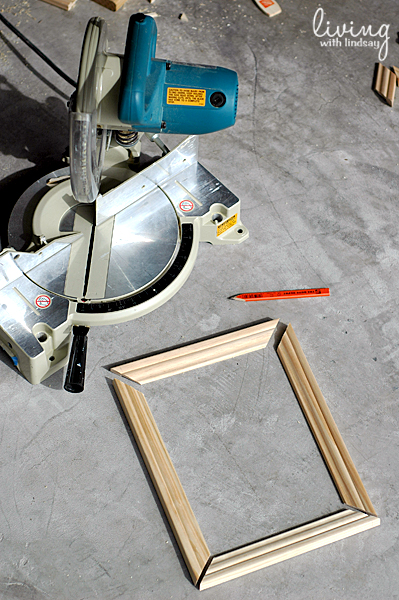
Because the 45 degree angle isn’t a compound angle (one cut at an angle on both the horizontal and vertical planes – I know, I just got super geeky), you can use a miter box and hand saw to make these cuts.
3. With blue painter’s tape or masking tape, put together three of your corners by wrapping the tape over the corners. Use two pieces in case one breaks (again, trust me) and pull the tape tight. You will want to make sure your inside and outside corners meet up correctly before you tape it.

Why just three corners? Well, I want you to be able to open the frame like so.
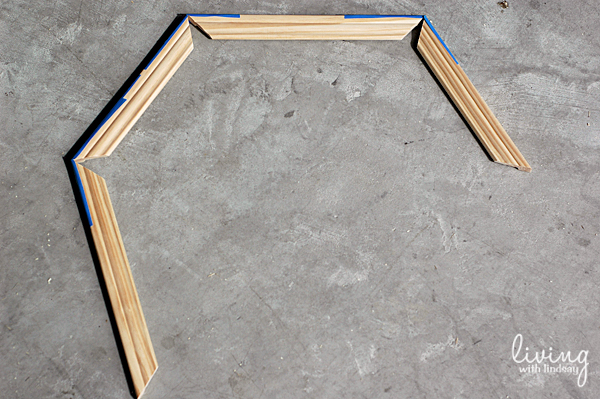
4. With the corners open, squirt some wood glue into each of the three corners and wrap more blue tape or masking tape around them to hold into place. Work one corner at a time, and make sure you wipe off any excess glue with a paper towel before taping.
Once your three corners are secure, your fourth corner should (hopefully) match up. Slide it apart, add the glue, and tape it both over the corner and around like you did the other three.
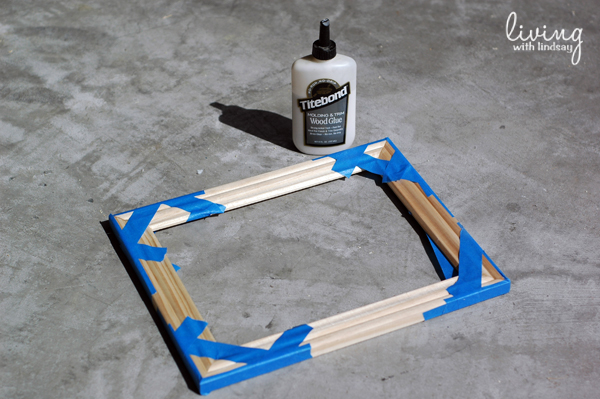
If your corner doesn’t meet up exactly perfect, don’t worry too much. We’ll fix that in a future step.
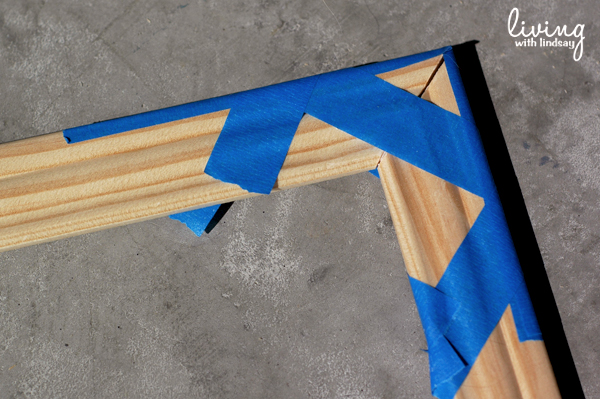
Lay the frame flat and allow the glue to dry. The label on the bottle I used said to allow 30 minutes dry time, but each brand is different.
5. Once the glue was dry, I removed the tape and lightly tapped some wood joiners onto the corners on the back of the frame. This will give the frame some added stability.
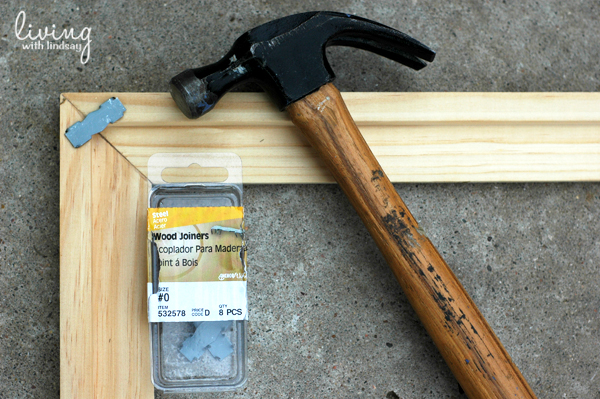
In hind sight, I wish I would have used a different type of joiner. As you can see in the above photo, these joiners overhang the corner lip a bit, so it made it hard to fit my piece inside the frame without a lot of trimming. If I were to do it again, I would have used a corrugated fastener, which is hammered into the frame in the same was as the wood joiners.
6. Next, I flipped my frame over and filled in the gaps at the joints with wood filler. Some gaps were larger than others. I applied the wood filler with my finger, and then lightly sanded it (I used 220-grit sand paper) when it was dry.
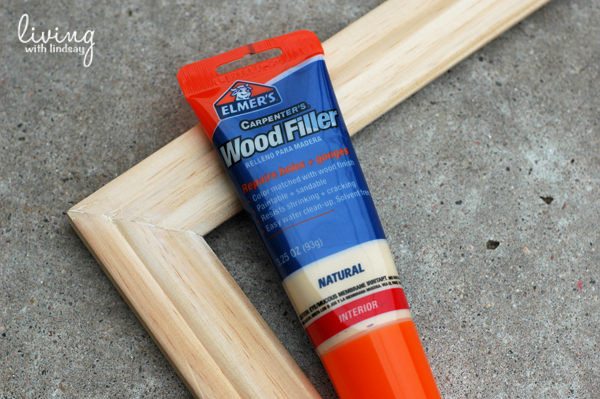
If I were a carpenter, maybe I wouldn’t have had any gaps in my joints. But, I’m not, so I did. No worries!
7. I then painted and glazed the frames. I was working on two frames, so I spray painted one a shade of red and the other a shade of golden yellow.
8. Once the paint was dry, I cut a piece of foam core to fit inside the frames. I covered the foam core with fabric (a printed piece in one and then my crewel work piece in the other) and secured the fabric to the back of the foam core with clear packing tape. Yep, I was that fancy.
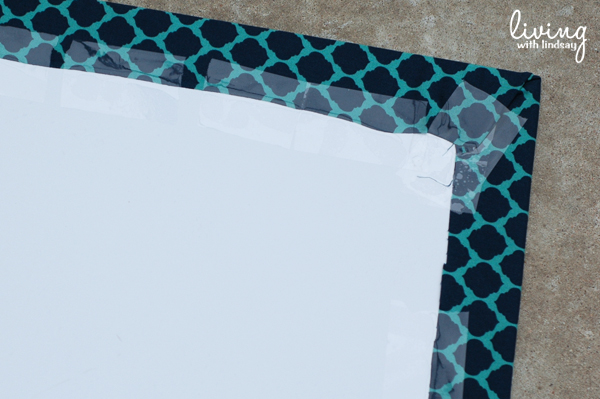
If you are going to be putting glass and photos in your frame, you would do that instead of foam core. You can either cut the glass yourself or have a custom piece cut at a local shop. Like any other frame, put in your glass, then your photo, and then add cardboard to the back until it is level with the back of the frame.
9. After inserting the foam core into the frame, I added more clear tape around the edges to secure it inside the frame. Again, super fancy.
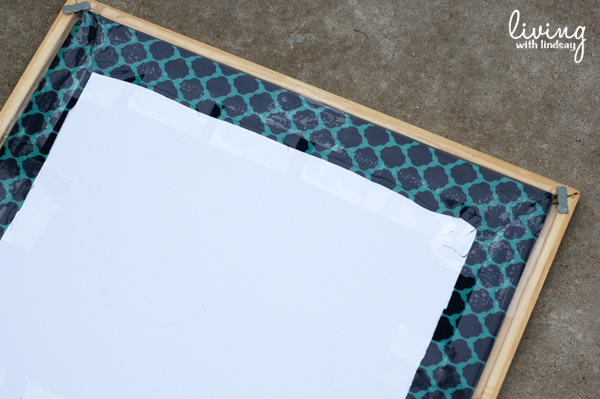
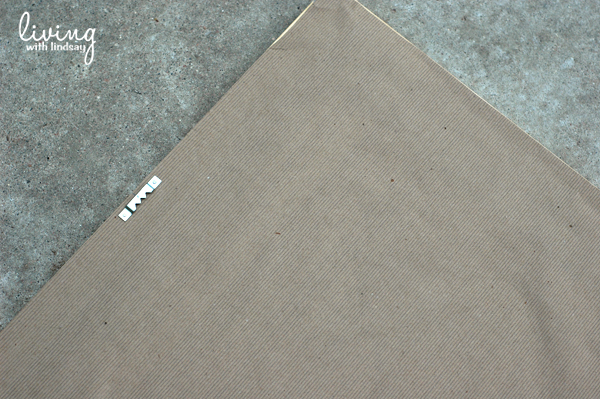
10. In order to hide my shame fanciness, I ran a heavy-duty glue stick over the back and glued a piece of kraft paper to the frame. I trimmed the edges with an X-Acto knife.
I also nailed a sawtooth picture hanger onto the back. You can find these hangers just about anywhere – even the grocery store.
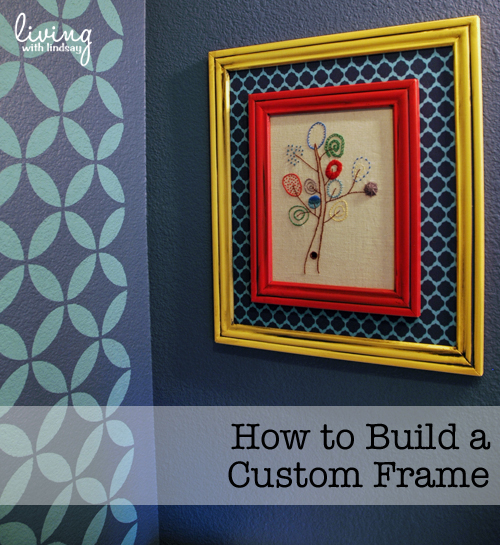
11. Because I was hanging two frames on the wall, I used two nails. I put a nail in the wall and hung the larger frame directly to the wall. Then, I put another nail through the fabric and foam core of the larger frame and hung the smaller frame onto it.
The result is an awesome, layered piece of artwork in custom frames!
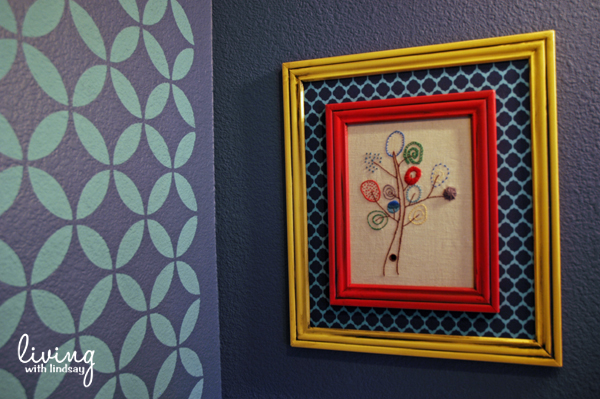
Can we take a minute to revel in the fact that I found that backing fabric in a perfectly complimentary fabric to the stencil on my wall? I couldn’t even believe it when I ran into it at JoAnn. I was looking for a more subtle print, but when I saw this navy and turquoise print, I decided that it was meant to be.
Have you ever needed to create your own custom frame? What did you do?
P.S. I am so honored to have been nominated for an Apartment Therapy Homie Award for the Best Home Design blog. Craziness! In case you don’t know, Apartment Therapy is like the best and biggest design blog out there.

I obviously know I won’t win when I’m up against the likes of some of the heaviest hitters in the blog world, but wouldn’t a Top 20 finish be neat? I’d love for your vote! All you have to do is visit the site and log in to AT to vote. If you don’t already have a log in name, you can just log in with your Facebook or Twitter account. You’ll have to scroll to find my blog name (but with every vote, it moves closer to the top). Thank you in advance for your support! The voting is open through March 2nd, and you can vote for as many of your favorite blogs as you would like.