If you ever come across an old light fixture that needs a new purpose, go ahead and take him home with you. Any old fixture with exposed candelabra-style bulbs can beautifully and easily become a real candelabra.
A few weeks ago on a rare weekday trip to the ReStore, I found a fantastic old, chippy iron fixture and grabbed it immediately. I know you would have grabbed it, too (and possibly have taken it away from a Hipster couple while they had their backs turned, as I did). It reminds me of an old cathedral.
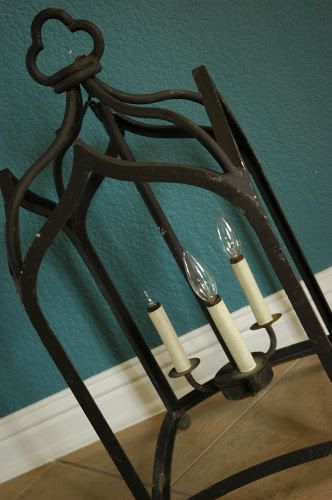
There was no glass in the fixture, but if there was, I would have needed to remove it. You can also spray paint the fixture a different color if you are dealing with something that is, say, bright gold.
So, I just started by removing all of the electrical elements and innards. And by removing, I mean just unscrewing the lightbulb holder thingy-ma-jigs and cutting the wires with wire cutters. There’s no need to get fancy.
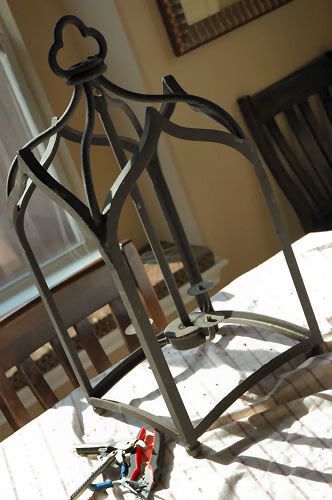
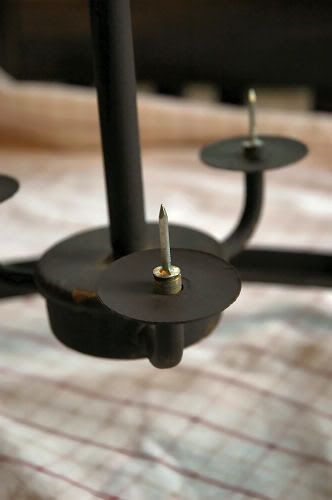
Then, after cleaning the fixture with a soapy water solution, I epoxied a short, thick roofing nail to each arm. I stuffed a tiny piece of paper towel into the old screw holes so that the epoxy wouldn’t drip too far down inside the arm. Epoxy takes about 24 hours to fully set, so super glue may have been a better adhesive to use. Live and learn.
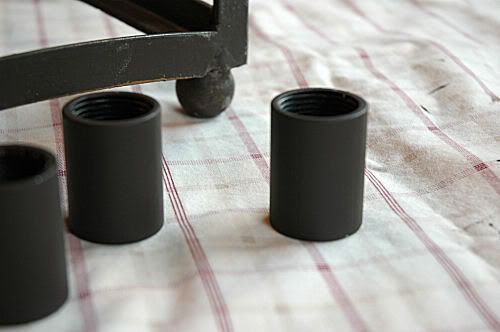
I wanted to make my candelabra look as authentic as possible, so I found some metal couplings in the plumbing fixture section of Home Depot (mine are 3/4 inch wide if you go looking for them) to use as faux candle holders. After testing to make sure my candles would fit inside of them, I primed them with spray primer and then mixed up some acrylic craft paints to get a shade as close to the rest of the fixture as possible. I gave each primed coupling a couple of coats of paint.
After the epoxy was dry, I tried to stick my white taper candles on top of them. Unfortunately, I broke a candle doing that because they were too hard to slide on. So, my genius husband came up with the idea of drilling a hole in the bottom of the candles.
We drilled holes the same size as the nails into the end of the candles and then used the extra shavings to pack the holes so they would hold tight onto the nails. The candles then slid on easily. Just be sure to drill your holes straight! If your candles are too tall, you can also cut a piece off of the bottom with a knife and cutting board.
Once the candles were on the nails, I slid a painted metal coupling over each one.
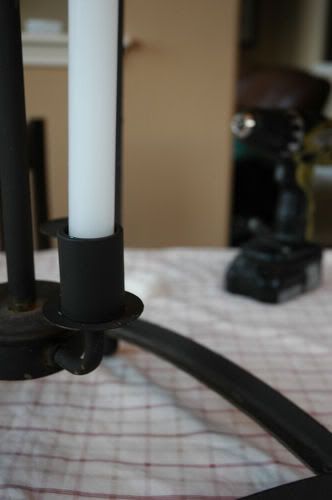
Now, my new candelabra is ready to join it’s friend, the homeless PB Knock-Off Mirror, at the blue-walled alcove in my entryway. Honestly, I have a plan for that alcove, but I’m missing a vital component – the piece of furniture it’s all going to sit on. Regardless, don’t you love the mirror and candelabra together?
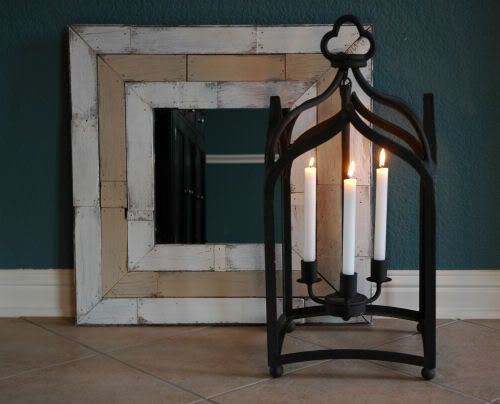
Am I the only one who puts together vignettes before I have the furniture that they are actually going to be put on? Yeah, I probably am. Have no fear, as it will all eventually come together.

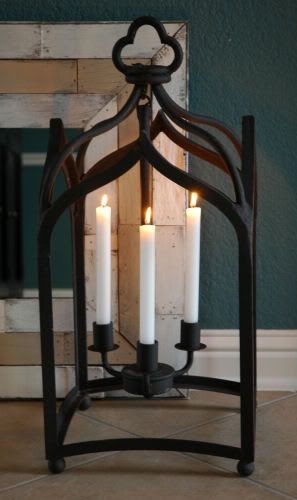
I am so pleased to have given this forgotten beauty a new purpose, and I’m even more happy that it came out looking just like something that would have cost me $100 at an antique store. That old, chippy light fixture just lights my fire.