Makely

Let's Make Life Awesome

  • Home
  • Decorating/DIY
    • Create Your Decor
    • Decorate Your Home
    • Paint Your Walls
    • Transform Your Furniture
  • Healthy Living
    • Essential Oils
    • Family Wellness
    • Household Care
  • Project Gallery
  • Contact
You are visiting: Home » Decorating/DIY » Page 233

Burlap Covered (and Slightly Chewed On) Thrift Store Basket

by Lindsay Ballard on September 14, 2009 3,228 Comments

This past Spring, I found a few really nice baskets at Goodwill at even nicer prices. I was so excited to transform them into something fun.

And then one of my dogs feasted on one before I even got them upstairs to my craft room or take ‘before’ shots of them. Do you remember that story? Some days, I feel like that’s the story of my life. Sigh…
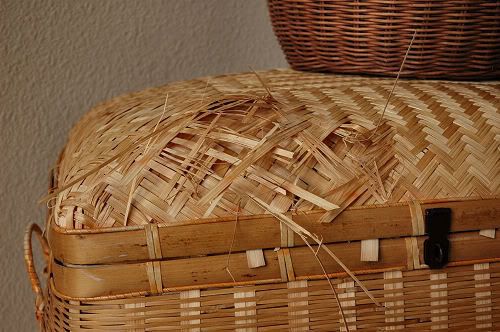
Being as that the chewed up basket didn’t fit into my original transformation plan, I just stuck them in a corner of my craft room and forgot about them until I was cleaning out that room a few weeks ago. I was suddenly struck with inspiration for the larger of the two baskets. However, since the dog had already partially ruined my $3.99 treasure, I decided that I didn’t want to spend anymore money on supplies in case it didn’t work out.

I carried the basket into the backyard and spray painted the sides and bottom. I wanted it to be an antique white, but I only had half a can of American Accents Antique White and half a can of Krylon Fusion Dover White. So, I used up one can and then used up the other. They are close enough to the same color that it worked just fine. Spray paint is so darn amazing!
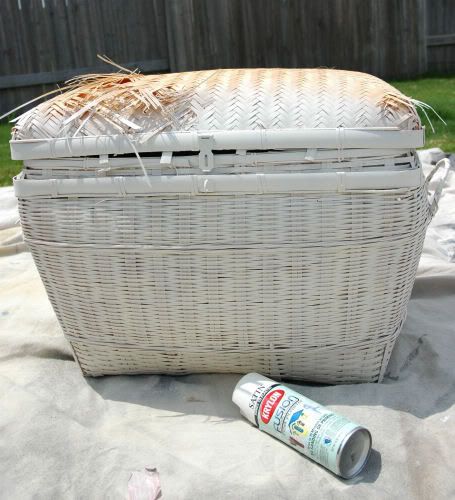
After it was dry, I brought it back inside and cut off as much of the damaged section as I could.
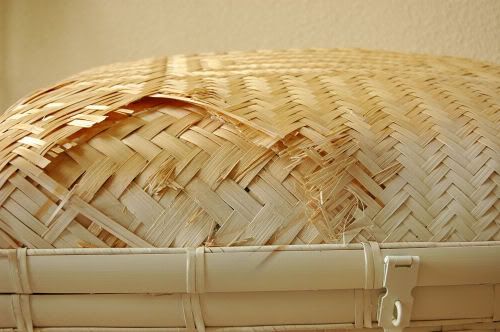
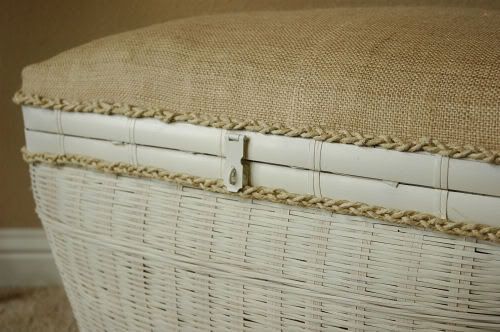
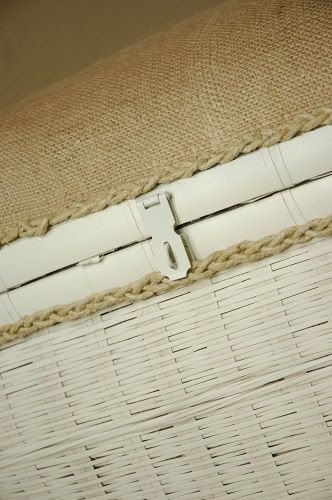
Then, I took a left over piece of burlap and recovered the top. First, I used my glue gun (of course I did!) and glued it so that that it was flush with the trim around the top of the basket.
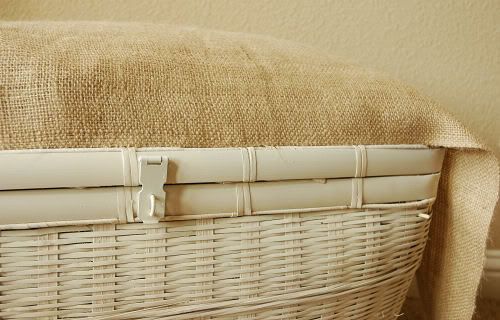
I pulled it taught across the top of the basket (after adding a little piece of batting to the damaged part so that it wouldn’t cave in), cut the burlap to fit, and hot glued it to the back. I did the same thing to the sides, and it left me with little burlap wings on all four corners.
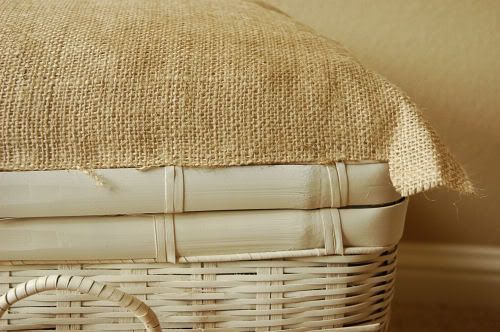
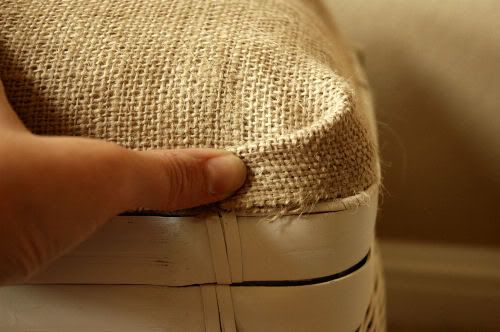
I folded each wing inwards and hot glued them in place, so it looks a little like a wrapped present on each side. There may be a better way to go about this, but since the shape of the basket is curved and I’m lazy, this is what I came up with.
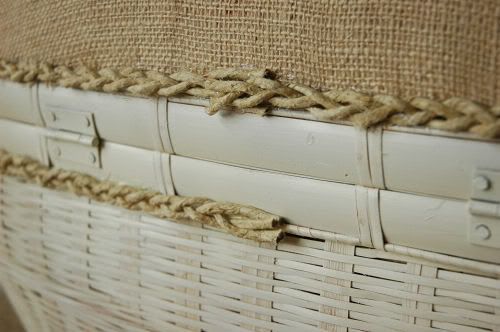
Then, I decided that it need something to make it look more finished, so I found a ball of jute twine I had on hand and made braided jute trim. I measured around the basket one-and-a-half times and cut 6 pieces of twine that length. I put the ends of three pieces under a chair to keep them anchored and braided them together. Then, I glued them around the basket. I did one band of trim on top and one band of trim on the bottom, securing them with hot glue on the back.
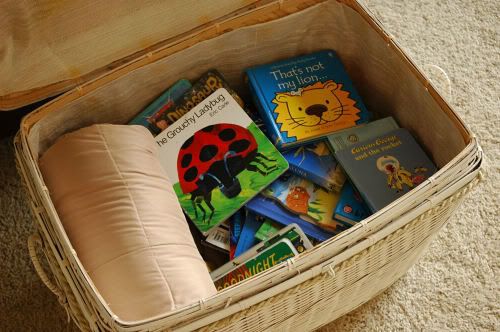
The inside of the basket was lined with some sort of plastic-like fabric, so I wiped it down and added our living room throw blankets and Zack’s assortment of random books that he can never seem to put back on his bookshelves.
I’m working on lightening up my living room because we have a lot of dark furniture, so I put this on the side of our couches. I think it serves a great purpose and it’s a pretty accessory. The greatest part is that now the dog wants absolutely nothing to do with it. Win-win!
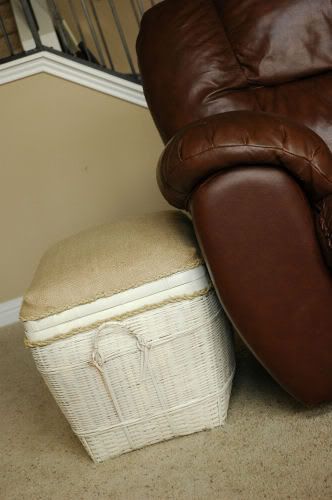
Not bad for a destroyed $4 basket, huh?

This was extremely easy to put together. Head on over to your local thrift store and challenge yourself to update a thrifty purchase with items you already have on hand. I bet you’ll surprise yourself!

P.S. I’m adding this to Today’s Creative Blog’s “Get Your Craft On” Party…

…and to Kimm’s “Trash to Treasure” Party over at Reinvented…

…and even to Kimba’s “DIY Day” Party!

I’m just a partyin’ kinda gal, I guess!


Wood Epoxy Putty: Play-Doh for DIY Grown Ups

by Lindsay Ballard on September 10, 2009 2,628 Comments

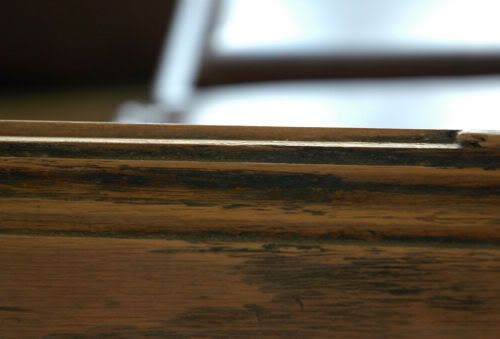
Have you ever had a picture frame with a broken corner? Has the leg of one of your chairs ever gotten gouged during a move (or through the course of your daily life)? Have you ever started to work on the ugliest free coffee table in existence and found a 6-inch section of moulding was missing?

If you answered ‘yes’ to any of these questions, I’d like to introduce to you to my new friend – wood epoxy putty.

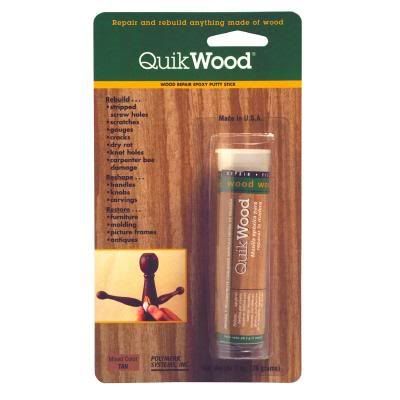
Found at home improvement stores, it comes in a tube and can be kneaded and molded just like modeling clay. You can use it to repair wood imperfections and it can be sanded, painted, stained, and drilled in an hour. In other words, it’s simply magic.


QuikWood

I’m sure there are several different brands, but the brand I use is QuikWood. I found it in the paint section of Home Depot and it cost about $3 a tube.

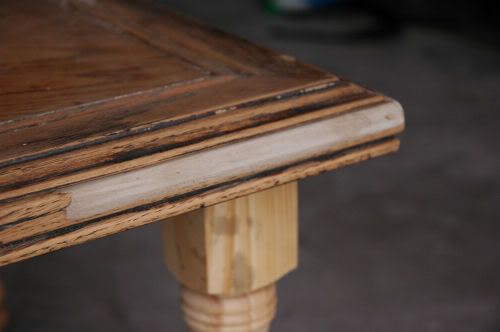
Following the directions, it only took me about 10 minutes to repair my table. On a plastic cutting board, I cut a piece of putty about an inch long, kneaded it together like Play-Doh, and then just stuck it on my table where the bit of moulding was missing. I made sure to build it up enough so that it was slightly higher than the existing moulding.

Once dry, all I had to do was sand it to get it level and even with the rest of the moulding.


Clearly, the table needs to be painted, but once it’s all the same color, you will never be able to tell that this piece of moulding was repaired. See? I told you it was magic! Once my table is finished, I dare you – dare you – to find the spot I repaired. You totally won’t be able to do it.

Wood epoxy putty has opened up a new world to me. Before, I only knew about wood filler, which has nothing on wood epoxy putty. Are you ready to run out and buy some to try right this very minute? Yeah, I thought so.

« Previous Page
Next Page »
  • Email
  • Facebook
  • Instagram
  • Pinterest
  • Twitter

About Makely

Lindsay Ballard is a former college mascot turned political geek turned roller derby playing, DIY fanatic.

Lindsay chronicles her projects, design ideas, and lifestyle tips here at Makely, where she shares tutorials and inspiration. Her DIY designs are bold and graphic, while her spirit is fun and full of color.


Archives

Categories

PRIVACY POLICY
Copyright © 2009-2019 Makely School for Girls | All Rights Reserved | Posts may contain advertising content or affiliate links