After tackling our living room, kitchen, dining room, master bedroom and sewing/craft room, my son Zack was feeling a little left out. “When are we going to do a craft for me, Mama?” he asked.
Who could resist that question?
I’ve been wanting to work on Zack’s room for a while. It’s very boring with the highly-functional-but-blah blonde furniture and builder’s beige walls.


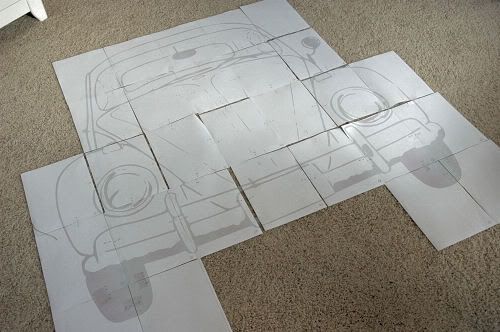
On the computer, my husband enlarged it to the size I wanted (the widest part of the car slightly larger than the width of Zack’s existing headboard), but it probably would have been easier to rent an overhead projector from the library and enlarge it that way. It printed out over several (like 30!) pages, so I taped them all together so that I would have one very large image.
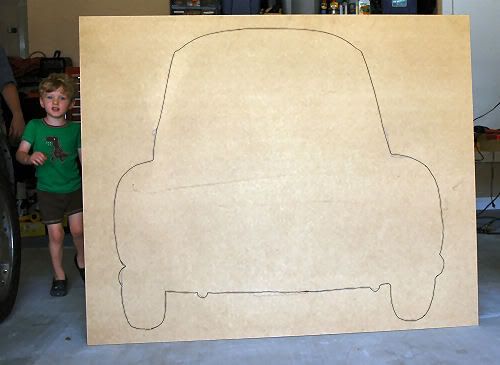
Yes, Zack is already excited about his car, although at this point he had no clue about what was going on.
3. Using the jigsaw, we cut out the outline so we would have a perfect car shape. Visit my guest post over at the Blah Blah Blahger to learn all about how to use a jigsaw. It’s so easy!
After cutting out the shape, my husband used his router to slightly round the edges of the car so that there wouldn’t be any sharp corners. This step is completely unnecessary, although it did give it a nice finished look. I think he just wanted an excuse to use his router.
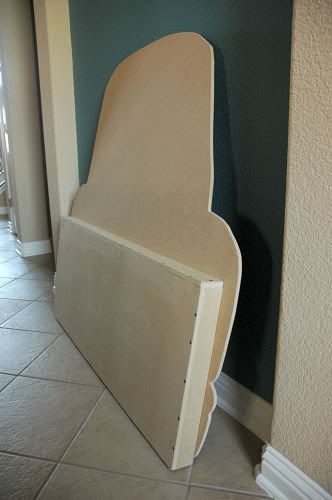
4. Tom created a “slipcover” of sorts so that the new headboard would just fit on top of the existing headboard. He took the measurements of the boring headboard and basically made a slightly larger little box out of MDF and screwed it to the back of the car. This will allow us to add the new headboard without damaging the old headboard.
5. Next, I primed the car and drew in the details, such as the headlights, bumper, windshield, etc. I was originally going to get very detailed with the, um, details, but when I realied how long that was going to take, I decided to take it simple. I used my super fantastic newspaper tracing trick and it took no time at all.
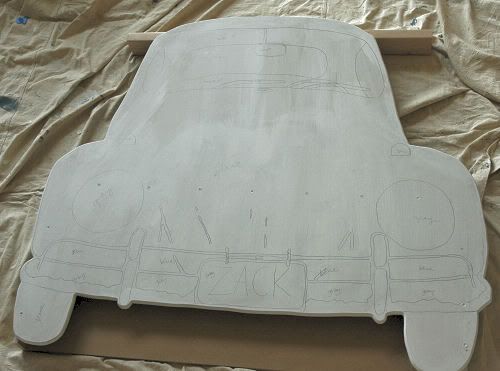
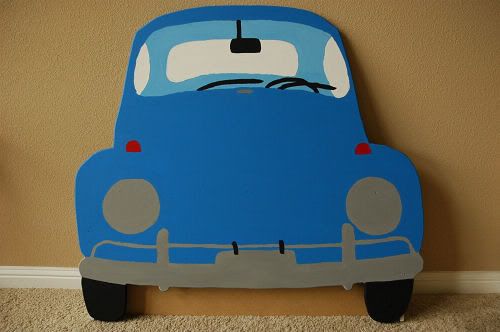
6. Using the basic acrylic paint that sells for under a dollar a bottle at the craft store, I painted the car with foam brushes and small bristled artist brushes. I was able to do the entire thing with four bottles of paint – bright blue, white, black, and red. I mixed the colors in little disposable plastic bowls to form the different shades I wanted to use.
I also had the most adorable dog in the world assist me. Look how mistreated he is. He just wanted to play ball, but mean ‘ole Mama was busy painting. Everyone say ‘Hi’ to Duke!
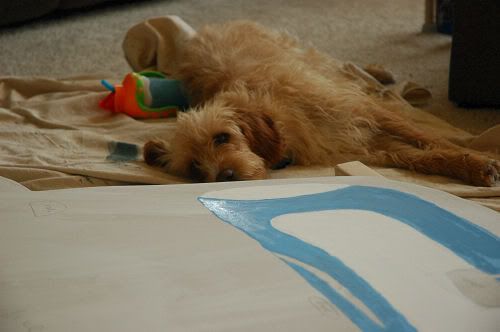
When painting, I started with the lightest color and worked out to the darkest color. That way, I wasn’t so worried about having one color bleed through another if they overlapped a bit (I am so bad at painting inside the lines). I did two coats of each color before I moved on to the next color.
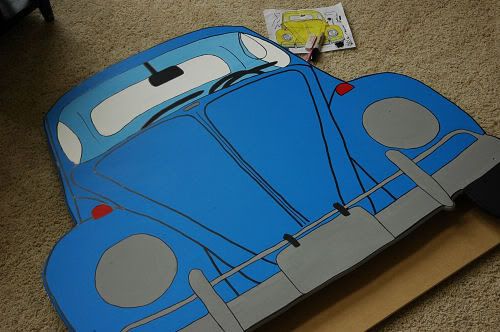
7. The next part is where I got REALLY nervous. I outlined each of the details I painted with a black permanent marker, which was pretty simple. But then, I had to freehand all of the other details, such as the lines on the hood. I drew them with a pencil before I used the marker, and I learned that I could use a white eraser to erase any stray pencil lines without messing up the paint. Score!
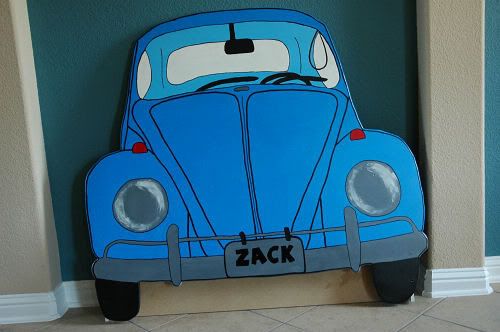
10. Now, all that was left to do was to just slide it on Zack’s existing headboard!
Remember the before?
Well, here’s the after!
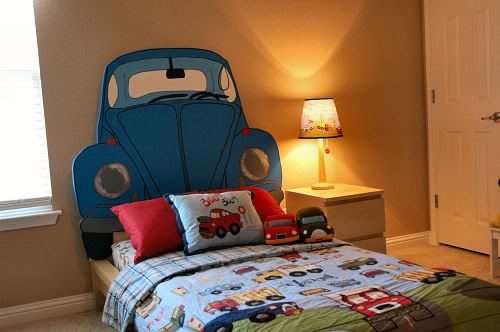
What do you think? Do you think your little one would like a bed like this? I think mine does.
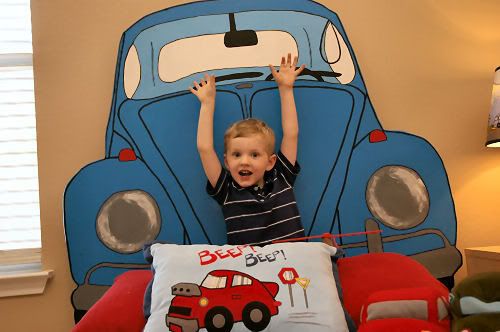
Brainstorm about all of the adorable shapes you could use to make your own custom headboard – butterfly, princess tiara, soccer ball, baseball cap…the ideas are endless. This is such a simple project, but it creates so much fun in a little one’s room.
Do you think you’ll try this at home?
I’ve added this post to Kimba’s DIY Day over at A Soft Place to Land. Head on over to her site to see some wonderful DIY projects!