Back in my pre-kids, pre-dogs, pre-husband, pre-house days, I went to spend a long weekend with my sister in her Florida college town. I had graduated from college, but she was still getting her degree (she’s 4 years younger than me). It was a fun visit where I met some of her friends who I had heard so much about, including her fun roommate, Kristin.
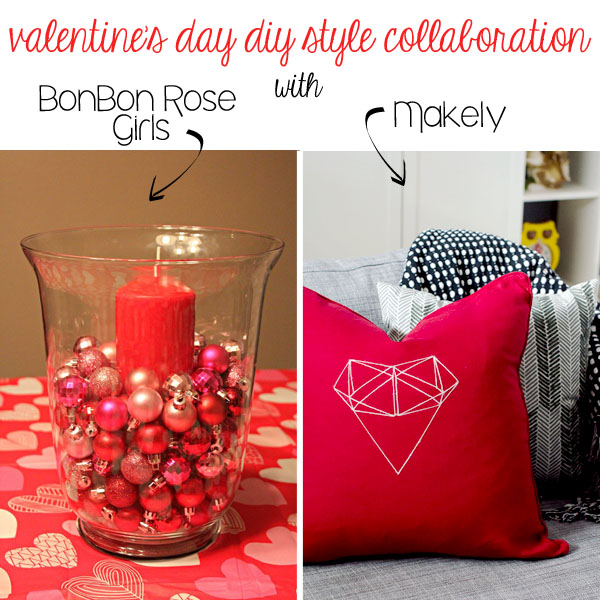
Fast forward what seems like 100 years later. I now have a house, kids, dogs and a husband…and a blog. And so does Kristin. She’s a lifestyle blogger who focuses on fashion and beauty at BonBon Rose Girls, and I’m in charge of all the DIY craziness that you find here at Makely. We are partnering together today with a Valentine’s Day DIY style collab. We both made easy projects that we are sharing today.
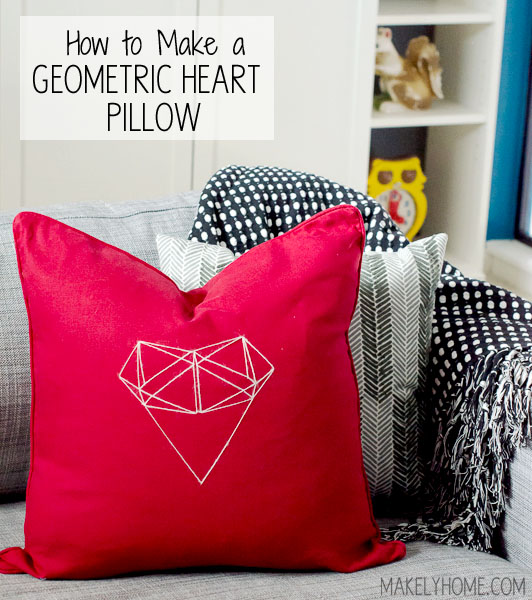
I’ve had the idea for a geometric embroidered pillow rattling around in my brain for a while, but I finally sat down and made it happen. I began with a red pillow cover that I bought at Ikea. I could have made my own, but I was too lazy for that.
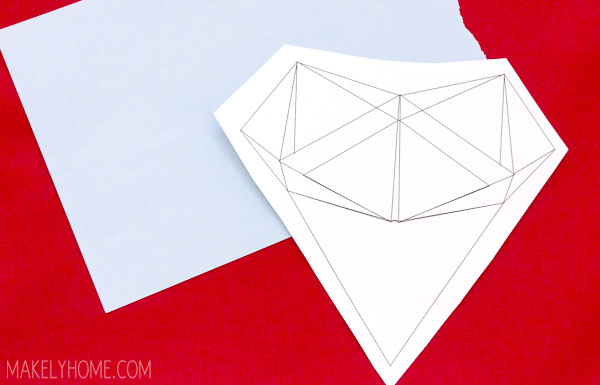
Next, I designed a geometric heart in Photoshop. Lucky for you, I have the design available as a free downloadable template so you don’t have to do that work. Click here to download it to your computer and just print it out.
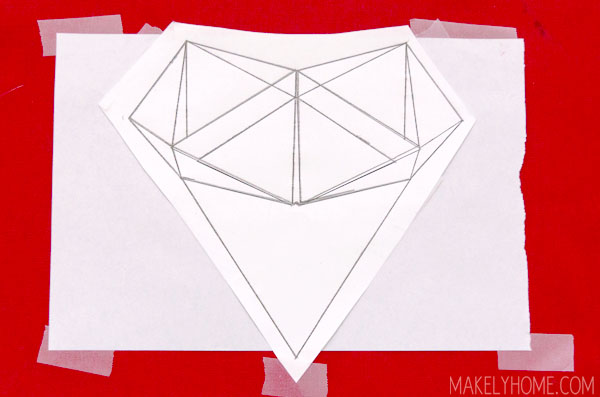
Then, I needed to transfer that design directly onto the pillow cover. I used dressmaker’s tracing paper that I had on hand, but you may be able to rub your pencil on the back of the printed design and transfer that way (maybe someone can let us know in the comments if that works on fabric or not?).
To transfer, I taped the tracing paper face down on the pillow cover and then taped the heart on top of the tracing paper. I used a straight edge and a pencil to trace all of the lines on the heart.
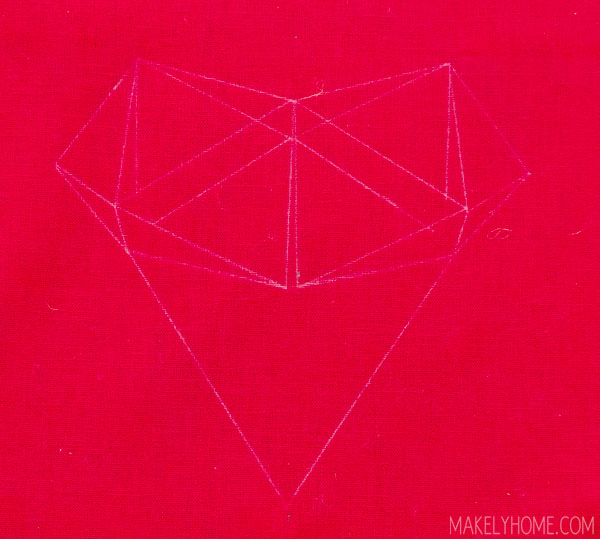
When I pulled the heart and transfer paper off of the pillow, I had the design on my pillow.
Then, I used a needle and some off-white crewel wool, because it’s what I had on hand. You can definitely use embroidery floss to do this instead. Start on the back of the heart (the inside of the pillow) and just stitch each line with long lengths of wool. Here it is halfway done.
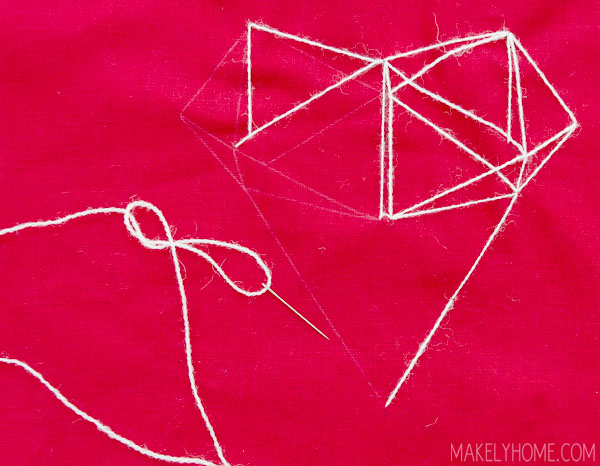
The trick is to make sure that you keep the pillow flat while you are stitching. You don’t want it to pucker around the embroidery when you are finished, so you don’t want to pull the thread too tight.
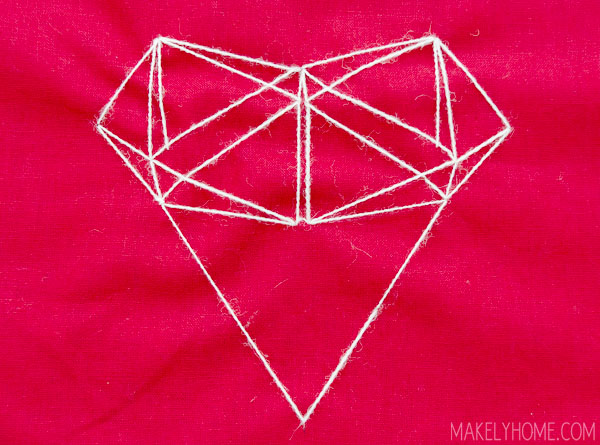
This is what it looks like when the stitching was finished. The stitching took me less than 30 minutes to do.
Once the embroidery was finished, all I had left to do with put an insert in the pillow cover. I am very pleased with how it turned out!
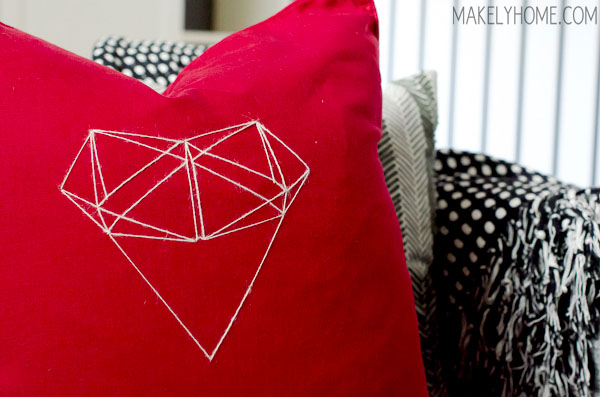
Upon seeing it, my 3-year old, Emma, told me she thought it was a diamond. Seven-year old Zack said he thought it was a shark tooth. So, maybe it’s a shark tooth heart shaped diamond? I don’t know. But, I think it’s awesome regardless.

Now head over to BonBon Rose Girls to see Kristin’s lovely budget-friendly Valentine’s Day centerpiece!
Are you ready to decorate for Valentine’s Day? Do you think that you might give my pillow a try?
I found your site two days ago through pinterest. You do really great work. I thought I would share my “technique” for transferring designs. I will print or copy a design on low quality copy paper or wide-ruled paper and just embroider through it, especially if the design is not too detailed. This works best on flat projects and I don’t use the good quality paper because it tears much easier (and I’m cheap). When you’re done just tear the paper off. I’m told that perforating your paper with a sewer’s tracing wheel and then rubbing over the holes with chalk works well, though I’ve not tried it personally.
Oh, those are both really smart techniques that I hadn’t thought of. Thanks, AJ!
You’ve almost made me think I could do this. Haha! This pillow would look fab on my family room couch! Hmmmmm
Do it, girl! XOXO
Lindsay, I heart this :). If someone doesn’t have transfer paper, they can probably run the back of their heart print out with white chalk and then trace it with a pencil. The chalk should clean up afterward with a damp cloth.
Very smart, Jackie! I didn’t think of that. Thanks!
I’ve done it that way before and it totally works.
how fun!!! I’m a big embroidery fan! This turned out awesome!
I’m a little behind on my blog reading but I love this idea! A LOT!
I apatpciere you taking to time to contribute That’s very helpful.
Good – I should definitely pronounce, impressed with your site. I had no trouble navigating through all tabs and related info ended up being truly easy to do to access. I recently found what I hoped for before you know it at all. Quite unusual. Is likely to appreciate it for those who add forums or anything, site theme . a tones way for your client to communicate. Excellent task..