I have eleventy billion things to do around my house – shelves to hang, walls to paint, furniture to overhaul. But sometimes, you just need a little project to make you feel like you got one entire project completed in a single hour, right?
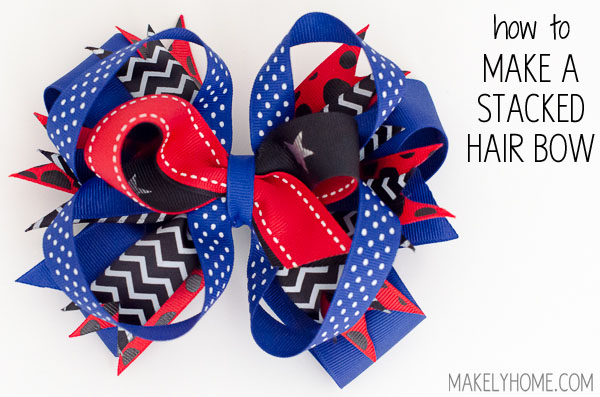
Meet my newest obsession – over the top hair bows. I have had a bow in Emma’s hair since the moment she had hair, but as she gets bigger, her bows are getting bigger, too. I’ll use any excuse to put a bow in her hair. Actually, I don’t really need an excuse. I just do it.
Today’s “excuse” is to match a team t-shirt. My son, Zack, is involved in a creative competition through school, and his team has matching t-shirts to wear. Because my husband, Tom, and I are the coaches, Emma has a shirt, too (the team calls her their mascot). I decided to make coordinating bows for all of the girls on the team (plus Emma) to wear on competition day. What a great excuse to make four bows!
I learned how to make these stacked hair bows from a fabulous set of videos on YouTube that makes tying the bows SO easy. I’ll show you the steps I went through to make this one, and link to each video that I used to make each part. I bought all of my ribbon at Jo-Ann.
1. The Base
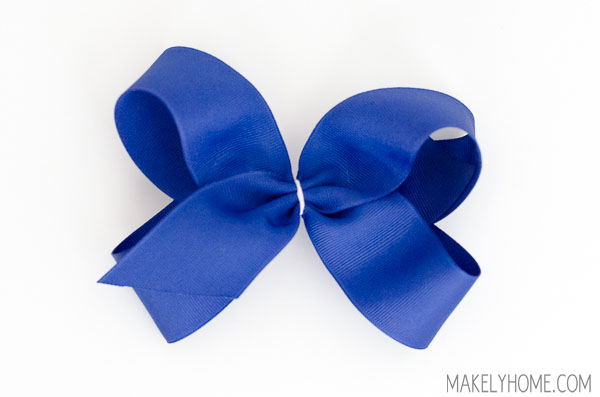 I used 36″ of 1 1/2″ width grosgrain ribbon to make the base for the bow and tied it off with white thread. Click HERE for the video tutorial for the directions on tying the base of this bow.
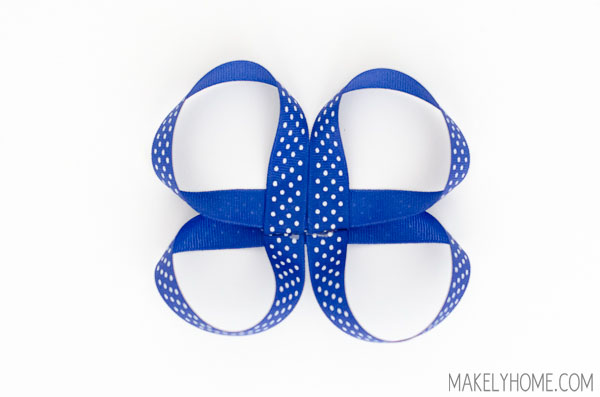
2. The Pinwheels

I used about 18″ each of 7/8″ width ribbon for these pinwheels. The red and black is grosgrain, and the chevron is satin-y. I also tied these off with white thread. See the video tutorial HERE to make this part of the bow.
3. The Loop de Loop
I used about 18-24″ (I forgot to measure) of 5/8″ width grosgrain ribbon for the Loop de Loop. It is put together with hot glue. Click HERE to see the video tutorial for this part.
4. The Twist
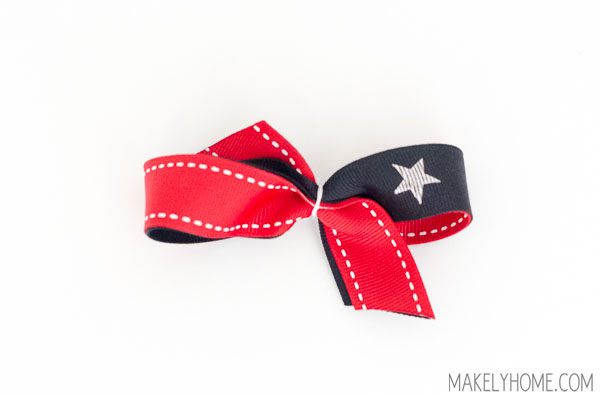
I used about 18″ (again, forgot to measure) of 7/8″ grosgrain ribbons (2 colors) to make the Twist. I secured this one with white thread. See the great video tutorial HERE on how to make this section.
5. The Assembly
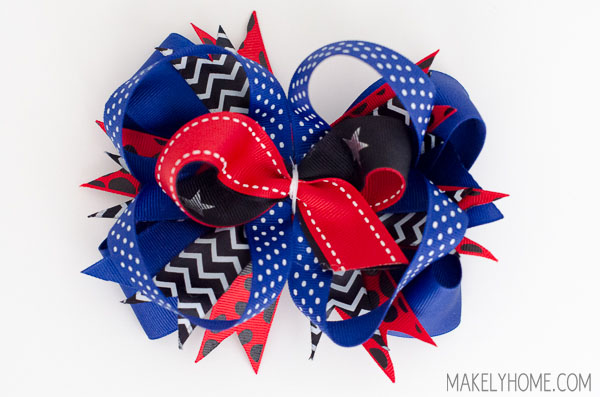
Now, it’s time to assemble! I hot glued the Pinwheels to the Base and wrapped white thread around the bow. I then hot glued the Loop de Loop on top and wrapped thread around it. Then, I added hot glue on the Twist and wrapped thread around the whole bow.
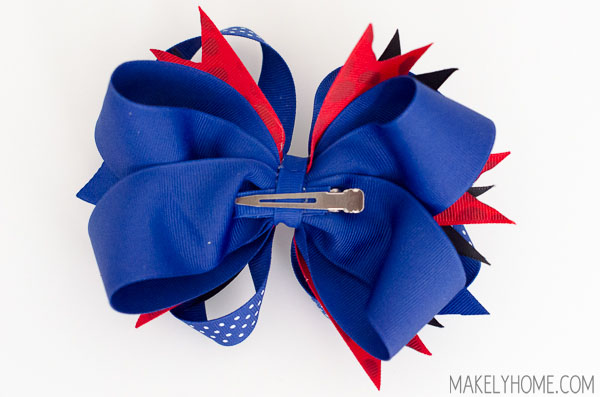
Next, you cover an alligator clip with 3/8″ ribbon, hot glue it to the back of the Base and wrap with thread again. Click HERE to see the video tutorial I used on how to assemble and cover the clip.
Once the clip is attached, I wrapped the 3/8″ ribbon around the bow and clip and hot glued it in place.

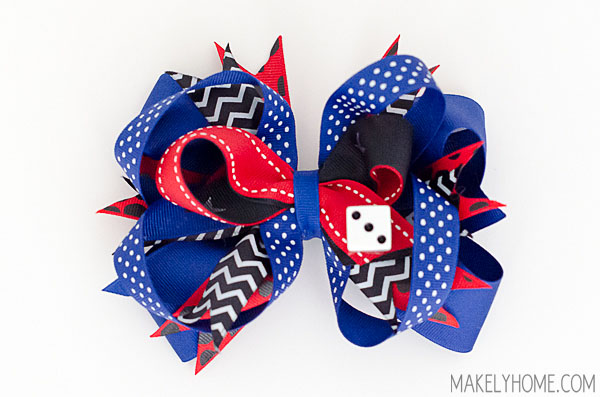
6. The Embellishment
I think the bow looks fabulous as is, but I decided to add a little embellishment. The kids’ named their team “Candy Dice,” so I thought it would be cute to add a little die to the bow. I hot glued one onto one of the Twist tails.
And that’s it! I think it turned out so cute, is totally custom, and is SO much cheaper than buying these bows in the stores. To buy my favorite big bows for Emma, which are just a Base single color, I pay about $10. When you are making your own bows, the up front cost is a lot to buy the ribbon, but I made 4 bows out of 1 roll of each of these ribbon rolls (except the 1 1/2″ – I needed 2) and still have lots of ribbon left to make different variations in the future for other bows for Emma.
Do you make hair bows for your daughter/grand daughter/niece/cousin/friend? How do you make them?
That is an awesome bow! Thanks for sharing the tutorial! I may have to make one (or one dozen) for my 3 year-old.
this website won’t pull up on my computer will someone help me