Makely

Let's Make Life Awesome

  • Home
  • Decorating/DIY
    • Create Your Decor
    • Decorate Your Home
    • Paint Your Walls
    • Transform Your Furniture
  • Healthy Living
    • Essential Oils
    • Family Wellness
    • Household Care
  • Project Gallery
  • Contact
You are visiting: Home » Project Gallery » Page 63

Covering a Self-Adhesive Lamp Shade

by Lindsay Ballard on November 3, 2011 2,108 Comments

I have just ended the most frustrating and agonizing search for lamp shades that has ever been.  And that was preceded by the most frustrating and agonizing search for table lamps that the world has ever seen.  Yes, only *I* could create such agony over something so trivial.

Anyway, I found my mid-mod lamps at the famed Austin City Wide Garage Sale.  They were exactly what I had been looking for – perfect shape and perfect color – if you could ignore the imperfect floral detailing.
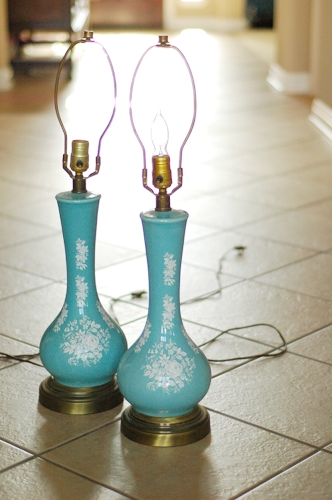
I figured I would just have to repaint them.  But in the process of rewiring, I discovered that I could just turn the floral design around to the back of the lamp since the original back was just plain blue.  Nice!  I just sprayed the bases silver and thought all of the hard work was done.

WRONG!  Do you know how hard it is to find shades for a lamp of this shape?  Nearly impossible.  A traditional drum shade was too wide if it was tall enough and too short if it was skinny enough.  I looked at just about every store in town that sold lampshades, and must have brought home and returned half a dozen shades.  I searched online and found one (ONE!) possibility, but it was going to be $35 for shipping alone for one measly shade – and I needed two.  Yikes!

Out of desperation, I checked out the “self-adhesive” lamp shades that I had seen a while back in the fabric section of Hobby Lobby.  I’ve never needed to use these DIY shades before because I’m a white lampshade type of gal.  Lo and behold (and quite randomly, I’ll add), they had the exact shape and size of shade I was looking for.  And then I went to 3 other Hobby Lobbys to find another, but a girl’s got to do what a girl’s got to do.
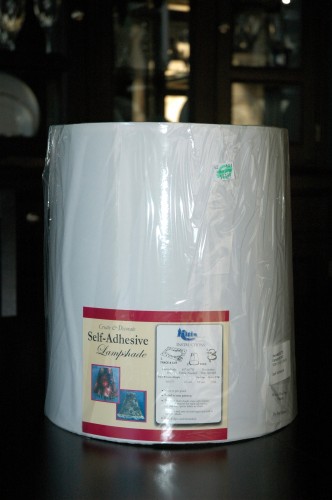
Have you used one of these self-adhesive lampshades before?  They are quite easy to assemble and come in an array of sizes.

How to Cover a Self-Adhesive Lamp Shade

1.  The label on the shade should tell you how much fabric and trim you need for your shade.  I say should, because mine was actually labeled incorrectly.  Regardless, it’s pretty easy to figure it out yourself with a measuring tape.  I used a yard of fabric and about 6 yards of bias tape for 2 shades.

2.  Unwrap the shade and carefully remove the waxed paper covering stuck to the sticky side of the shade.  That paper serves as the pattern for cutting your fabric.  Iron your fabric if it’s wrinkled, pin the pattern on top of it, and just cut it out.
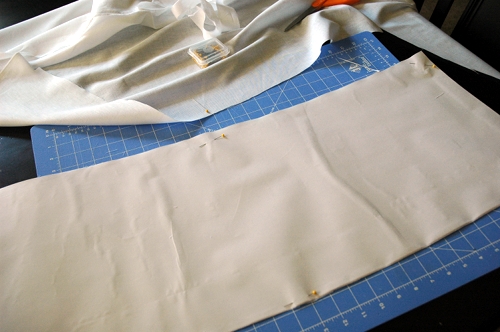
The instructions on the shade’s label say to add 1 inch all the way around, but you definitely don’t want to do that.  If you do, you’ll have way too much fabric to trim off at the end.

3.  I was using white linen, so I ironed my cut out piece (again) after I cut out the pattern.  Then, I laid it flat on the table and centered the lamp shade on top of it with the seam of the shade facing directly up.  If you are an OCD perfectionist, you’ll want to measure and find the exact center so that the 2 ends meet at the seam.  If you are like me, you’ll realize that the back of the shade will face the wall and life’s too short to worry about stuff like that.
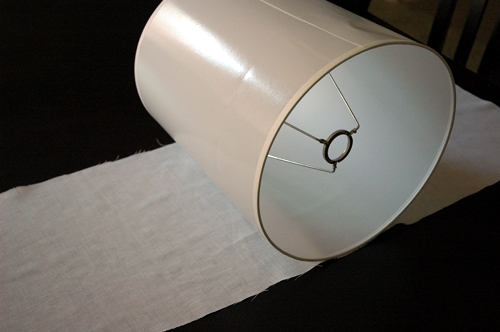
4.  Use one hand to hold the end of the fabric taught, and gently roll the shade towards that hand.  That side of the shade will stick to the fabric.
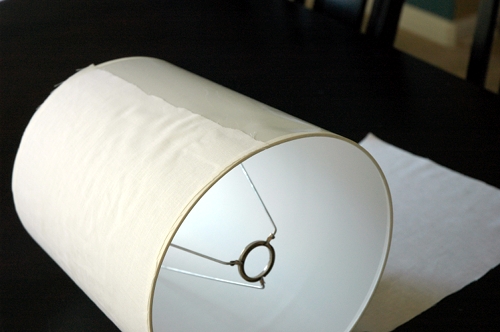
There may be some bubbles in the fabric at this point, but that’s okay.  Reverse the process and roll the shade to the other side.
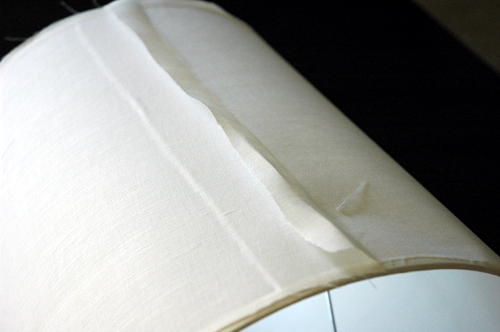
You can now take your hand and gently smooth out any bubbles in the fabric.  You’ll also want to trim any excess fabric off the shade on the top, bottom and back.

5.  Take a strip of bias tape close to the color of your fabric and use it to hide the seam on the back of the shade.  You can just run a bead of hot glue down the seam line and attach it.
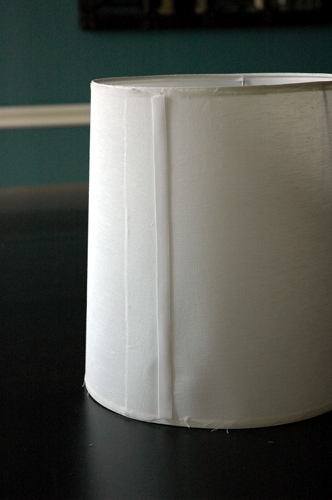
{Yes, I know the shade is dented.  It’s on the back.  THREE Hobby Lobbys to find this, folks.  Desperation.}

Lastly, do the same thing around the edges of the shade.  Unless your shade is the same width around the top and bottom, make sure you use bias tape instead of ribbon (which will pucker).  You can buy packages of Wrights bias tape at most fabric stores, and it comes in an array of colors and widths.

I think my new custom shades look great on the vintage lamps.  The gray trim is the perfect touch for the room.
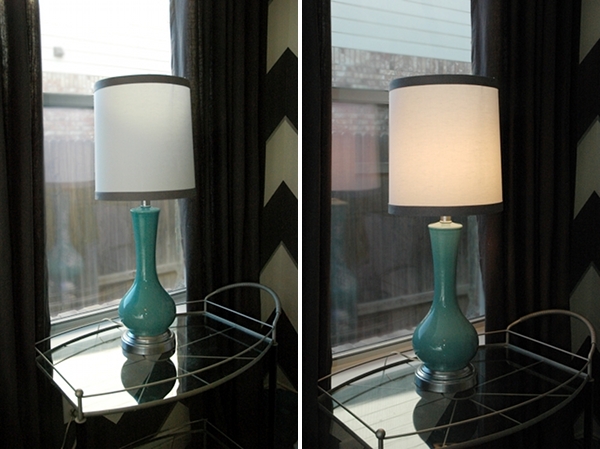
Have you used a self-adhesive shade before?  Did it go off without a hitch or did you run into any problems?
{31 Days to an Eclectic Home} Day 30 – Rehabbing a Tired Chair

by Lindsay Ballard on October 30, 2011 2,054 Comments

Today is Day 30 of a 31 day series on creating and cultivating an eclectic home.  For some crazy reason, I have accepted The Nester’s challenge to write on the same theme every day for the month of October.  This may end up killing me.  Or you.  But, I appreciate you reading and welcome your comments.

Not too long ago, I assigned some homework to you guys.  I wanted you to find a chair to rehab so you could bring some great color into a room in your home.  As far as I’m concerned, a piece of painted furniture is one of the easiest yet most substantial changes you can make when you are aching for some color.

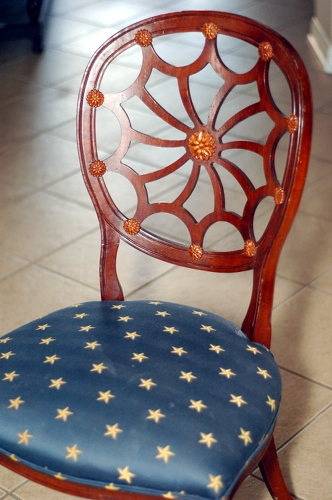
I, too, found a tired chair.  She was thrown in the corner of a little shop here in town, with several other items stacked on top of her.  She needed to be rescued.

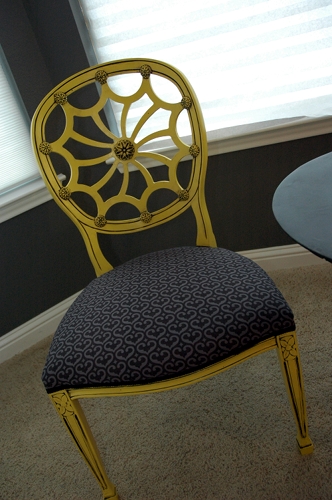
Oh, the poor little chair.  She had so much potential, but she desperately needed a makeover.  Over the course of just a few days, she found a new life and now adds a fun touch to my bedroom.

How to Rehab a Tired Upholstered Seat Chair

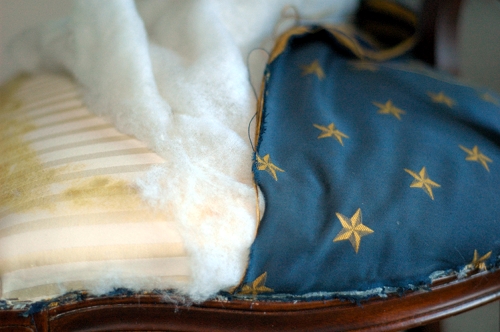
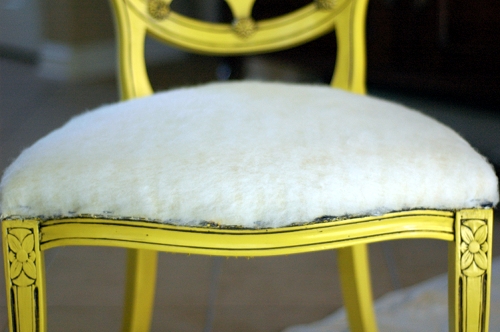
1.  I began by removing the yucky upholestry from the chair.  I didn’t worry about pulling out the upholestry staples.  I just used my scissors and cut off the top layer of fabric and the batting.  This revealed an original layer of fabric (this chair was being made over for at least the 3rd time), and I just left that one in place.

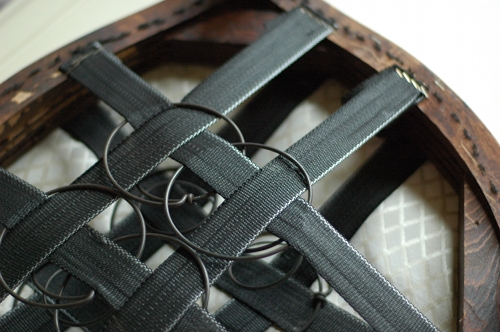
The dust cover on the bottom was also ripped, so I removed it the same way.  If it had been in good shape, I would have just left it alone.

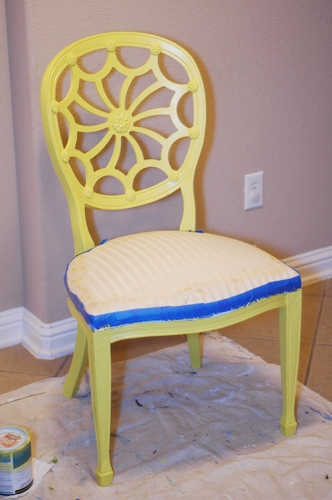
2.  Next, I sanded the wooden frame of the chair to remove the shine and years of grime.  I sanded with a 150 grit and then a 220 grit sandpaper.  I wiped the chair down with a wet cloth between each sandpaper grit and when I was finished.

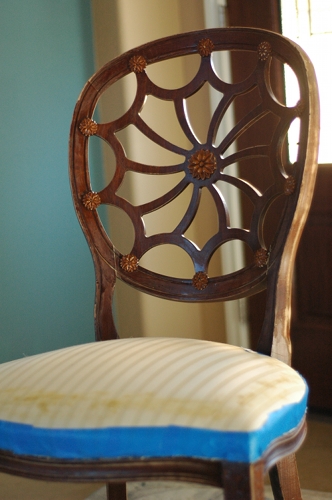
In order to prep the chair for painting, I used ScotchBlue painter’s tape to tape off the fabric around the frame.  This isn’t absolutely necessarily, but I didn’t want to get a lot of paint on the fabric I was leaving on the chair.

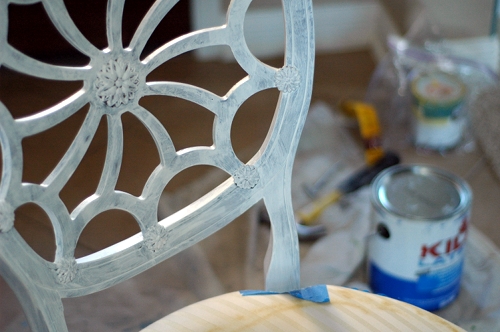
3.  I primed the wooden frame of the chair with Kilz primer and a Purdy paint brush.  I prefer to prime wooden pieces with a brush or roller instead of using a can of spray primer.  It’s a personal preference, but I think the finish is much smoother when done by hand.

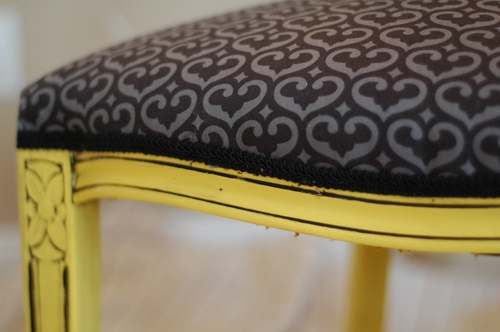
4.  I had some of the yellow paint left over from my dresser rehab, and I used it to paint the chair frame once the primer was dry.  Again, I just used a paintbrush.

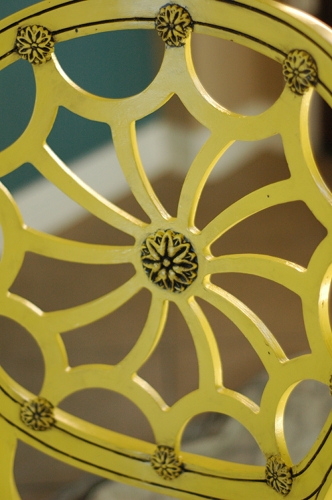
5.  I decided that the chair needed a little depth so I {surprise! surprise!} glazed the detailing with my favorite Ralph Lauren glaze tinted to Black Silk.  I used a cheap chip brush (not my Purdys!) and dabbed the glaze into the detailing.  I worked a section at a time dabbing, wiping with a wet cloth, wiping gently with a dry cloth, and wiping only what I wanted removed with another wet cloth.  Once you have the technique down, glazing is quick and easy (although I was really scared the first time I ever attempted it).

When the glaze was dry, I added 2 coats of glossy Minwax Wipe-On poly.

6.  After the poly was dry, I sprayed some spray adhesive onto the original fabric (see why I kept it?) and laid a thin sheet of craft batting on the top.  I stapled it above the frame in a few places.  If you have access to a pneumatic staple gun (one that attaches to an air compressor) you definitely want to use it.  Otherwise, you can use a regular staple gun, but just be prepared to remove about 4/5 of the staples that don’t go in all the way.

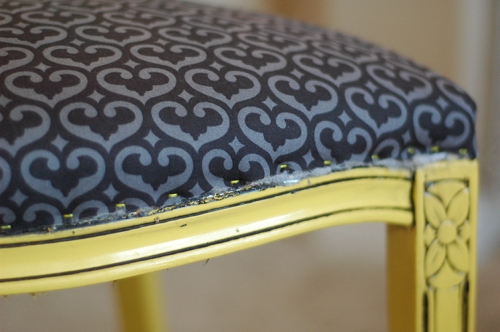
7.  I laid the fabric over the batting, stapled it on one side, pulled it tight, and then stapled it around the frame.  I cut away the excess fabric as I went around each side.  Again, this step is made ridiculously easier with a pneumatic staple gun.

8.  Lastly, I applied a thin bead of hot glue over the staples and attached some gimp trim.  It finishes the look and hides all of those staples.

9.  My local fabric store was out of the type of fabric I like to use for a dust cover, so I haven’t added that yet.  I bought some plain cotton fabric to use, but I really like to use dust cover fabric so I’m going to wait until it’s back in stock.  I will just staple it on the bottom of the chair, folding the raw edges to the inside of the chair.

That tired little chair, once neglected at a an antique/vintage/junk shop, now has a new life in the sunny bay window in my bedroom.

Now, it’s your turn.  I challenge you to paint your chair frame any color other than black or white.  What color will you choose?

« Previous Page
Next Page »
  • Email
  • Facebook
  • Instagram
  • Pinterest
  • Twitter

About Makely

Lindsay Ballard is a former college mascot turned political geek turned roller derby playing, DIY fanatic.

Lindsay chronicles her projects, design ideas, and lifestyle tips here at Makely, where she shares tutorials and inspiration. Her DIY designs are bold and graphic, while her spirit is fun and full of color.


Archives

Categories

PRIVACY POLICY
Copyright © 2009-2019 Makely School for Girls | All Rights Reserved | Posts may contain advertising content or affiliate links