Makely

Let's Make Life Awesome

  • Home
  • Decorating/DIY
    • Create Your Decor
    • Decorate Your Home
    • Paint Your Walls
    • Transform Your Furniture
  • Healthy Living
    • Essential Oils
    • Family Wellness
    • Household Care
  • Project Gallery
  • Contact
You are visiting: Home » Project Gallery » Page 91

Custom Bathtub Storage Container

by Lindsay Ballard on April 5, 2009 2,799 Comments

Does your bathtub ever look like this?

Every evening after my son’s bath, I find that my bathtub is a menagerie of bath toys and shampoo bottles. We give him a bath in our master bath instead of upstairs in “his” bathroom, because our tub is much larger. I love that he has a great time in the bath, making up new games and squealing with delight when he gets splashed, but the bath aftermath is driving me crazy. I hate walking into my calm bathroom and seeing that mess.

I have searched high and low for some sort of bath toy storage container that blends with my bathroom decor, but all I could find where giant plastic frogs and brightly colored mesh bags. I know you know where I am going with this, right? I decided that I had to create my own bath toy storage!

I went through several different mental prototypes of the container I wanted to create, but I ultimately decided that I only needed two items to make this work – a lightweight planter and a plant stand.

Lightweight planters are easy to find. I chose a pot made from some sort of high density foam, so that it could withstand the bath splashes yet still be lightweight. This one came from Garden Ridge, but I have seen them at Lowe’s, Home Depot, and even Walmart.

I primed with planter and the plant stand with white spray primer and then sprayed them both with white paint. I used plastic spray paint on the planter and regular spray paint on the plant stand.

I’m not certain that I needed to use the plastic paint on the planter, but I was worried that regular paint would melt the foam. The first coat didn’t lay down as nicely as I thought it should, but it ended up being okay in the end. If you chose to do this project yourself, you may want to test both types of paint on the inside of your planter and go with what looks best.

After the paint dried, I used 100 grit sandpaper to antique the raised design on the planter. I just lightly sanded over those parts and was very happy with the result.

I repeated the process on the plant stand to make it look as “worn” as the pot.

Next, I used a drill to put some holes in the bottom of the pot for drainage.
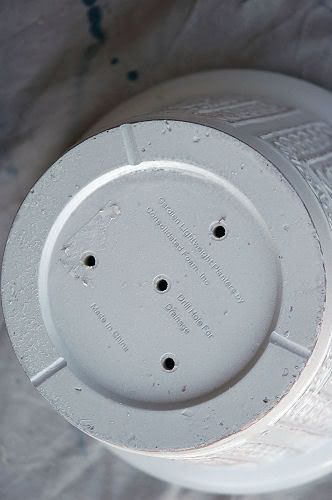
When I was ready to attach the pot to the plant stand, my husband introduced me to some epoxy called J-B Kwik. It’s an epoxy that is made with steel and bonds very, very quickly. You have exactly four minutes before it’s set (I totally have that Justin Timberlake & Madonna song going through my head now).
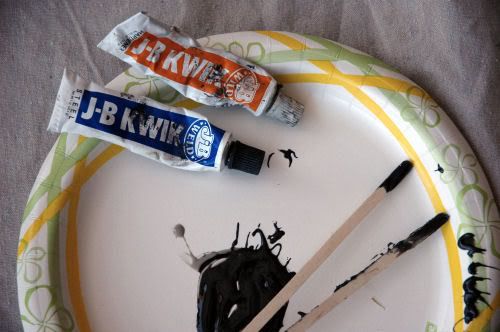
Honestly, I think the J-B Kiwk was overkill and regular ole’ epoxy would have been fine, but Tom is obsessed with this stuff and was just dying for the opportunity to show me how to use it. We mixed it on a paper plate and used wooden coffee stirrers (that he’s apparently been taking from our favorite bagel shop every time he goes there!) to apply it directly to the planter. I then pressed the plant stand into the epoxy.
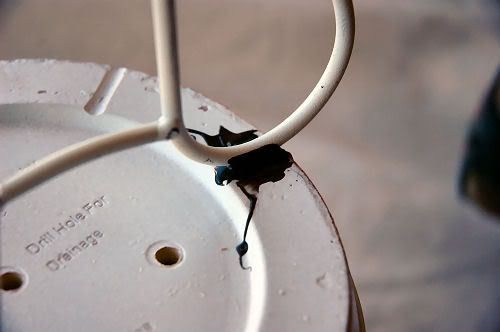
After the epoxy dried, I gave the bottom of the planter two coats of white spray paint since the J-B Kwik dries black.
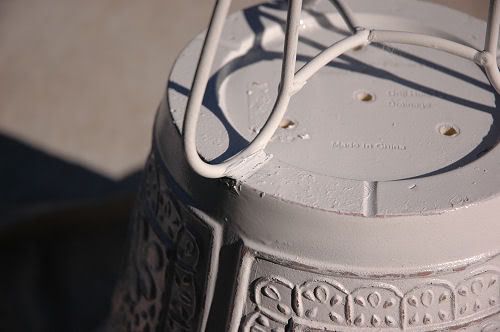
After that last coat of paint dried, I flipped it over and admired my work. My new bath toy storage was then ready for it’s new home on my bathtub.
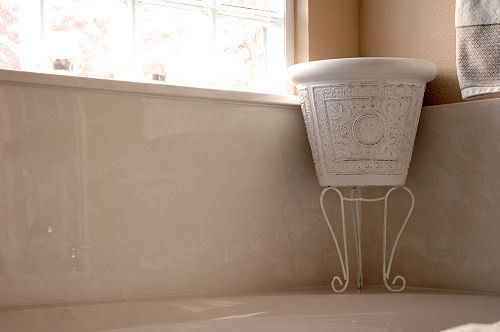
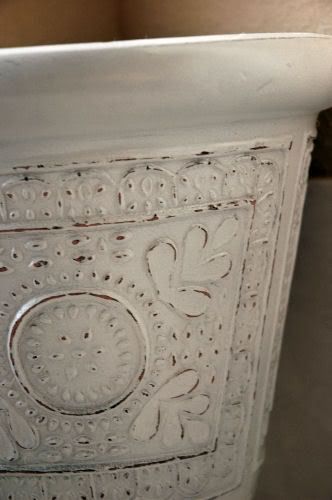
Don’t you love it? The best part is that the toys are actually inside of it right now, but you can’t even tell unless you get right on top of it. LOVE it!

Hey, Goofy! What up, dog?

Even if you don’t have children, I’m sure you could find plenty more to go inside of a water-resistant storage container like this one. Bath salts? Sponge? Razor and shaving cream? Don’t leave all that stuff lying around on the lip of your tub when you have something this custom and beautiful to hold them!
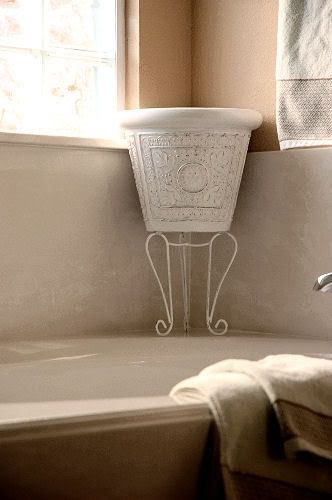
Make your container as large or small as you would like. The sky’s the limit when you are designing your decor!
Battling My Archenemy

by Lindsay Ballard on April 2, 2009 1,351 Comments

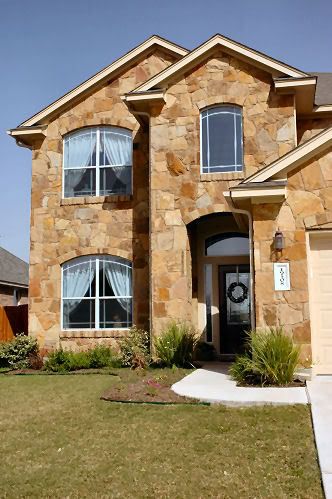
The arched windows on the front of my home was one the the elements that sold us on this house. We specifically chose this elevation of our favorite floor plan so that we could have these very windows.

Yes, I know we need to work on our landscaping. But, look at the windows! I love them.

And, I hate them.

You see, I didn’t really think through the particular decorating challenge these beauties would be. They quickly became my archenemy.

In an effort to get something covering my downstairs arched window, I pretty much ignored the fact that it was arched and hung my curtain rod and draperies above the arch. From inside the dining room, you can’t even tell that the window is arched. It makes me sad.

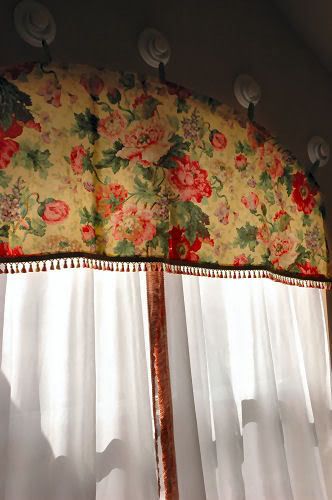
The window on the second floor is in my sewing/craft room, so I took some more time to really figure out what I wanted to do. I wanted something that followed the shape of the arch, was flow-y and light, and I wanted to do it in a pretty thrifty way.

Then, an idea came to me in the shower, where all of my good ideas surface for some strange reason.

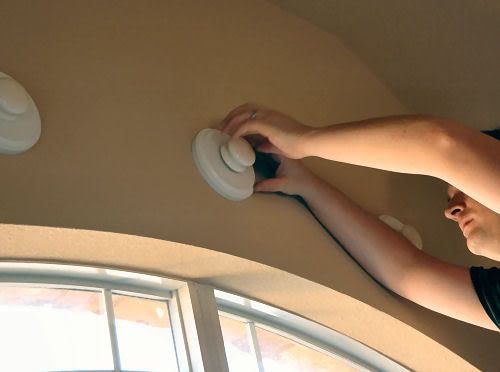
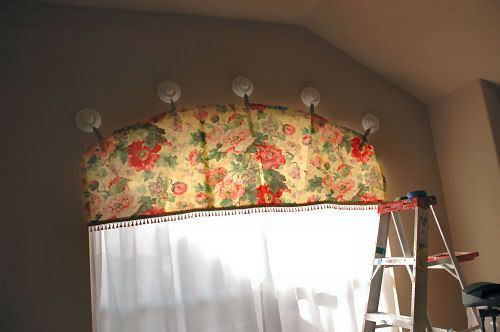
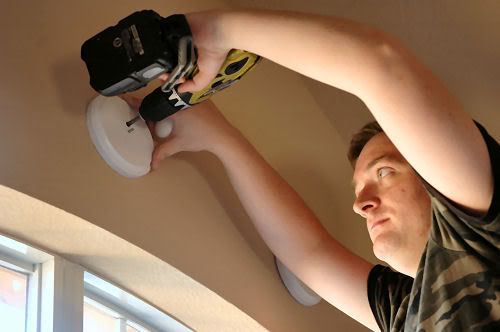
I found some wooden circles at JoAnn and spray painted them white. Then, I asked DH to drill some holes in the center of the discs so we could attach some white crackled knobs I found at the Habitat for Humanity ReStore.

We Tom put the knob screw through the back of the drilled hole and then attached the wooden circles to the wall.

Then, he simply screwed the knobs onto the screw.

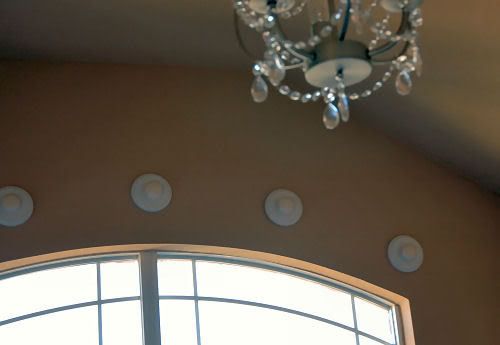
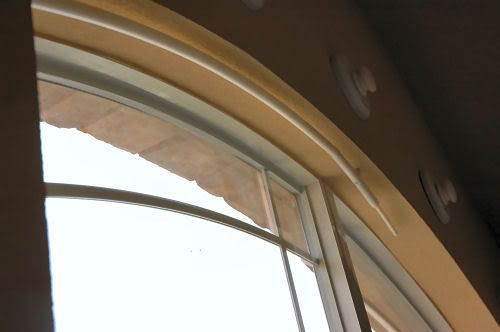
I used five of the wooden circles to replicate the same arch as the window.

Next, I bought two long pieces of really flexible PVC pipe from Home Depot. It has some name other than that, I think, but I bought some that was as bendy as possible. Just go in there and start bending the stuff in the plumbing aisle until you find what you want. You’ll only have eleventy billion HD workers ask if they can help you, because clearly you look insane. One length of my pipe is 1/2″ diameter and the other is slightly smaller than that (so it fits inside).

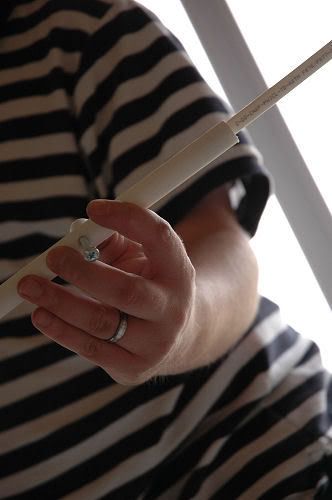
Ever to my rescue, Tom created a brackety-type thing to install it on the window. He cut a small length of the larger pipe and a longer length of the small pipe and screwed the two together.

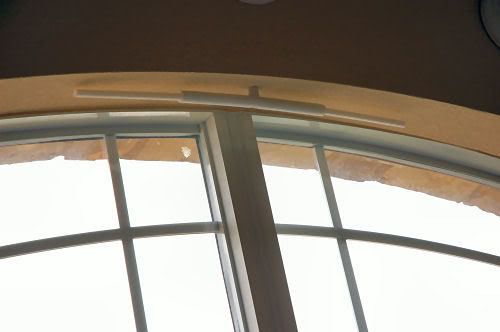
He put a wall anchor into the wall above the window and then screwed this little bracket in place.

He did something similar on either side of the window, but only used small pieces of the smaller diameter pipe. He’ll be mad at me for using this picture where the drywall is coming off…I wanted the brackets as close to the front of the window as possible, but there is a metal edge there under the drywall so he had to drill more than one hole. I’m difficult, what can I say?

He then cut sections of the longer pipe that run from bracket to bracket on both sides. It’s rigid enough that it holds its shape, but flexible enough that you can bend it to fit it on the brackets.

See how nicely these sheers (that I bought for $9.99 from Ikea for the PAIR!) hang on the window?

Isn’t that ingenious? Go, Tom!

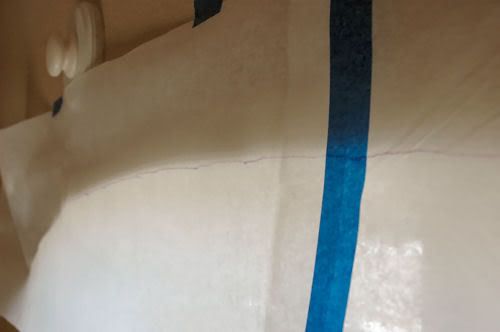
Then, it was my turn to start with the pretties. 🙂 I took a piece of stabilizer (which is also what I use for making my sewing patterns) and taped it around my window so I could trace the exact outline of the arch.

I drew tick marks 2″ above the arch outline and drew a line connecting them, making another arch. I also took the curve about 2″ out on either side.

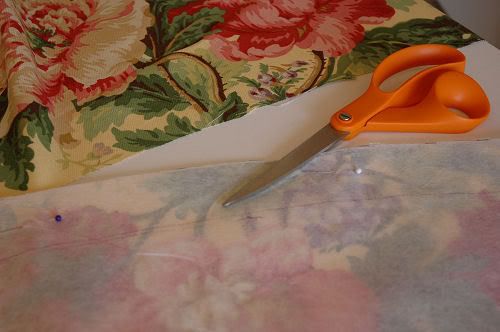
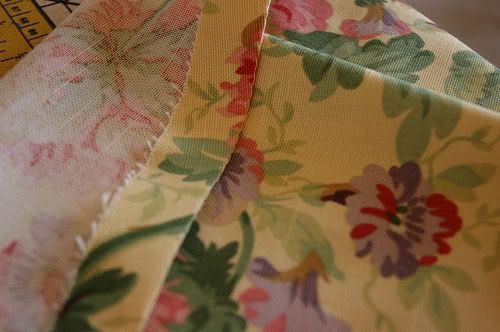
I pinned my pattern to my window treatment fabric and cut along the top arched line.

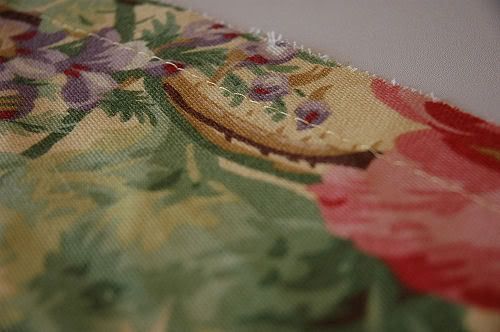
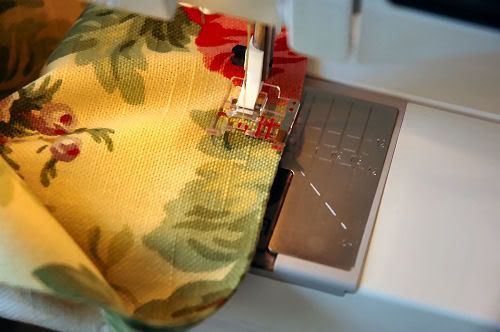
I sat down at my sewing machine and put in a basting stitch 1″ from the top of the arch. I know your eyes start glazing over when I talk about sewing, so I guess you can skip this step.

However, the basting stitch makes it a lot easier to press your seam allowance over at the exact curve you want. Pressing out a curve is no fun, but this made it pretty much foolproof.

I then hemmed the top arch and the sides to finish my edges. Again with the glossy eyes, huh? Just use your glue gun or fabric glue for this part, okay? 😉

I left the bottom edge raw for now so I could put it on the window and then decide how much I needed to shorten it.

I thought it would be super cute to sew some ribbon on it and tie the ribbon in bows around the knobs…

…and then I flashbacked to 1994 and decided that, “Um, no. That would not work.” See? I show you when I mess up and make really ugly stuff, too. I used my trusty stitch ripper to take those ribbons right off.

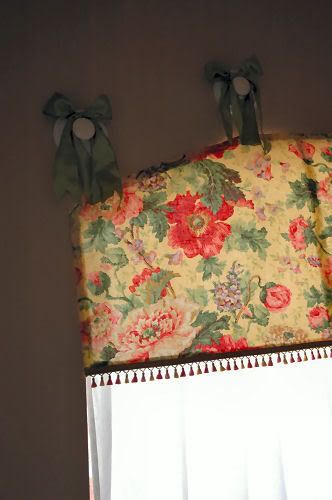
I bought some big wooden drapery rings at Hobby Lobby and spray painted them white. I threaded some more green ribbon through the little eyelets, got up on my ladder, and pinned the ribbon to the back of the valence. I liked it MUCH better, so I sewed the ribbon tabs to my curtain (again, just use your glue gun) and hemmed the bottom edge to the length I wanted. Then, I really did use my glue gun to attach the sweet tassel trim.

I do not sew trim, as I can never get it on straight. There, I said it.

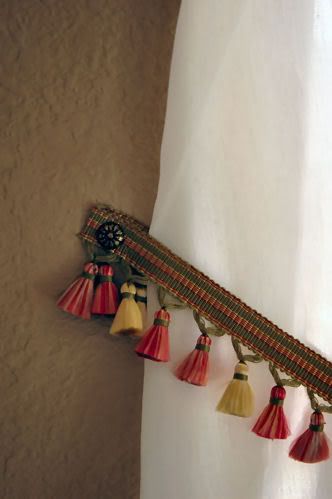
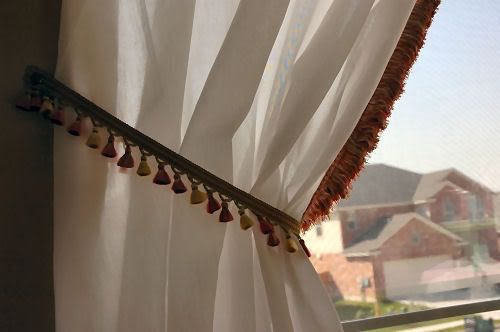
I decided that the sheers needed to join in on the trim fun, too, so I added (with my glue gun) some coordinating trim that I found on sale at the HobLob for like $2.99 a yard. Always check out their remnant section in the fabric department, because they have tons of trims and ribbons mixed in with the fabric.

I bought some tie back hooks so that I could use some trim to hold the curtains open, but I was too lazy to install them. So, I just used some left over drapery tacks I had from another pro
ject.

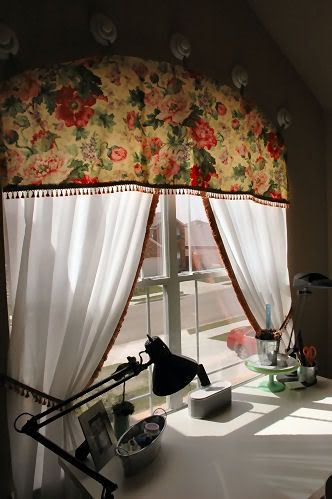
I stepped back and admired my work and was pretty darn proud of myself.

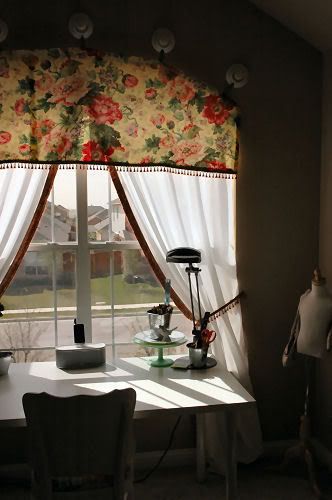
It’s certainly going to be a nice little place for creating. I love the sunlight in that room. It makes everything prettier.

Too bad the sunlight makes for awful pictures. Have you ever tried to photograph a window? Pretty near impossible for it to look good, or at least for me.

I’ve got a lot more to do in this room, so I’m sure you’ll see much more of it later. I hope the way I put this window together inspires you if you have your own archenemy. Just tackle that sucker head on, and you’ll come out on top!

P.S. Oh, I know you are dying to find out who won the Five Dollar Challenge. A winner has already been selected at random, but I’m just not telling you yet. The winner doesn’t even know she’s won! How mean am I? I think maybe I’ll wait and tell you tomorrow, just to keep you in suspense.

I’m adding this to the Hooked On party over at Hooked On Houses! Join on in!

« Previous Page
Next Page »
  • Email
  • Facebook
  • Instagram
  • Pinterest
  • Twitter

About Makely

Lindsay Ballard is a former college mascot turned political geek turned roller derby playing, DIY fanatic.

Lindsay chronicles her projects, design ideas, and lifestyle tips here at Makely, where she shares tutorials and inspiration. Her DIY designs are bold and graphic, while her spirit is fun and full of color.


Archives

Categories

PRIVACY POLICY
Copyright © 2009-2019 Makely School for Girls | All Rights Reserved | Posts may contain advertising content or affiliate links