I’m not a huge fan of over the top Christmas decorating. At least in my own home, it’s just not practical. Between all of the school activities around the holidays, gift wrapping and just general hustle and bustle of daily life, I just never find the time (or the need) to cover every square inch of my home in garlands and glitter. And honestly, if I’m going to put a lot of work into decorations, they better be something that I can enjoy year around.
Some years I decorate more than others (like last year compared to this year), but I always make it a point to have a good looking Christmas tree. Just like with the rest of my holiday decorations, I don’t think a Christmas tree needs to have tons of fluff. Instead, I like to follow a simple recipe, and my tree always ends up looking nice.
This year, I helped a dear friend get her tree trimmed, and I detailed the steps below. I wanted the tree to look like her, and she wanted to make sure that it had some of my style elements. The end result is fun!
Recipe for a Well Trimmed Christmas Tree
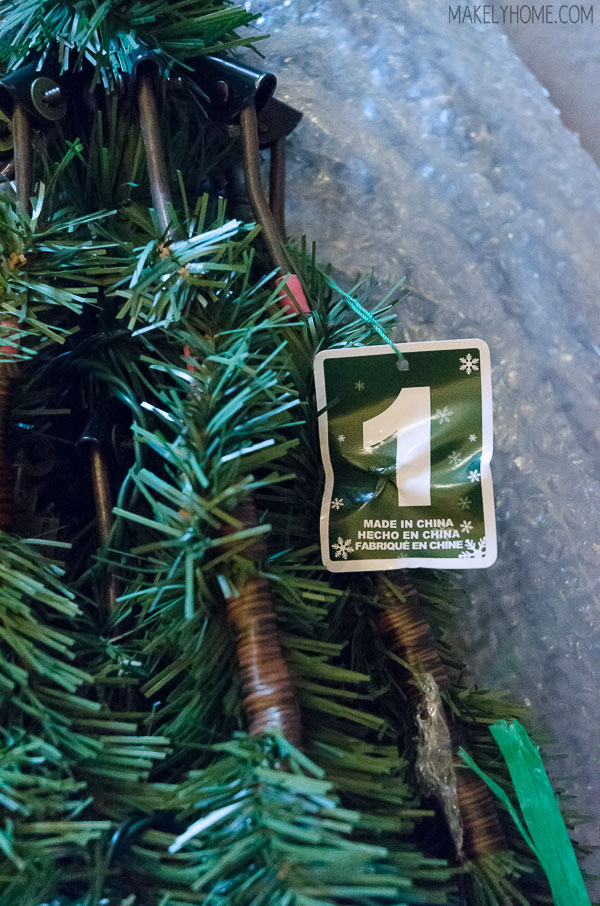
1. Start by setting your tree up and string it with lights (if it is real or isn’t pre-lit). For Olivia’s house, we were working with a pre-lit, artificial tree (we were sent an Oh Christmas Tree from Treetopia). It was really easy to set up straight out of the box. Each of the three sections is labeled, and you literally just stick them together.
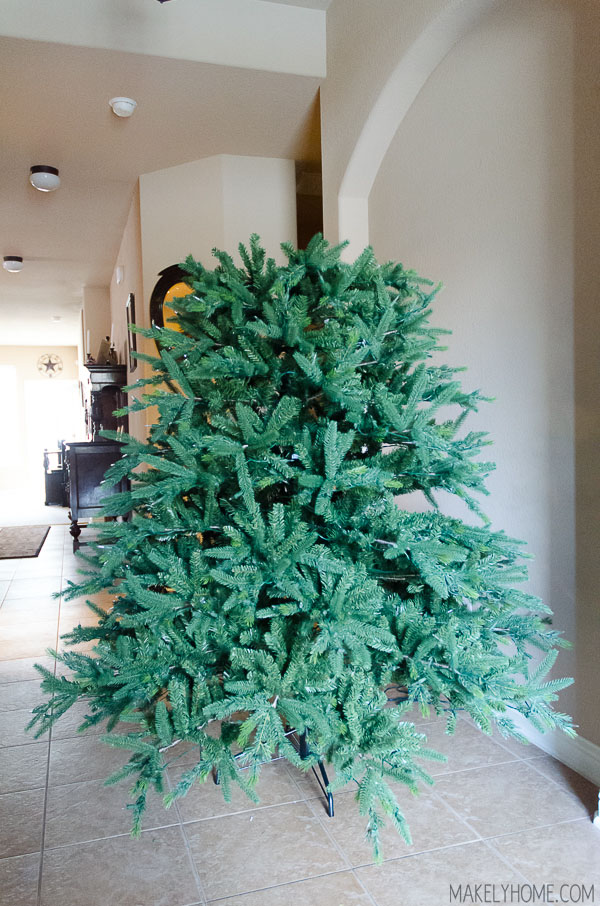
Once the sections were put into place and we fluffed the branches out to the desired fullness, we plugged each section’s lights together and plugged them into the wall outlet.
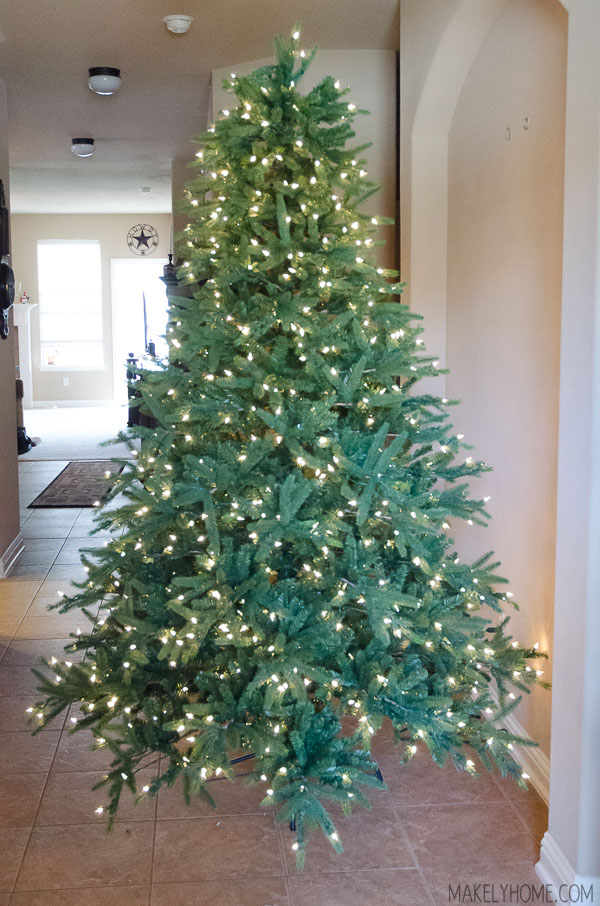
It’s lovely already!
You can choose clear or multi-colored lights. I know that a clear-lit tree is very on trend right now, but I’ve always been a big fan of multi-colored lights. Surprised? No, I didn’t think so. When stringing a live tree or one that’s not pre-lit, I start from the bottom and work my way up, making sure the light strands are equally spaced as they spiral around the tree.
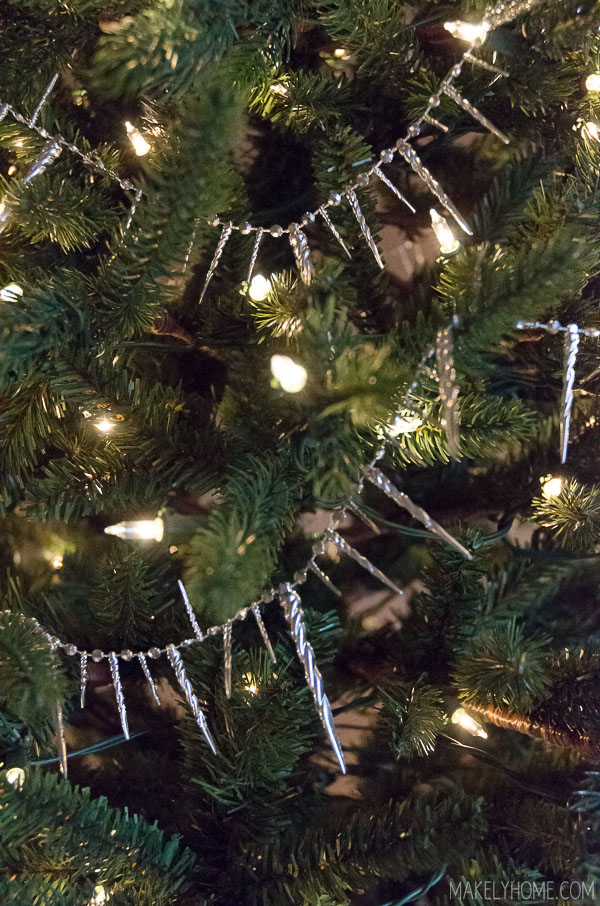
2. Add some garland. I don’t always add garland to my Christmas trees, but I do like the way it looks. I do prefer my garland to be on the thin side instead of extremely wide – that way, it doesn’t hide the ornaments.
Olivia and I found this spiky, icicle garland and thought it would be a fun touch to her tree. We started working from the top and wound our way down the tree.
3. Add background ornaments. At this point, I like to add large ornaments with little detail deep into the branches of the tree. It’s a great place for the large ball ornaments that come in solid colors. For Olivia’s tree, I added large red and silver balls. Then, I added some slightly smaller ones in red, silver and black.
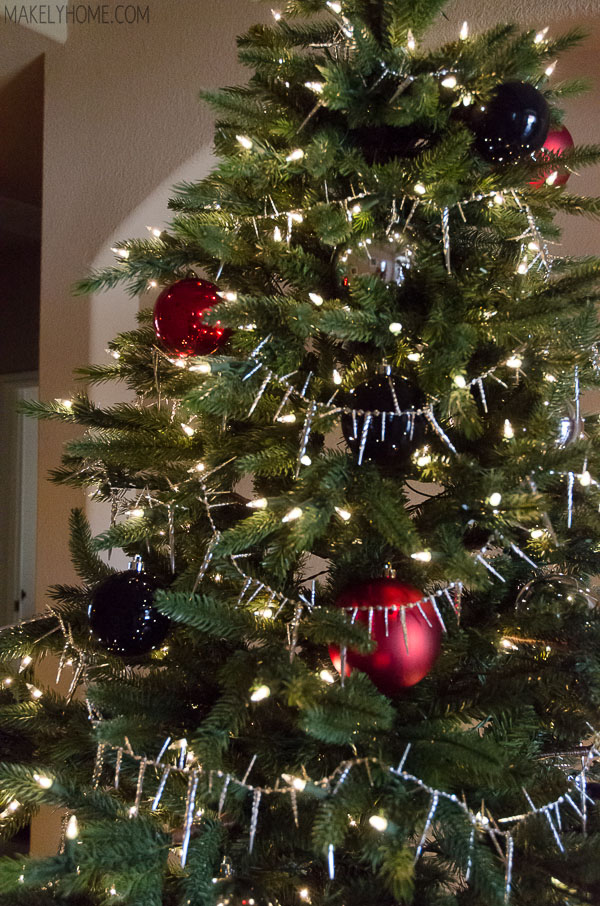
The purpose of these ornaments is to fill in the branches and blend into the background. You don’t really want huge ornaments like this to take center stage, so I don’t put them as forward as the special ornaments.
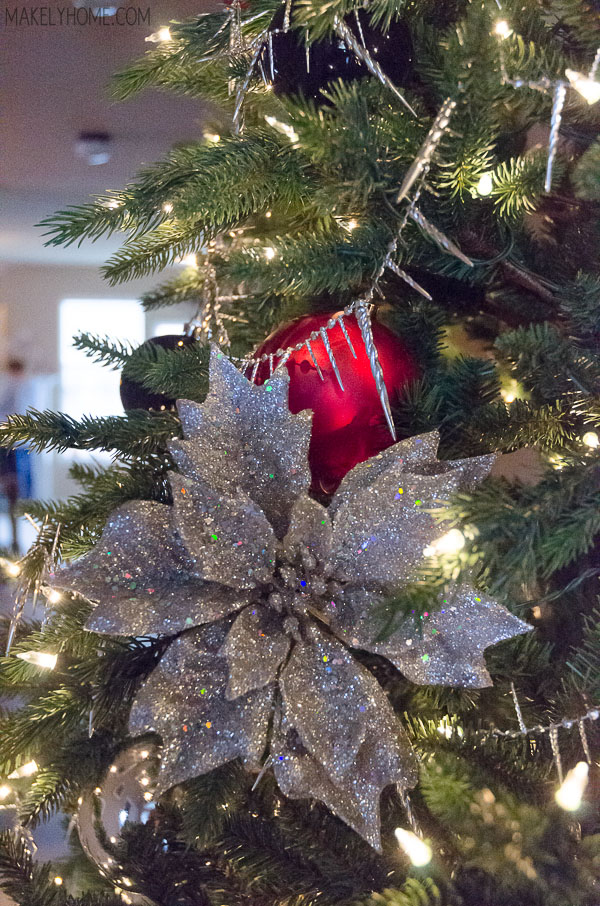
4. Add large speciality ornaments. Olivia and I found several large ornaments that she really liked, so this was the time to add some of those. There are several large poinsettias and some big stars that we added to the tree.
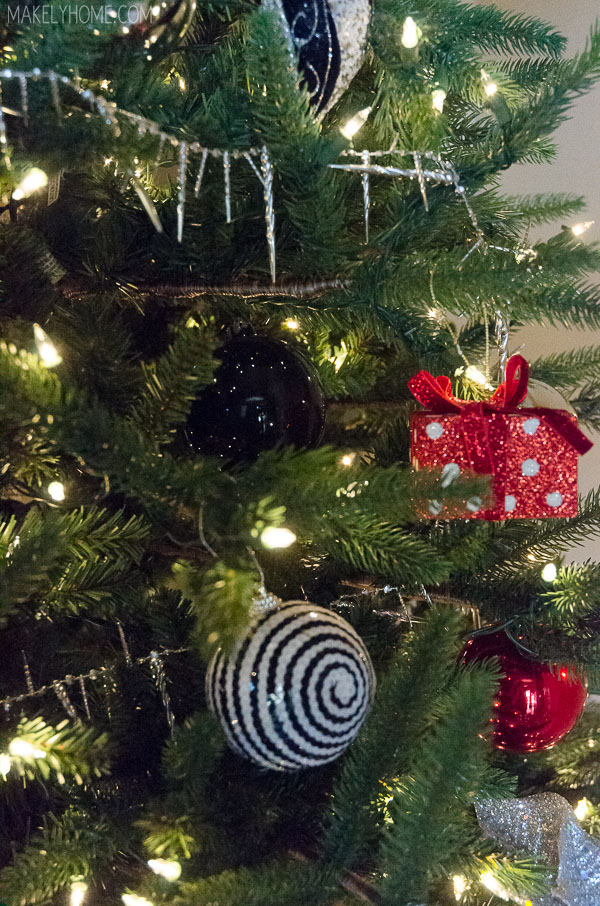
5. Add medium ornaments. The next thing I added was some medium sized ornaments that we picked up. We wanted to keep this particular tree in a red, black and silver theme, so the ornaments we added fit into those parameters. There are little gift boxes, snowflakes and medium balls.
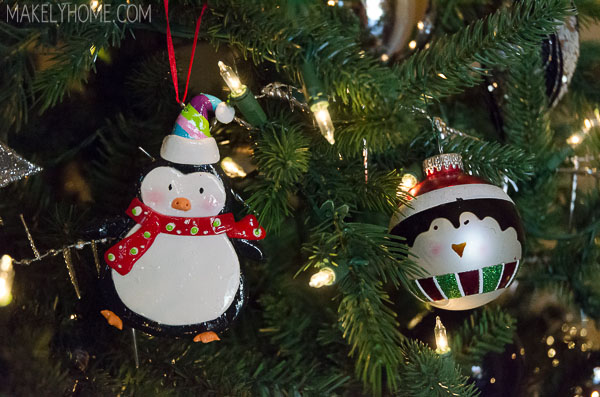
6. Add themed ornaments. If you have a theme for your tree, now is the time to add those ornaments. Olivia’s tree has a penguin theme, so we added her penguin ornaments throughout the tree.
7. Add other special ornaments. At this time, you can add in the rest of the special ornaments that you really want on your tree. Olivia spent some time in England, so we added some of her ornaments from that time, along with some others that she has collected over the years.
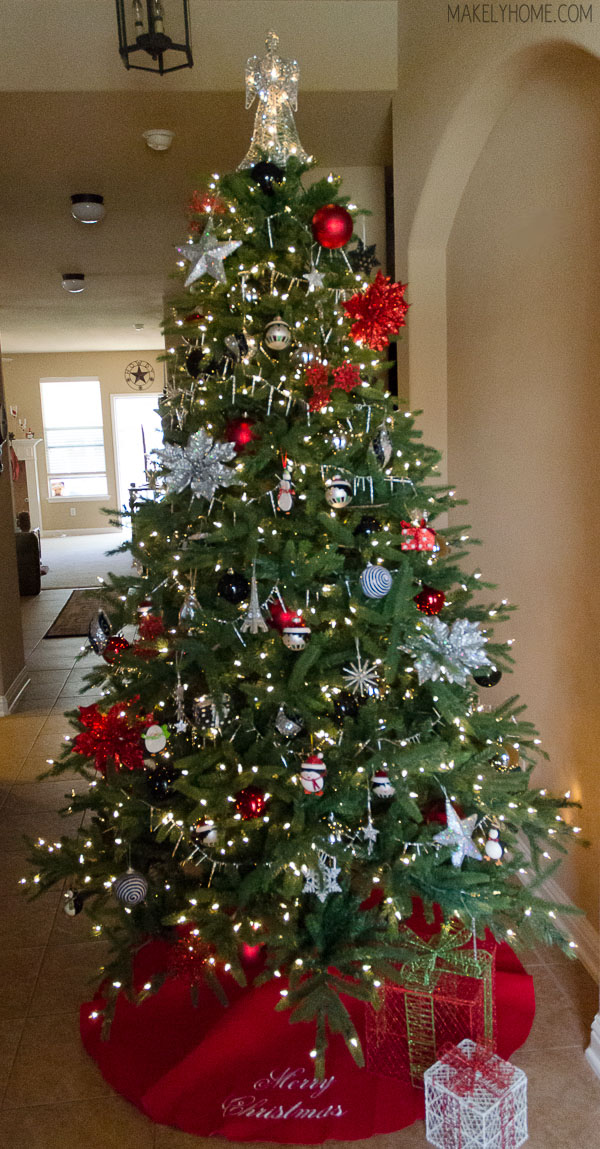
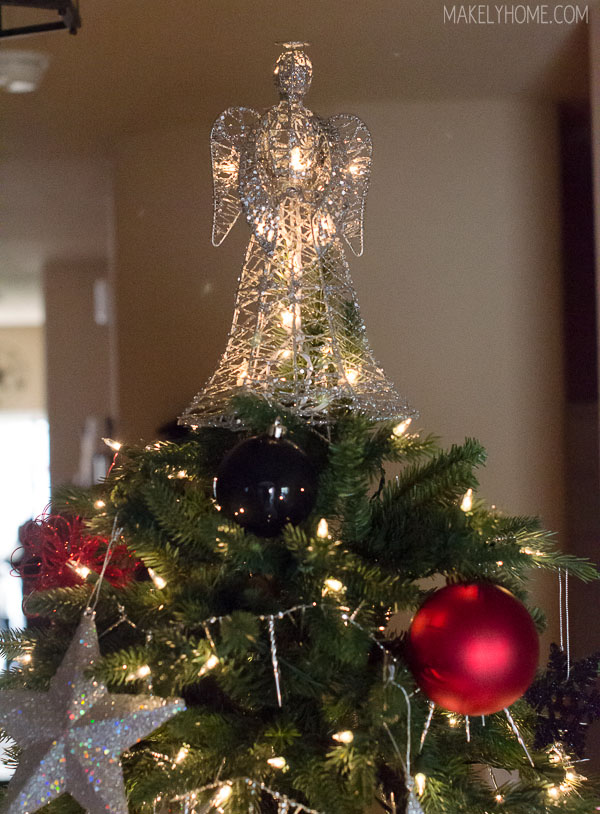
8. Add tree topper. Tree toppers come in many shapes, sizes and styles. We chose a sparkly silver angel for the top of Olivia’s tree.
9. Add tree skirt or base decoration. There are a lot of ways to cover the metal tree base, but I’m a sucker for tree skirts. We found this simple one at a local store and both loved it.
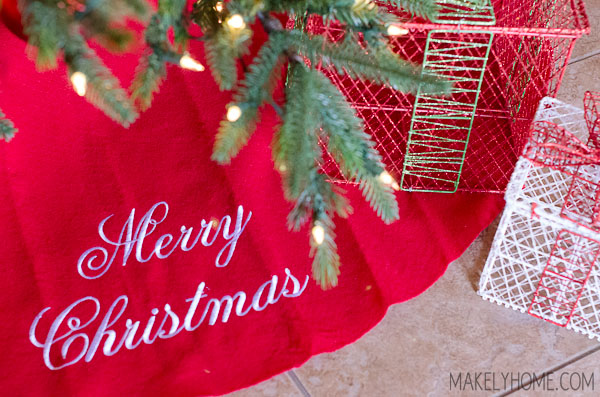
I should have ironed it, but I try to avoid ironing at all costs.
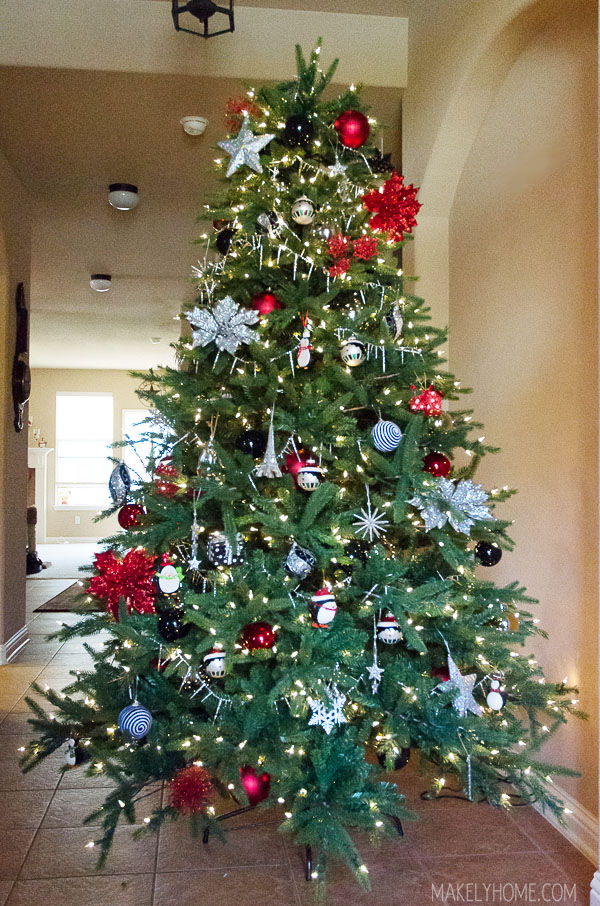
10. Step back and enjoy!
I am one of those people who really thinks that all Christmas trees are beautiful, so this recipe just helps me to get everything on the tree in the right order so that it can be seen. This tree has a much different look than the Treetopia tree I put together last year (and will put up again in my own home), but they both followed the same formula.
Do you decorate your tree in a certain order every year? Or do you put on whatever you pull out of the ornament box first?
This post is sponsored by Treetopia. They sent me the beautiful tree for review, but all opinions are my own.
We have a prelit artificial tree. Ours changes slowly from white to colored lights. I always start with ribbon/garland. This year we did ribbon. Then I put up the star at the top and put up the small ornaments while I am up there. Next the larger ornaments that need to fill in spaces. Then the rest of my ornaments. I have a teddy bear themed tree. Once the tree is done, stockings go up as does a garland on my stairs and we are done!
It is beautiful. Christ mas is about the birth of Jesus. I would have liked to see him depicted somewhere along the line.
May be nearer the base.
Happy holidays.
Nulkar
Next year, I’ll let you put mine up 🙂
to be honest i iwas in a hurry the this time but i had to look at everything on your first page. your taste style your genious ideas and home master piece pieces. WOW, BRAVO. definetly awwed and delighted that i found this great company to help inspire my creative juices to flow…. Thanks for sharing all these things with us
sincerely
, Aileen A. Rawlings
Very pretty. Looks like a mall Christmas tree:).