Makely

Let's Make Life Awesome

  • Home
  • Decorating/DIY
    • Create Your Decor
    • Decorate Your Home
    • Paint Your Walls
    • Transform Your Furniture
  • Healthy Living
    • Essential Oils
    • Family Wellness
    • Household Care
  • Project Gallery
  • Contact
You are visiting: Home » furniture makeovers » Page 14

Adding Comfort to a Wooden Rocking Chair – Part One

by Lindsay Ballard on April 22, 2010 566 Comments

I know it’s been a little quiet around here lately as far as my projects are concerned.  I have been working diligently on decorating my soon-to-be daughter’s nursery.  I must stay that it is coming along beautifully.

And, I’m going to be a tease and not reveal it to you until it is entirely completed.  I’m such a big ‘ole meanie.

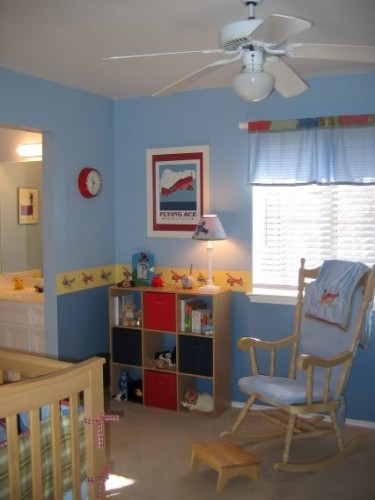
There are, however, a few projects here and there that I want to share with you.  One such project is the comfy-fying of my wooden rocking chair.  We bought this chair off of CraigsList back before my son, Zack, was born.  At the time, I just put a blue rocking chair pad on it and called it a day.  It was never soft enough to ease the burden of 3 am feedings on my sore body, so this time I vowed it would be different.
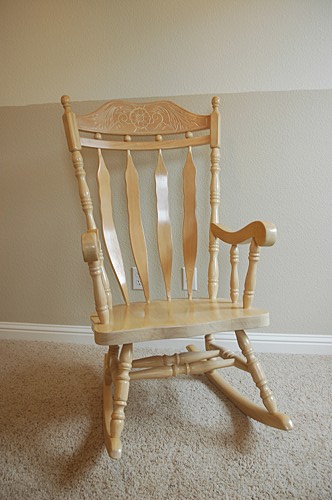
I decided to add some foam cushioning and a slipcover to this old chair.  I could have just gotten another chair for Emma’s nursery, but this was the chair I rocked Zack in, so this will be the chair I will rock her in.  I’m very sentimental in that way.

Because this tutorial is a bit lengthy, I have divided it into two parts.

Adding Comfort to a Wooding Rocking Chair – Part One: Adding Padding

I began with a 2 1/2 yard sheet of 2 inch foam from the fabric store.  Using a large sheet of craft paper (a sheet of newspaper would work, too), I traced the outline of the chair’s seat.  I then used that as a pattern to cut the foam padding for the seat.  The foam is squishy enough that I was able to cut it with my scissors.  Remember, it doesn’t have to be perfect, since I will be slipcovering the chair.
Then, I shoved the remaining of the foam into the back of the chair so that I could measure it for the back cushion.  Using a marker, I drew lines roughly along the edges.
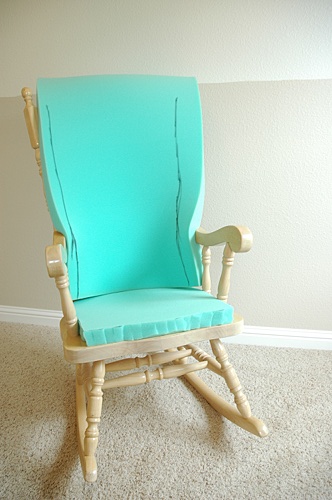
I trimmed the foam on the lines.  Then, I turned the chair around and marked the height of the foam on the back.  I wanted my foam to be a little higher than the actual back of the chair.  I marked that the same way I did on the sides of the foam.

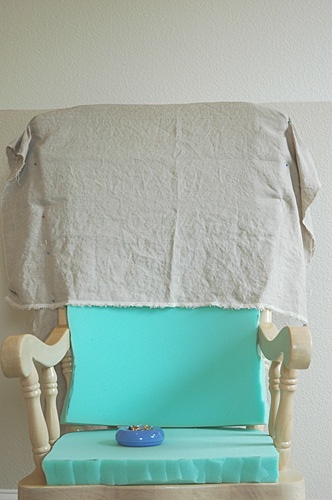
I cut the top part of the foam in an arch so that it was similar to the natural line of the chair.  Once it was cut, I draped it in some fabric to see how it would look once it was slipcovered.
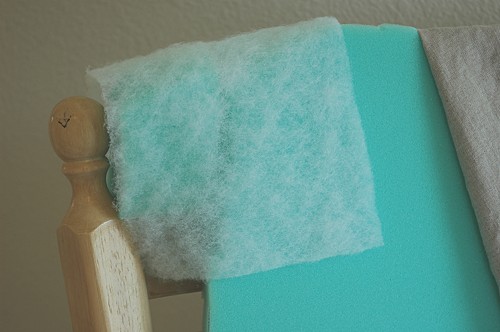
I decided I wanted to round the arch a little bit, so I cut a view wedges of foam to add to the arch and covered those pieces in batting.  Why?  I don’t know.  I just thought it was a smart thing to do to help keep the little wedges in place.  Heh.
Then, it was time to move on to the arms.  I cut a length of foam long enough to cover the arms, and then I cut that piece  in half lengthwise, making it only about an inch thick instead of 2 inches.  To hold it in place, I tied little bits of ribbon around the foam and the arm.

Hilarious, huh?  Well, it works.  🙂

I finally had a comfy rocking chair.  Just adding 2 inches of foam made all the difference in the way this chair feels.
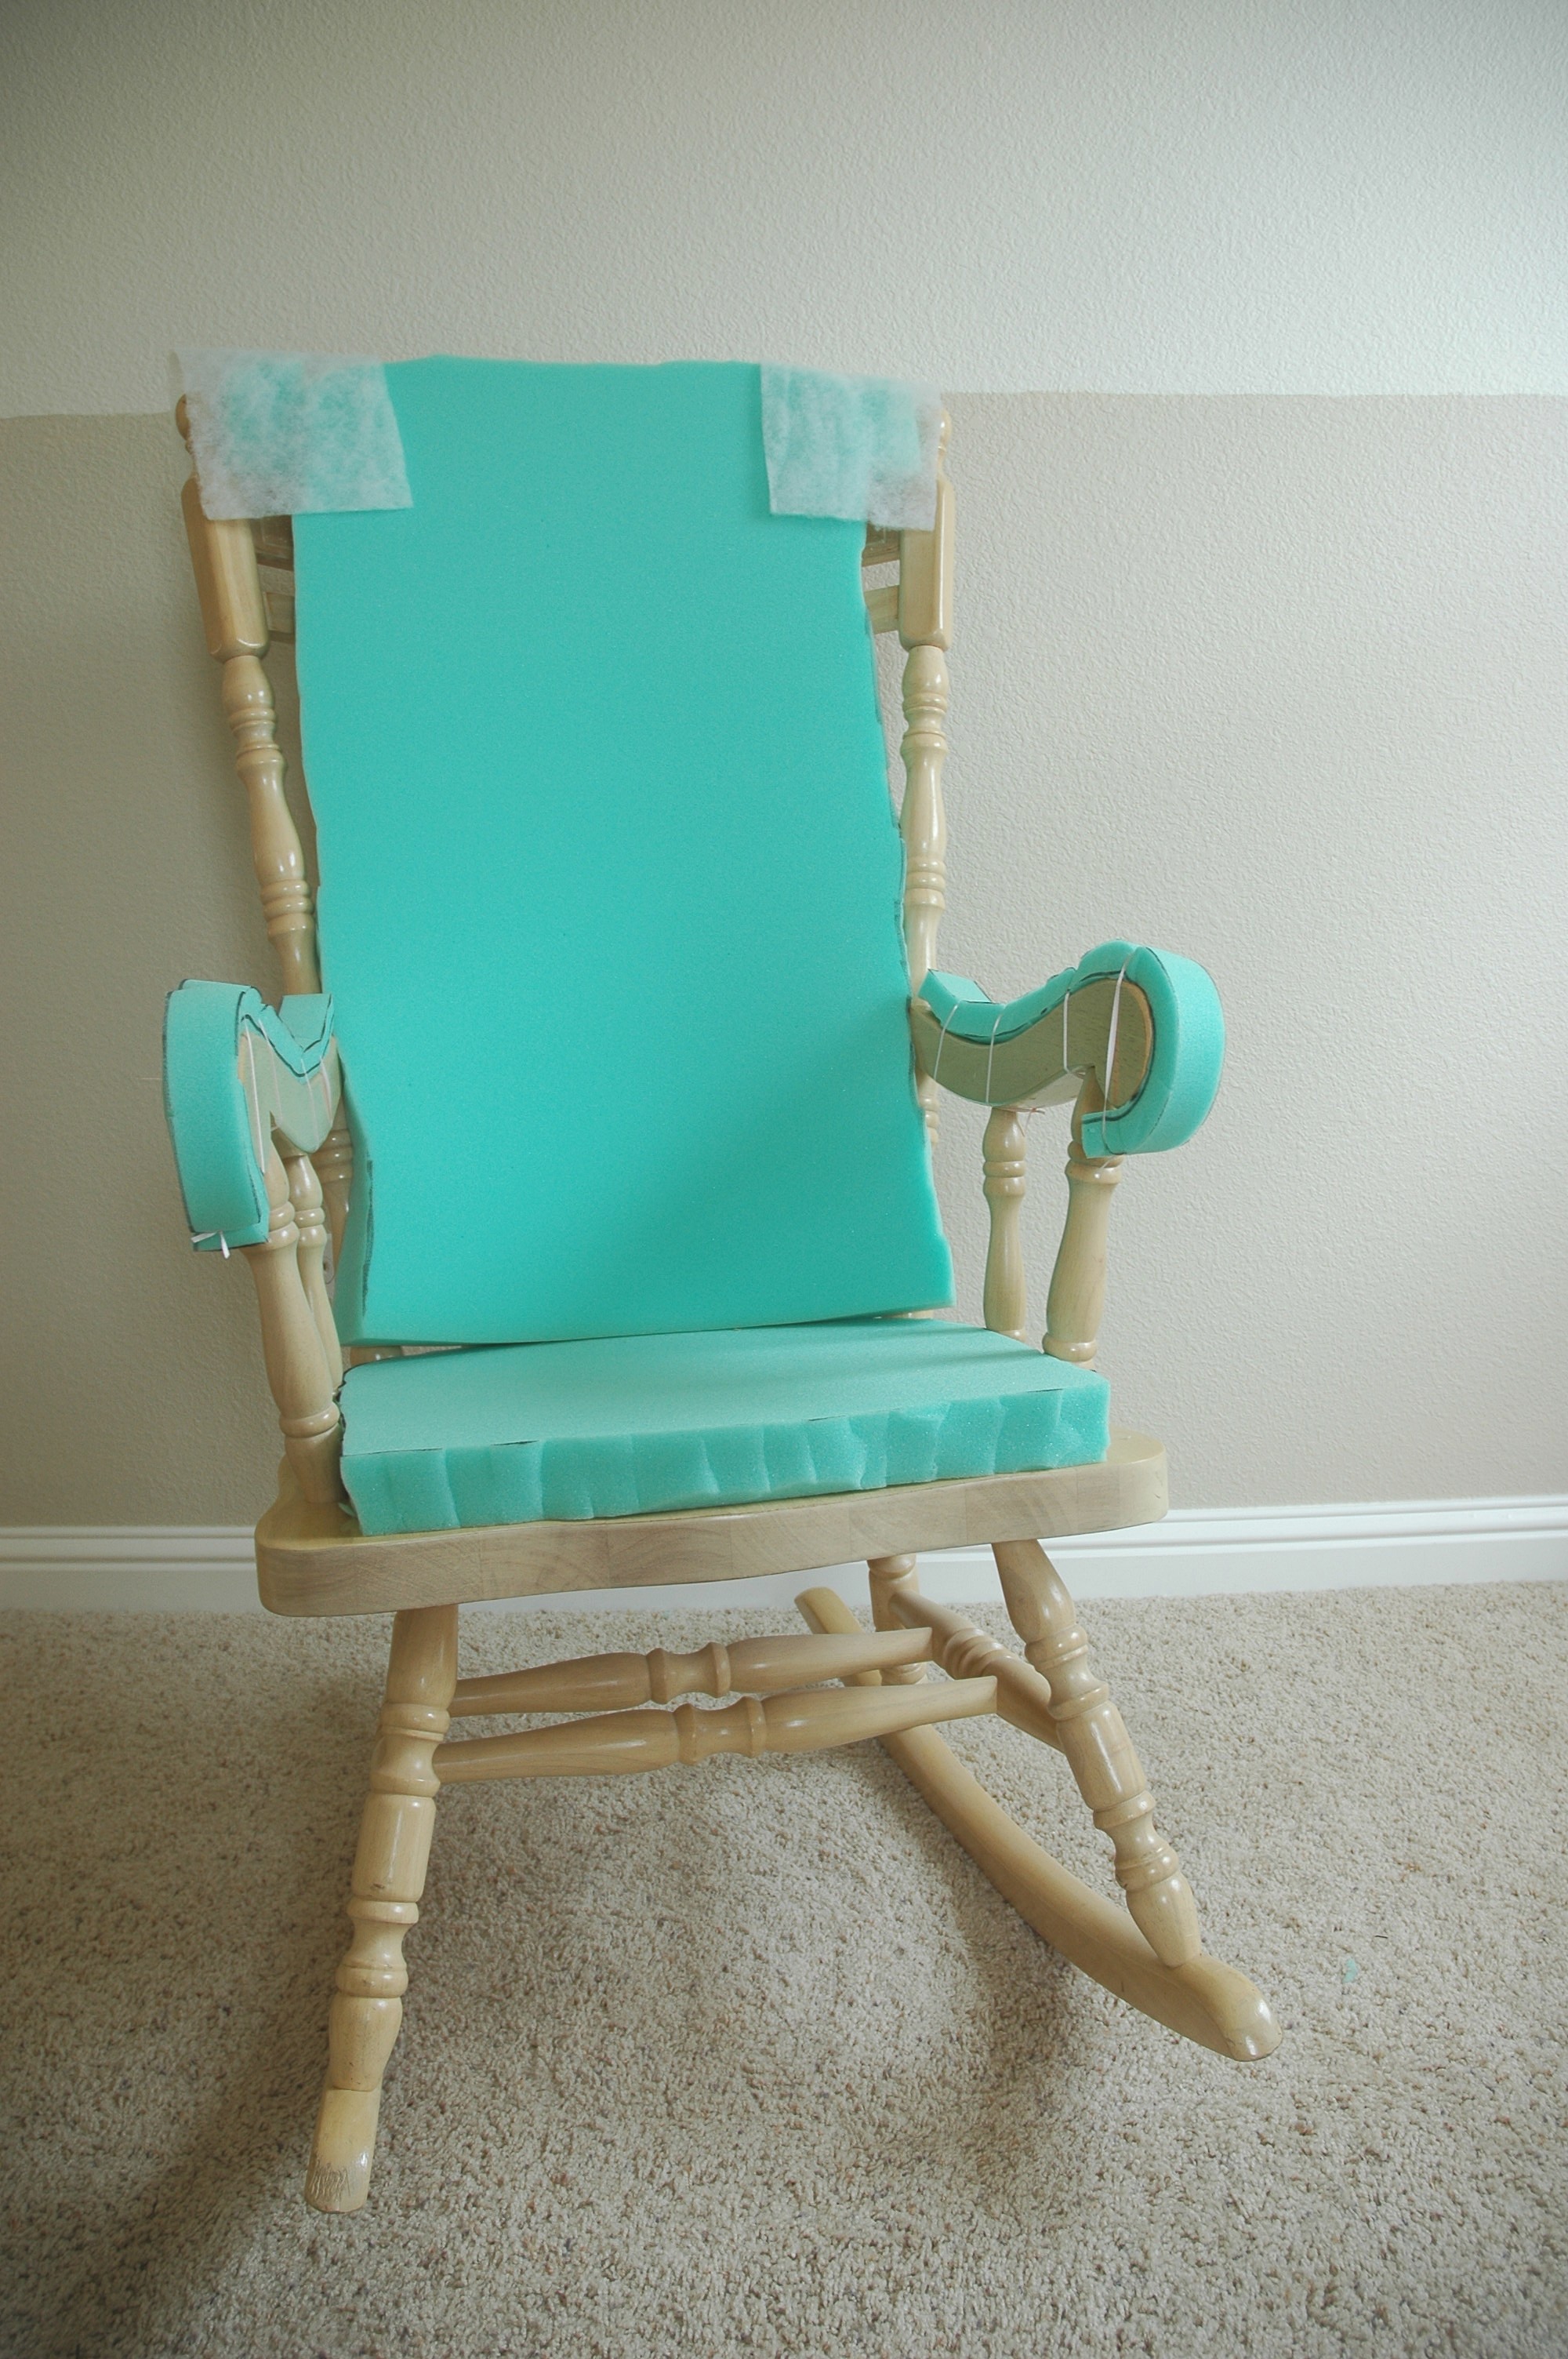
It’s  not pretty right now, but we’ll fix that next week with a custom slipcover.  I’m looking forward to showing you the finished project!

The Once ‘Toxic’ Coffee Table

by Lindsay Ballard on October 12, 2009 133 Comments

You may remember this jewel that entered my house about a month ago via the free section of CraigsList.

In fact, I’m positive that if you saw my post back then and my letter to the table’s original “creator”, then you most definitely remember it. How would it be possible to forget such a wonderful collaboration between Britney Spears and Kid Rock? It’s probably seared into your brain, and for that I am sorry.

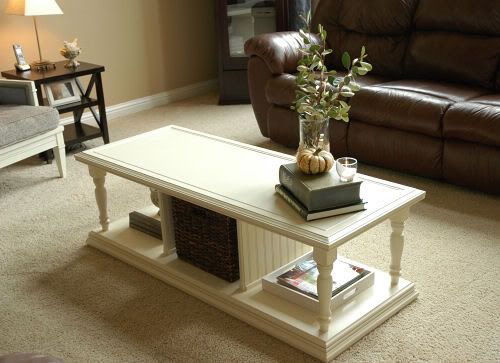
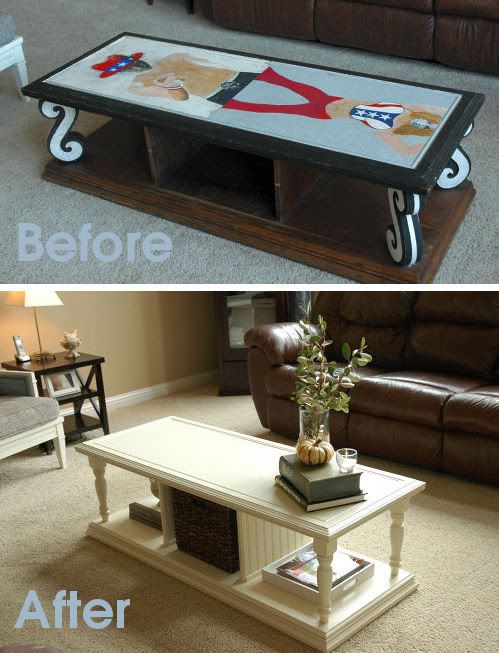
But…did you ever think it could be reborn as this?

“Wait, what? That’s the same table?” you are asking yourself. Why yes, yes it is.

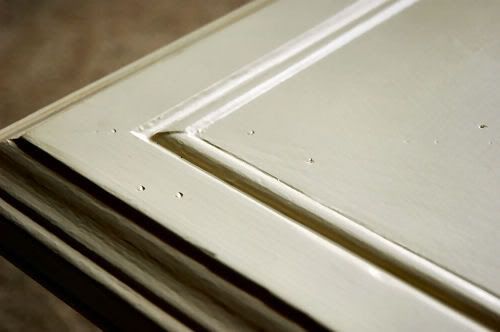
After stripping, sanding, rebuilding, priming, painting, distressing and sealing, my free Britney Spears coffee table as turned into one of my favorite pieces in my home.

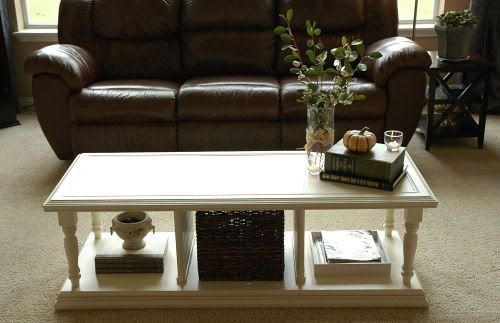
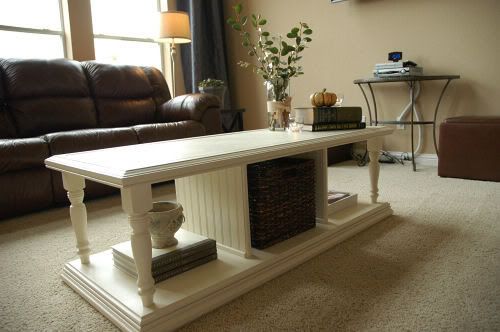
I added new legs and used them to make the table a little taller. I added new dividers, covered them with wainscoting, and edged them with trim. I painted the table with paint left over from the playroom armoire redo. The whole project probably cost me about $40.


I distressed it with a hammer and some sort of nail-type thing I found in the garage.

When adding accessories to my coffee table, I tried to remember the tablescape discussion we had last week. I think I was able to pull off the books-natural element-bowl/plate/tray trifecta pretty well.


I cut some branches off of one of the bushes in our front yard, added them to a glass vase that had come with a floral bouquet years ago, and tied a scrap of burlap around the vase. The books are some of my favorites: a thrift store poetry book and a Texas gardening book on the top and a stack of Pottery Barn decorating books in one of the bottom sections. A little urn filled with acorns sits on top of the Pottery Barn books and a white tray filled with to-be-read magazines sits on the other side. I bought a basket from Target to put in the middle section to collect the random stuff that finds it’s way to the living room. I added a sweet Tiger Stripe pumpkin and a few candles to complete the look.

There’s plenty of space left for feet, board games, computers, dirty socks, school work, and all the other things you guys mentioned that are on top of your coffee tables. Believe it or not, but my child/dogs/husband have not touched ANYTHING on this table once in the past week. NOT ONCE. Go me!

(Please ignore the whole clock/DVR/DVD player situation going on over there. I have big plans for that area, but I have to find the exact right piece to make it work…so I’m waiting.)

What do you think? I LOVE it, and I feel like I have righted a wrong in this world.

I feel like I have earned about a million karma points with this transformation.
« Previous Page
Next Page »
  • Email
  • Facebook
  • Instagram
  • Pinterest
  • Twitter

About Makely

Lindsay Ballard is a former college mascot turned political geek turned roller derby playing, DIY fanatic.

Lindsay chronicles her projects, design ideas, and lifestyle tips here at Makely, where she shares tutorials and inspiration. Her DIY designs are bold and graphic, while her spirit is fun and full of color.


Archives

Categories

PRIVACY POLICY
Copyright © 2009-2019 Makely School for Girls | All Rights Reserved | Posts may contain advertising content or affiliate links