It’s been a little over two weeks since I set foot in an Anthropologie, and I’m still ogling their goodies online every day. Maybe twice a day. Okay, three or four times a day, but don’t judge me.
There is one particular lamp shade that I am continuously drawn to. It’s such a unique design, and I wanted to adapt it for use in my own home. We all know I’m not paying $128 for a lamp shade!
My DIY version of the Anthro shade was very easy to put together, and has added a little spunk to an otherwise boring little lamp. Peek-a-boo!
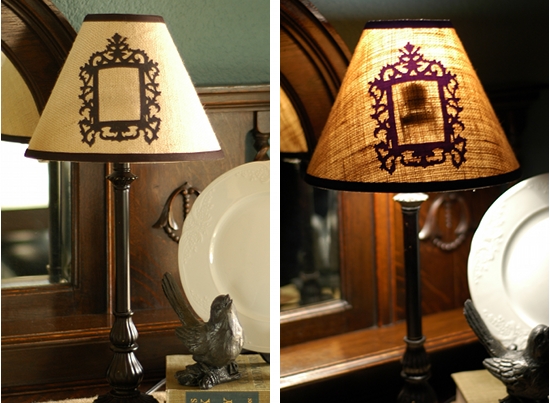
Fun, right?
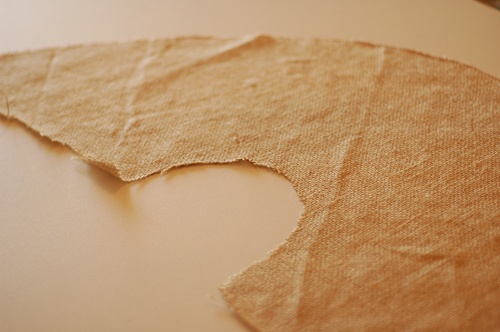
I started with a plain, white shade that needed some updating. I cut out a piece of burlap to recover the shade using Traci’s excellent directions from last year. You will want to use a neutral colored fabric, and something the weight of linen would be really nice. The burlap definitely worked for the final project, but if I did it again, I might choose something more light weight. I left some excess length on the top and bottom so I could trim it up once it was on the shade.
Then, using the new Silhouette fabric interfacing that’s just come out (LOVE it!), I cut out an ornate frame from a black cotton fabric with my Silhouette machine. It cost me 99-cents to download that design from the Silhouette store. If you don’t have a Silhouette (girl, you NEED one), you can either find a clip art frame and cut the fabric by hand (back it with iron-on fusible backing first) or you can paint/stencil it onto the fabric.
I wrapped my burlap around the shade and “dry fit” the frame so I’d know where I want to iron it on.
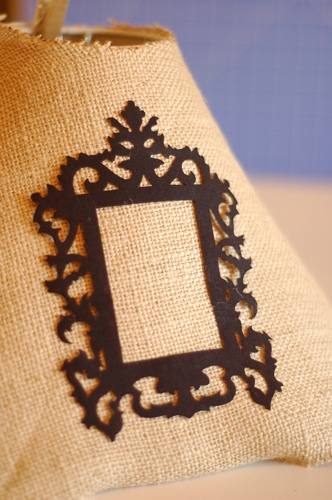
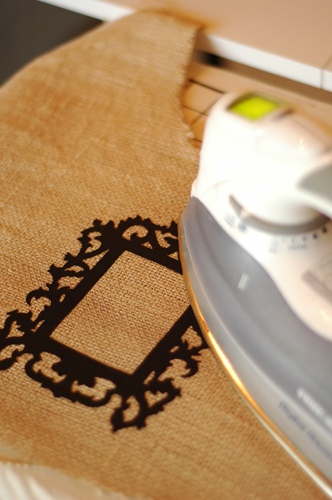
I carefully removed the burlap from the shade and ironed on the frame. A word of caution – if you are using fusible interfacing, don’t leave your iron sitting there for too long. I did that, and it kind of burned my burlap a little bit. It wasn’t bad enough that I thought I needed to re-do it.
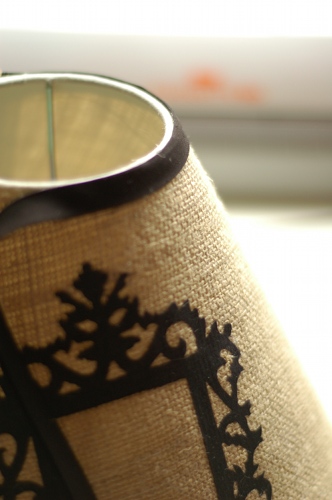
I attached the burlap to the shade in a few ways. The first thing I did was paint Mod Podge all over the shade with a sponge brush so that the burlap would stick when I was positioning it. Then, I did a small line of hot glue around about 1/2″ from the top and bottom of the shade so that the fabric wouldn’t peel. I think using both the Mod Podge and the hot glue ended up working great. I trimmed around the top and bottom so the burlap was about 1/4″ shorter than the shade.

You might even get yours on straight, unlike me. Eh, it’s good enough.
I used black 1/2″ bias tape to trim the top and bottom of the shade. Unless your shade is the same width around the top and bottom, make sure you use bias tape instead of ribbon (which will pucker).

Now, to create the little surprise. I went back to my Silhouette and cut 3 little chair shapes from black cardstock. Again, you can do this by hand if you need to. You can pick any shape you want, but I encourage you to pick a) something with simple lines that aren’t too thin and b) something fun and whimsical.
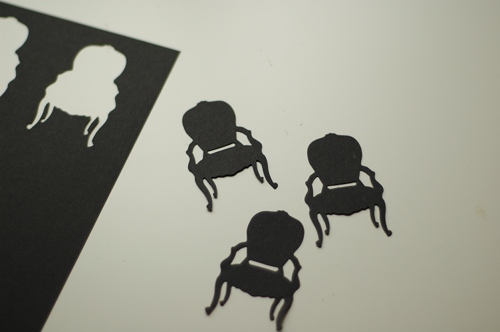
I cut three because I want to layer them to create one really thick shape. I glued them together with a plain ‘ole glue stick.
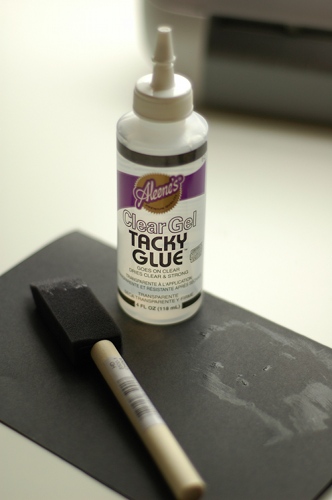
You will then attach your peek-a-boo surprise to the inside of the shade. I suggest using a glue that isn’t runny so that it doesn’t run down the shade. I actually used some Aleene’s Clear Gel Tacky Glue and just brushed it on to one side of the chairs with a sponge brush.
Then, just press your little surprise onto the inside of the shade, positioning it so that it’s inside the frame. I found it easiest to put the shade on my lit lamp so that you can see exactly where to place shape. Take the shade of the lamp and press the design on firmly.
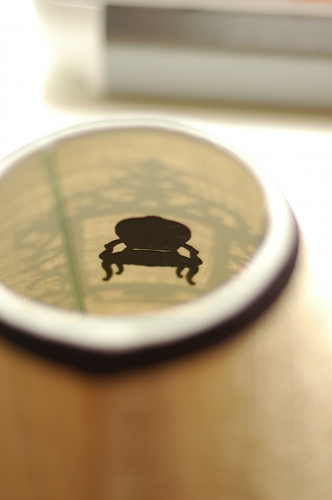
When you’re finished, you’ll have a fun lamp by day and a super fun lamp by night. I can’t stop staring at my new shade!
What peek-a-boo design will you put in your shade?
P.S. If you are in the market for a Silhouette SD of your own, you can use the code ‘LINDSAY’ at checkout to receive a great deal. You’ll get a Silhouette SD craft cutter for the discounted rate of $229 (that’s $70 off) – PLUS, a free bonus package of sewable fabric interfacing, clean cut fabric interfacing, and a roll of flocked heat transfer material. Just use this link, add the machine to your cart, and enter the promo code to see your discount and free bonus goodies. This promotion runs through March 27th.
P.P.S. Already have a Silhouette and want to pick up some of this fabulous new fabric interfacing? Save 25% off of both types of the fabric interfacing. Just use this link, add some fabric interfacing to your cart, and use the code ‘LINDSAY’ at checkout. This promotion runs through March 27th.
P.P.P.S. I am an affiliate with Silhouette America, meaning I make a few dollars if you use my link when shopping on their website. It helps to cover the cost of my glue sticks.
Shared at Made By You Monday @ Skip to My Lou and I Heart My Crafty Cutter @ Serenity Now.