Two weeks ago, Melissa at The Inspired Room challenged us to stop procrastinating and start creating. Being as that I always have some sort of transformation in mind, I had several different options to choose from.
I weighed my possibilities and ultimately decided that I would transform my son’s playroom in three areas:
- Add a window treatment to a bare window;
- Paint the armoire that holds his television and set up the TV/DVD/Cable box system properly;
- Add adult seating to the room.
I’m pretty sure some of you thought I was absolutely insane to tackle all of that at once. You were right. However, as the Queen of Biting Off More Than I Can Chew, I made it all happen within the two week time period Melissa gave us to complete our projects.
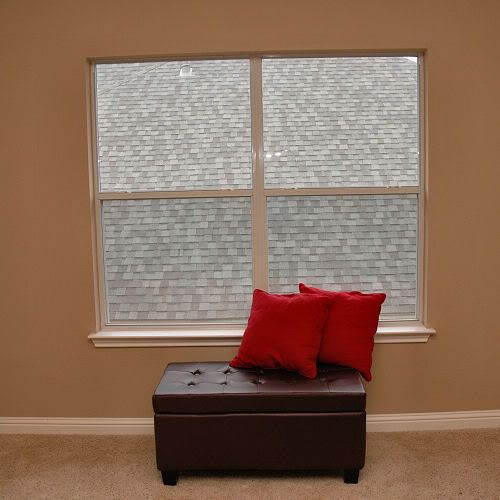
Let’s start by checking out the window. This is the before: Bare. Sterile. My neighbor’s roof.
After about 6 yards of fabric, 6 yards of trim and two pre-made curtain panels, I bring you this:

Love it.
If you can’t tell, the valence has a dinosaur silhouette print on camo color blocks (Ick! to camo, but this totally works). The stripe at the bottom of the panels is a coordinating fabric. This is a totally different direction than I originally wanted to take this room, as I’m not into themed rooms. However, Zack saw this fabric at the store and loved it. He’s apparently got a good eye, because this is playful yet still classic and grown-up.
This window treatment was a very easy one to put together, and I’m planning to write a tutorial on it to post in the next few weeks. I love how rich and layered it looks.
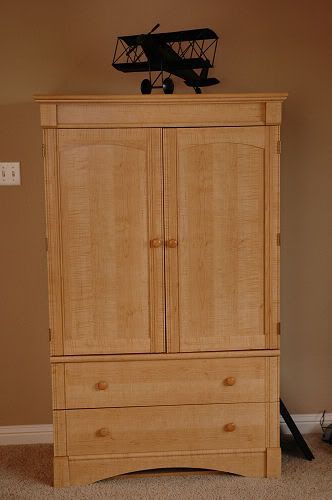
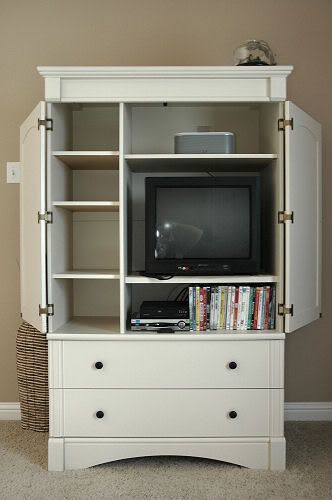
Next, let’s move on to the armoire. It is a substantial (read: very heavy) piece of laminate furniture that we bought for Zack before he was even born. I wanted to continue to use it because it’s very well made and has nice lines, but I’m just not into the light colored wood right now.
After searching and searching online for a tutorial on how to paint laminate furniture, I found nothing that thoroughly detailed the process. So, I just figured it out myself! Don’t worry, I’m going to share the steps with you next week because it is very easy – just time consuming. I added the striped fabric from the window treatments into the insets of the doors and installed new knobs. The paint color is Antique White from Behr and matches the dinosaur print perfectly.
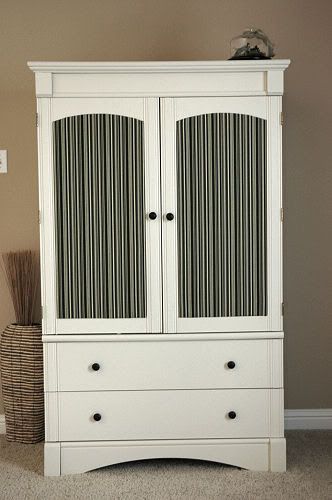
Shhh…listen closely. Doesn’t it scream Pottery Barn to you now? Love it, love it. You can even see the dinosaur diorama on top of the armoire.
To create the insets, I laid a piece of butcher paper on top of the door and traced the shape of the insets. I cut out the tracing and used it as a template to cut a piece of foam board into the right shape. Then, I heated up my glue gun and glued the fabric onto the board (wrapping the edges around to the back) and glued the board to the door. Easy peasy.
DH even helped me hook up the DVD player and the cable box to the TV. We moved all of Zack’s movies upstairs, so now he can turn his on his own movies during TV time.
Lastly, we moved the ugly but comfy La-Z-Boy recliner out of the master bedroom…
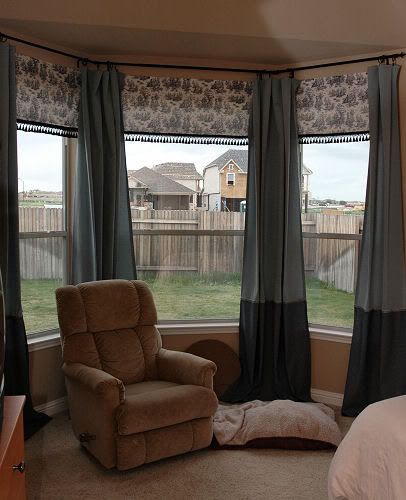
…and put it upstairs in the playroom to add some adult seating. Per some suggestions I received, I added a sage green throw blanket to the chair. I also made a pillow sham for the chair using the three fabrics I have used throughout the room. I’m planning a tutorial on that one, too.
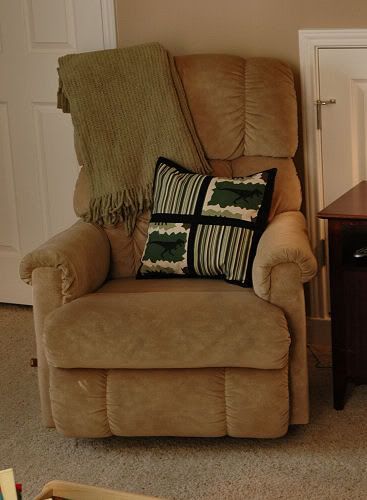
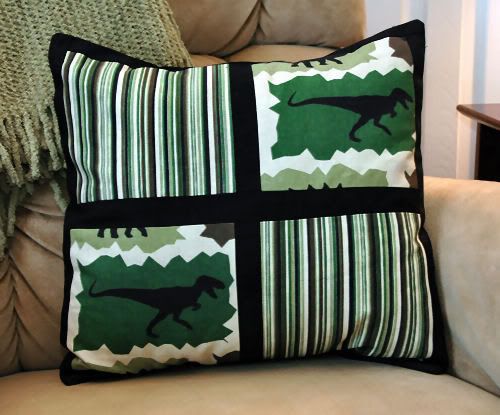
This is such a nice spot to sit now. I have to fight Zack over this space. Love it, love it, love it.
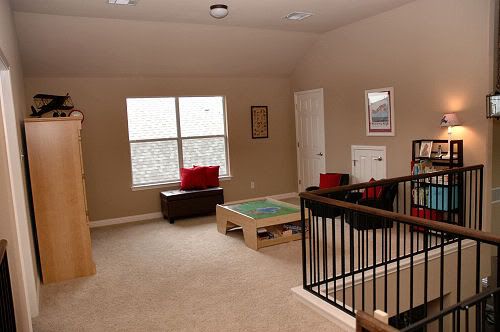
Let’s take a look at it all the whole room put together. Here’s the before:
And here’s the after (please remember I’ve added no accessories yet, so don’t look at my bare walls or the non-matching lamp):
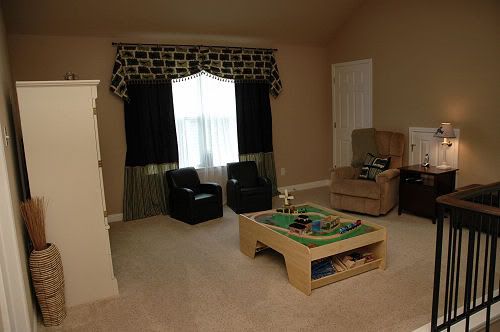
Quite the transformation! As my DH pointed out, “Gosh, it looks, like, put together now.”
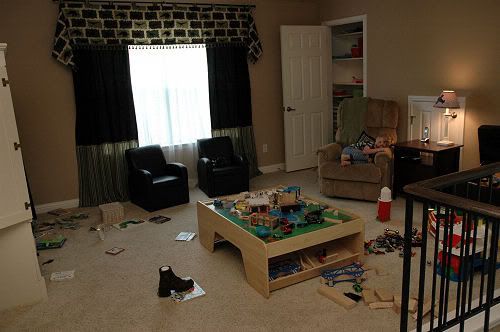
Just so you don’t think I’m always on top of everything, here’s a peak of what the room looked like just before I took pictures. See? Zack stole my chair!
Thanks so much, Melissa, for hosting this Procrastination Party! Otherwise, this room would still look bare and I would still be ignoring it. Now, we are enjoying it to the fullest!