I’ve obviously been pretty busy over the last few weeks.
After I got the playroom finished, I immediately set my sights on my home office. It has basically been the room where “stuff” goes to die. I was climbing over ladders, toys and wayward pieces of furniture to get to my makeshift desk.
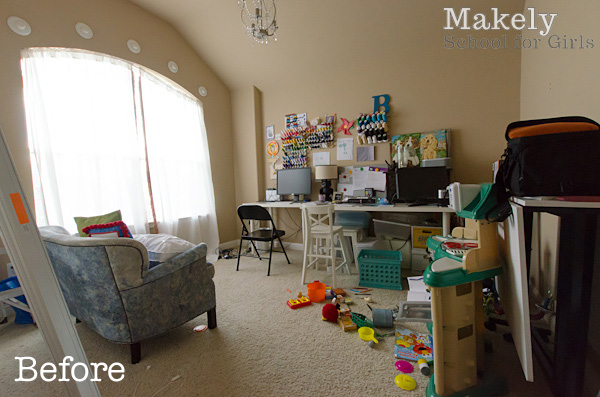
That photo was taken on a good day, after I had picked up a bit. Don’t ever fool yourself into thinking that bloggers lead a glamorous lifestyle.
Anyway, since I spend so much time in that room, I decided that I wanted to focus on it next. I began by cleaning it out and giving away a lot of its contents to locals via my Facebook page. Once the clutter was gone, I knew that I wanted the focus of the room to be the far wall (where my computer is in the above photo).
Looking to branch out a bit from my usual graphic paint treatments, I thought bringing in some warm wood tones wood be fun. I love the white wooden planked walls that are so popular of late, but white wood doesn’t really match my home’s style. But, they did spark an idea.
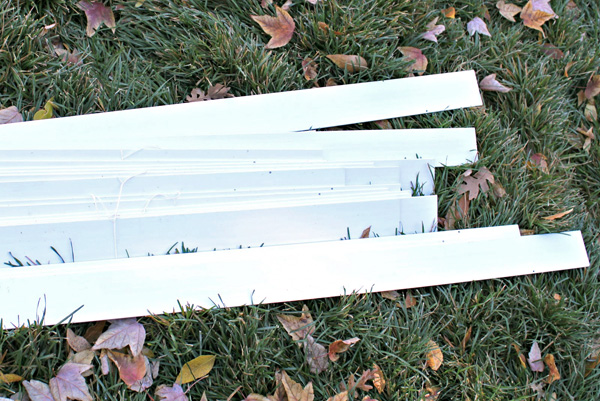
I bought a few packages of EverTrue 32″ pine tongue and groove plank paneling at Lowe’s and played around with some layout ideas on my floor. I ultimately decided that a herringbone pattern would look pretty neat.
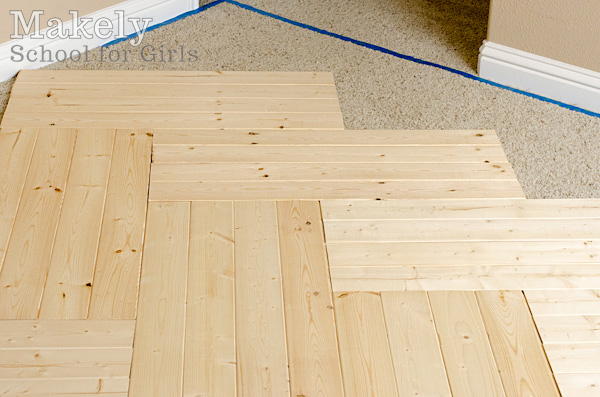
I calculated that I would need about 10 packages (at $9.58 each) to cover the entire wall. I split all of those planks into 3 piles and stained them in 3 different shades of brown. I used the little half pint cans of stain – Kona and Summer Oak from Rustoleum and Provencial from Minwax – and it was just the right amount to stain all of the boards. I used Minwax Pre-Stain Wood Conditioner before staining since pine often looks blotchy after staining if it’s not prepared correctly. With the stain and wood conditioner, I simply wiped it on with a lint-free cloth, let it sit for about 15 minutes, and then wiped off the excess.
Because I wanted the pattern to be even on both sides of my wall and I wanted the angle of the boards to be exactly 45-degrees, I found the center point of my wall and drew out an angle. To do that, I used a framing square and a level to draw a 90-degree angle and then used an angle square to find the 45-degree angle.

I lined one of my boards up on the 45-degree angle and secured it to the wall using my pneumatic brad nailer. The planks are incredibly thin and light, so I was able to just use 5/8″ brads (i.e. little nails). I put two brads in each end of the board.
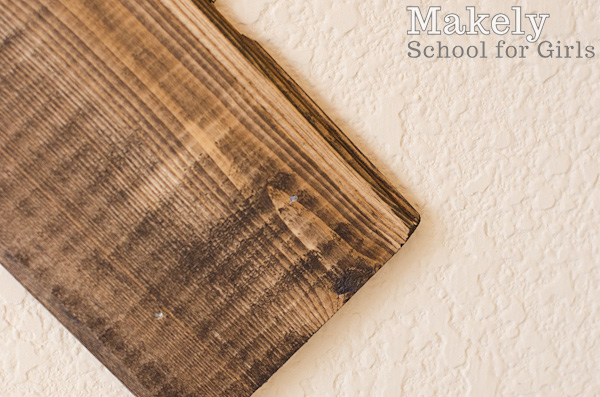
I used four boards in each section of the herringbone, since four boards across was half of the length as one board is long. I used a random pattern for the colors as I went along. Because the boards are tongue and groove, I was able to slide them each into place and secure them with the brads.
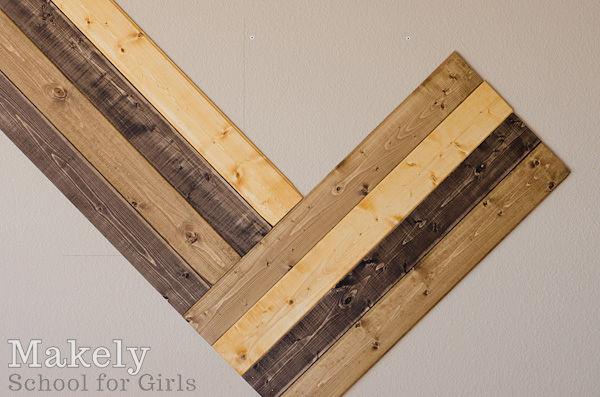
Until I got to the edges of the wall, there wasn’t any measuring to it. I just had to count by four and rotate the boards when I got to that point. They went up on the wall very quickly.
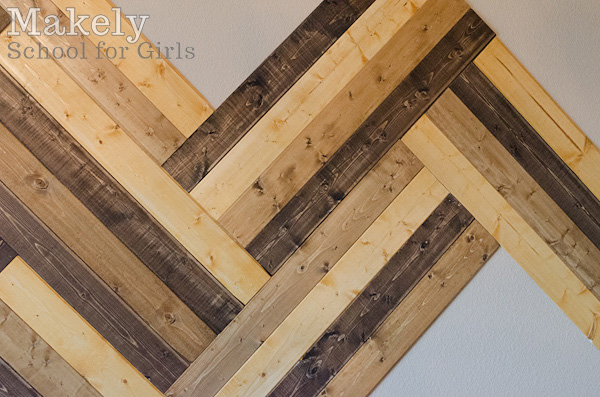
If my boards didn’t completely meet up, I dabbed a little bit of dark brown craft paint behind them. It’s super professional around here, y’all.

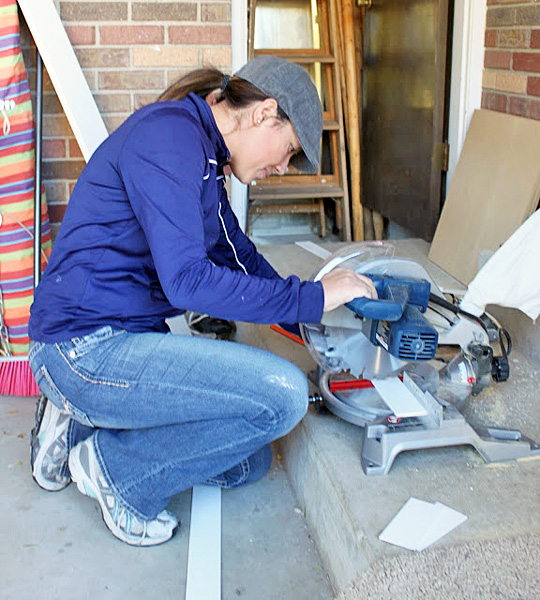
Things got a little more complicated when I reached the edges of the wall. The planks had to end in a 45-degree angle to sit flush with the wall edge. I just used my angle square to draw those angles and then I cut them with my miter saw set at 45-degrees. I also had to cut most of them shorter as well, so I measured the length of those boards by holding them in place and marking where they should be cut and then cut them with the miter saw set at 90-degrees. I removed the baseboard from just that wall so that the panels would go all the way to the floor. I only have one outlet on that wall, so I made sure that I didn’t nail too close to it so that I wouldn’t get any brads through the wiring behind the wall (I don’t think my brads were long enough to worry about that, though).
The cutting wasn’t hard, but it was time consuming. I did this entire project by myself (and I think it killed Tom that I wouldn’t let him participate), and I later found out that my neighbor had come up with her own contingency plan of getting me to the hospital in case I cut off a finger while I was home alone. Thanks, Ellie! 😀 That totally cracked me up, but it made me so glad to have her as a neighbor. In reality though, using a saw really is dangerous if you aren’t taking the proper precautions, so wear eye protection and check and then double check your hand placement before you bring down the blade.
I completely forgot to take a picture of what the wall looked like once all the planks were installed. They weren’t all perfect, though. Some of them touched the adjacent wall and others were about an inch too short. It was fine, though, because I knew I was going to stain and install some lattice trim around the edges to finish it off. I measured and cut the angles at 45-degrees, pre-conditioned and stained, and then installed it to the wall. I actually used a slightly longer brad – I think 1 inch – to secure the boards to the wall.
I taped off and covered my new wall and then painted my ceiling “Lindsay White” (1 gallon of Glidden flat white paint off the shelf with an extra 1 oz of white added in at the paint counter) and the rest of my walls in Glidden Blue Blazes.
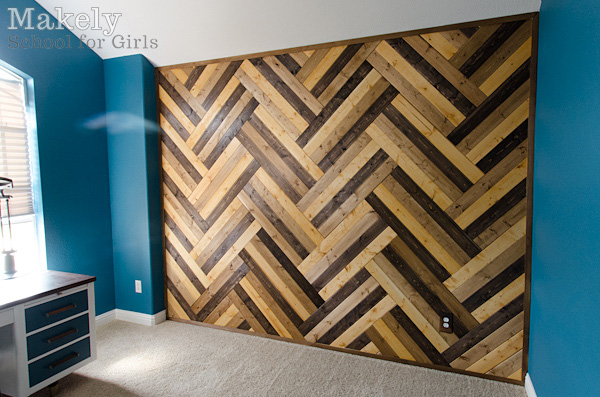
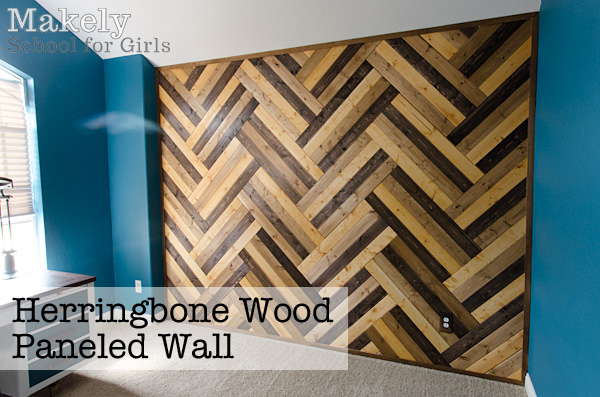
The end result is pretty awesome, if I do say so myself. I still have some touching up to do on the paint, but I’ll probably wait until the rest of the room is complete to deal with that.
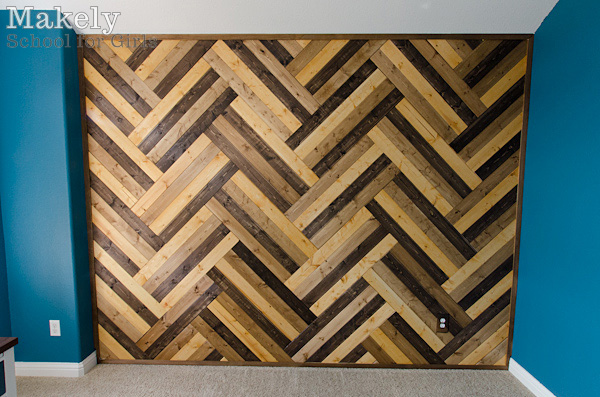
I have some great pieces of furniture that are going to go along that wall, so I can’t wait to show you what it will look like once it’s finished. There are still lots of fun surprises in store for my home office!
So, what do you think of my herringbone wood paneled wall? I love it so much that I want to marry it.
Joining the Best DIY Projects of November link up at Beneath My Heart.