Back when Zack was about 3 years old, I created an adorable fall themed t-shirt for him. On the front, there was a woodpecker saying “Knock, Knock!”. On the back, an owl answered “Who’s There?” I thought it was a clever play on words, and I hated that he outgrew it so quickly.
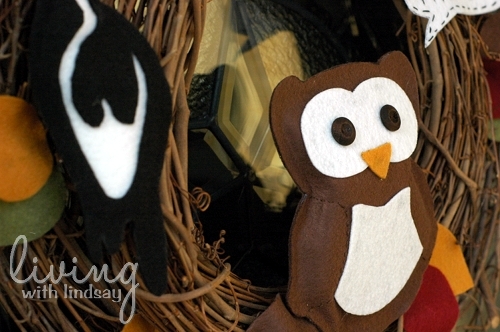
This past weekend, that shirt popped into my mind and it occurred to me that the idea would be so much fun on a front door. I pulled out my applique patterns from my sewing archives (I sound like Rachel Zoe!), and a whimsical autumn wreath was born.
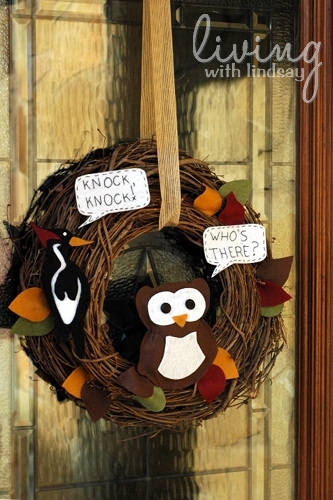
This wreath is incredibly simple to put together – if you can use scissors and a glue gun, you have all the skills needed. I even turned my original appliques into a free, downloadable template, so it takes all of the “I can’t draw!” fears off the table. Follow along and create your own.
DIY “Knock, Knock! Who’s There?” Wreath
The owl and woodpecker wreath can be put together for under $2o, and likely less since you probably have some of the supplies on hand. The list is long, but it contains very inexpensive items. You will need:
- Scissors
- Glue gun and glue sticks
- Brown felt (9″x12″ size) – 2 sheets
- Black felt (9″x12″ size) – 2 sheets
- Olive green felt (9″x12″ size) – 1 sheet
- Gold felt (9″x12″ size) – 1 sheet
- Crimson felt (9″x12″ size) – 1 sheet
- White stiff felt (9″x12″ size) – 2 sheets
- Medium brown buttons (2) or brown fabric paint
- Tiny white button (1) or white fabric paint
- Needle
- DMC Embroidery floss – black and brown
- Polyfil
- Craft wire
- Ribbon (at least 1 1/2 inches wide)
- Grapevine wreaths – 18″ and 14″ diameters
- Sharpie marker
- Pencil
- Chalk or white paint marker
- Printer
- Barrette clips (optional)
Let’s get started on the wreath!
1. Gather your supplies and download the free template I have put together for this project. Click HERE for the templates, and the PDF will either open on your screen or save to your computer (depending upon how you have your browser set up to handle downloads). Cut out each printed pattern.
2. Trace your patterns onto the felt with a Sharpie marker (except for the black felt, which will need chalk or a white paint marker). Cut out the patterns along the inside of the Sharpie line (do each shape won’t have a black outline). Each pattern tells you how many you should trace onto each color of felt. Note: Per the template, the squiggly feather detail for the woodpecker is to be cut out of one of your black woodpecker cutouts.
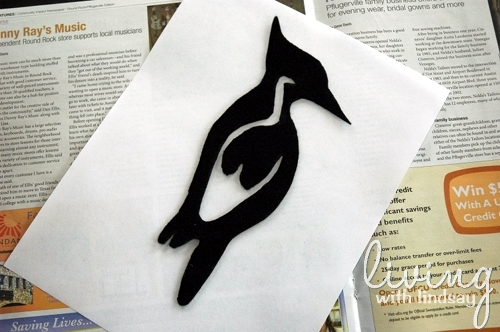
3. Set aside the leaves, speech bubbles, 1 brown owl body and 1 black woodpecker body, and assemble the rest of your owl and woodpecker with hot glue. Use a sparing amount of glue so that it doesn’t ooze. The white portion of the woodpecker is glued behind the wing detail that you previously cut.
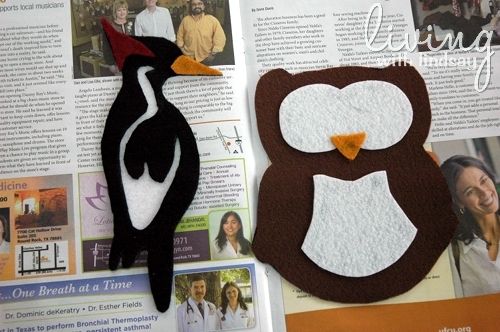
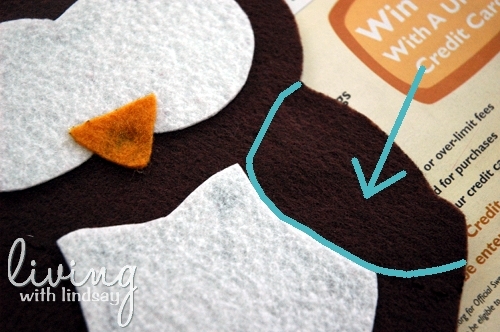
4. Add the wing detail onto the owl. I used brown embroidery thread and a needle to free hand stitch along the blue line below. I tried to take photos of my stitching, but it’s the exact same color as the felt and didn’t show up in the photos. I stitched along both of the owls wings.
5. Add eyes to both birds. I had two brown wooden buttons in my button stash and hot glued them onto the owl. I didn’t have a small enough white button for the woodpecker’s eye, so I just applied a dot of white fabric paint.
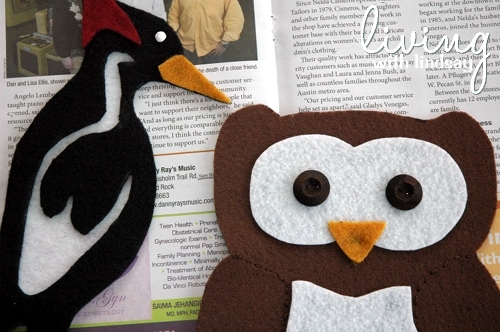
6. Take the brown owl body cutout that you set aside and hot glue (along the edges only) it to the back of the owl. Leave it open about 3 or 4 inches along the bottom.
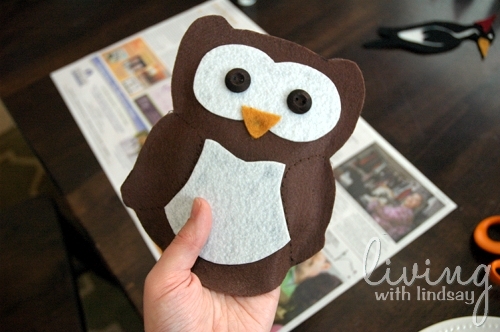
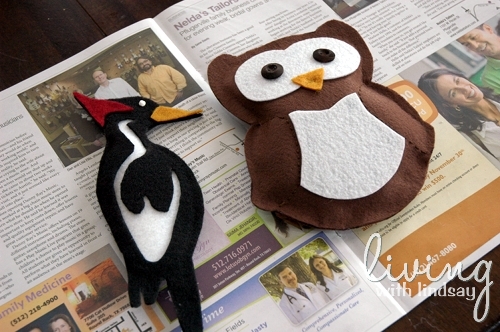
In the open hole, stuff a bit of Polyfil to give the owl some shape. If you can’t reach the top of the owl, gently push some Polyfil up with your scissors. Once it’s stuffed, glue the hole closed. Repeat the process for the woodpecker.
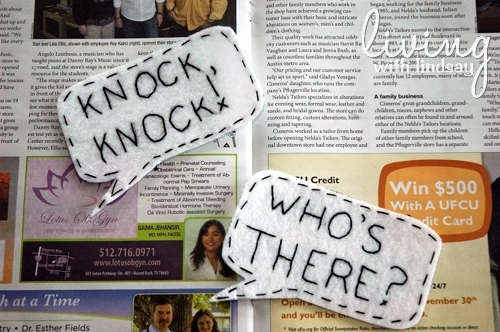
7. Grab your speech bubbles. With your pencil, write out “Knock, Knock!” on one and “Who’s There?” on the other. Using your black embroidery floss and needle, embroider the phrases with a back stitch. If you don’t know how to do that (and it is CRAZY easy once you learn it), check out this tutorial that Shelli from Needle in a Haystack shared with us a while back. I also stitched around the edges of the speech bubble to give it a more whimsical look. Remember, whimsy means that it doesn’t have to be perfect!
8. Optional step: Hot glue some barrette clips on the back of your birds and speech bubbles. I used two on the birds (owl glued vertically and woodpecker glued horizontally) and one on each speech bubble (glued horizontally). You could probably just hot glue the birds and speech bubbles directly onto the wreath, but I thought the clips would help them to stand up better (particularly the owl).
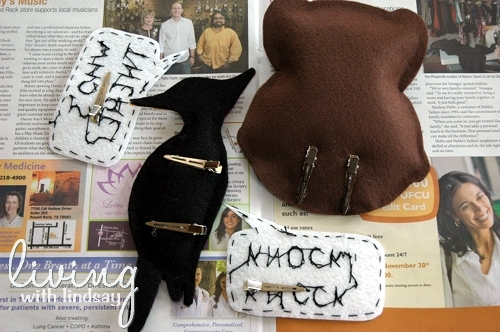
9. Wire your two grapevine wreaths together with the craft wire. Mine are wired in four places on the back of the wreaths. Then, attach the birds and speech bubbles to the wreath using either the barrette clips or hot glue if you didn’t use the clips. I always loop my wreath hanging ribbon around the wreath when I am attaching elements so that I know how it will hang.
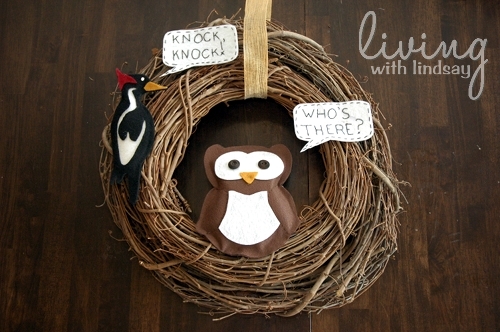
10. Lastly, hot glue your felt leaves around the wreath. I put some around the owl to look like he was sitting in a tree (the grapevine represents the branches) and a few around the woodpecker. The rest I added in clumps around empty parts of the wreath. You can add more or less depending upon your own aesthetic.
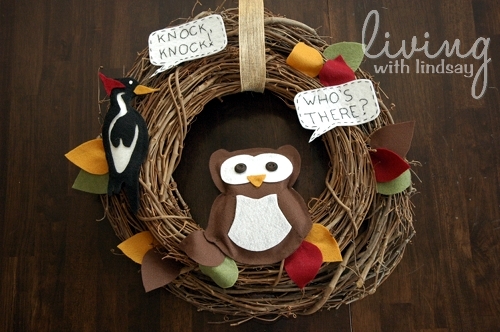
11. Hang the wreath with the ribbon in the place of your choice. If you hang it on your front door, please make sure that the door isn’t directly exposed to the elements – I’m not sure how it would stand up to getting soaked from the rain or snow.
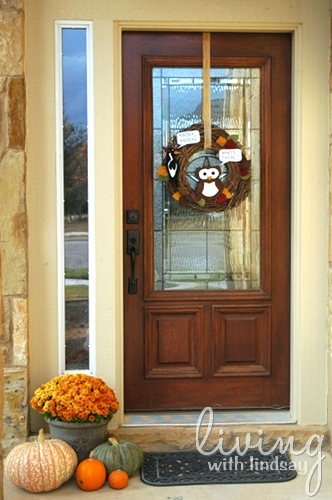
I often get asked how I hang my wreaths with ribbon. I loop the ribbon around the wreath and tack it with a finishing nail on the top of my door. I have one little hole on the top of my door and just use it for every wreath I hang.
I think this wreath is such a hoot! You knew I was going to go there at some point, didn’t you?
Do you think you have time to put one of these wreaths together before you haul the Christmas decorations out of the attic? If you have any questions, let me know!