Makely

Let's Make Life Awesome

  • Home
  • Decorating/DIY
    • Create Your Decor
    • Decorate Your Home
    • Paint Your Walls
    • Transform Your Furniture
  • Healthy Living
    • Essential Oils
    • Family Wellness
    • Household Care
  • Project Gallery
  • Contact
You are visiting: Home » Decorating/DIY » Decorate Your Home » Page 105

A Basketful of Inspiration

by Lindsay Ballard on April 30, 2009 125 Comments

If you haven’t noticed, baskets are a dime a dozen at thrift stores. Okay, maybe they are more like $2 for one, but they are cheap!

I hit the mother load of great baskets during my thrifting trip this week, and I’ve been racking my brain to try to come up with creative uses for them. They were super cheap, in perfect condition, and AAAACCCCKKKKK…….
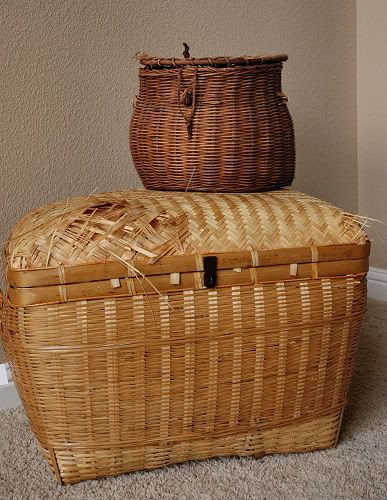
Um, it looks like my dog got a hold of them while I was out running errands. He’s lucky he’s adorable, because he’s seriously beginning to ruin my house little by little.
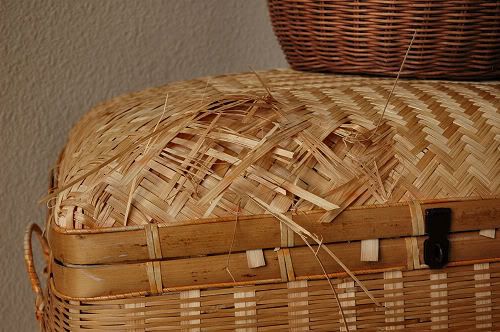
He’s also lucky that I was planning on recovering the top of that basket with fabric, so hopefully my plan will still work. The large basked was $4.99 and the small basket was $2.99 at Goodwill, so if they are a total loss, I won’t be out much money.

I’m planning on giving them their makeover in the near future (don’t forget that you can spray paint those baskets!), and I’m very excited to share them with you. In the meantime, I thought I’d pass a long a little inspiration to you so that you could figure out how to use some cheap thrift store baskets in your own home. I bet if you look hard enough you’ll even find some forgotten baskets tucked into a closet somewhere.

1. Line your baskets with fabric remnants using this simple no-sew tutorial. These liners are really expensive, so now you can use your glue gun to make one. Brilliant!
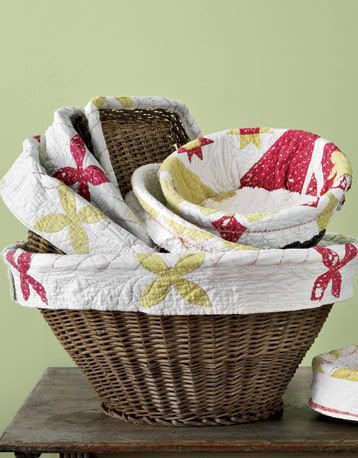
Country Living

2. Put large baskets on pedestals and use as planters. Note: For those of us with black thumbs, you’ll want to put the plant in a pot and then put the pot inside the basket. Just saying.
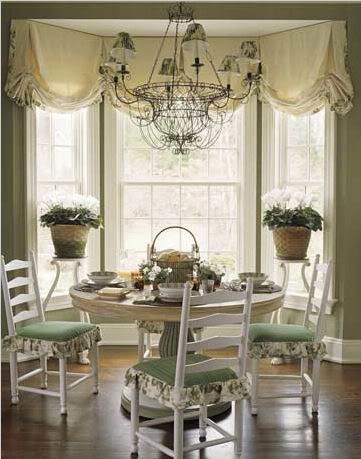
House Beautiful

3. Hang large, shallow baskets on the wall as art. This is a great way to cover a lot of wall space very cheaply.

Pottery Barn

4. Turn a small closet into a storage nook by adding baskets to open shelving. This would be a great way to gain some use out of a small coat closet.
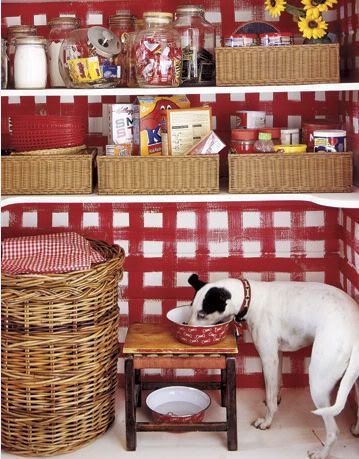
Country Living

5. Line a windowsill with small baskets and use as pots for clipped blooms. Again, put your vases inside the baskets.
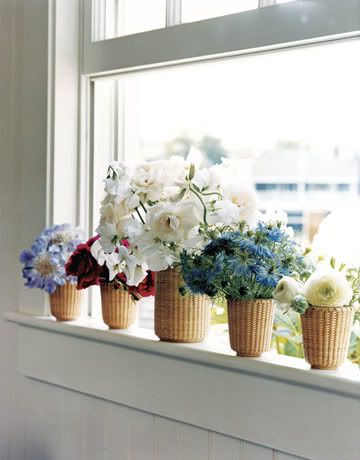
House Beautiful

Have a great weekend! I’ll be spending mine working on my procrastination projects!

I’m sharing this post with Julia over at Hooked on Houses this week. Be sure to head over there and see what others are hooked on!
Sealing Grout Makes Cleaning Tile Floors Easier

by Lindsay Ballard on April 28, 2009 2,229 Comments

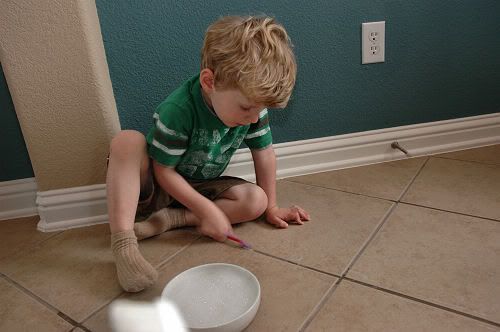
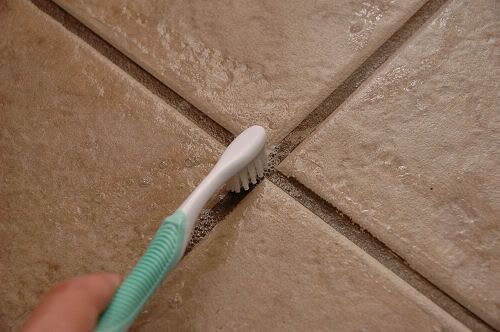
Today, I got down on my hands and knees and scrubbed my tile floor with a toothbrush.

No, I’m not Cinderella, although I may be channeling her from last weekend’s trip to Disney World. I was actually preparing the grout on my tile floors to be resealed.

If I asked you, “When was the last time you sealed/resealed the grout on your tile floor?,” how would you answer?

A. Within the last six months
B. Um, it’s been a while
C. I think we did it when our tiles were installed
D. I don’t know what you mean by “resealed the grout”

If you answered A, then ding, ding, ding! You’re a winner! You can skip this post and move on to something more fun. If you answered B, C, or D, then please read on.

The 411 on Grout Sealing

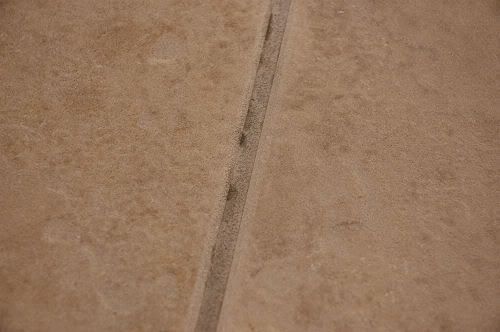
When tile floors (and backsplashes and bathroom walls) are installed in a home, they are most often left unsealed. What this means is that your grout will suck in dirt, spills, and stains like a magnet. Clearly, this is no bueno.

Sealing the grout is extremely easy and requires little effort beyond painting a straight line. Once the grout is sealed, spills and stains literally bead up and make it a million more times easier to clean.

I suggest you work on one room or section at a time. For instance, today I sealed our entry way. Tomorrow, I will do the kitchen and breakfast room. Perhaps Thursday I will do the bathrooms. Breaking it into sections like this means you don’t have to turn over your whole afternoon to the grout sealing endeavor.

Before you get started sealing, you’ll need to clean the grout so that you start with a clean surface. If your grout is mostly free from stains, you can use a mix of warm soapy water (I use liquid dish detergent).

Steps to Clean Grout:

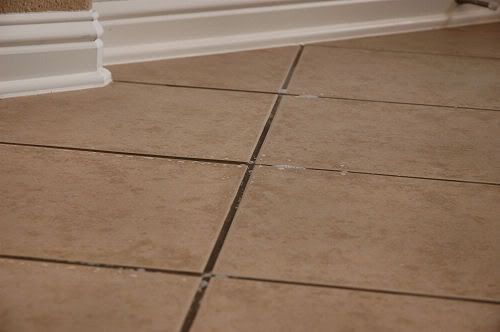
1. Inspect your grout and look for stains that will need extra attention. Make a mental note of those areas.

2. Dip an old toothbrush into your warm soapy water mixture and scrub the grout, paying extra attention to the areas you noted above.

I have found it easiest to work in line segments, scrubbing one entire grout line at a time. It’s also faster if you have a helper join in on the scrubbing, although it would be better if said helper had an attention span longer than 3 minutes.

The process won’t take long at all. It took me about 15 minutes to complete a 30 square foot area (and would have only taken about 10 minutes if I didn’t have Zack’s help).

3. Allow the grout to dry for about 45 minutes (the grout is a darker color when wet, so you can tell when it is dry). After it’s dry, inspect again and scrub any places where stains remain.

If you still can’t get the stains off, you can buy a cleaning solution, such as this one which is made specifically for cleaning grout.

Once the grout is clean and dry, it’s time to seal it! We strive to reseal our grout every six months (since it does eventually wear off), although I’ll admit it’s been much longer that that since the last time we did it.

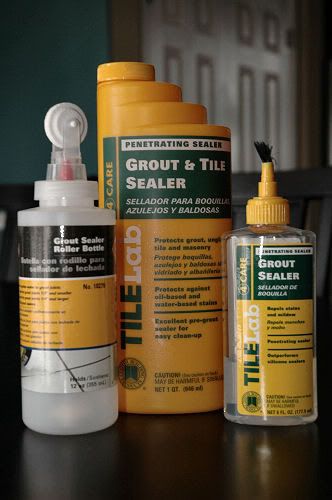
You’ll need to purchase some grout sealer at a home improvement store. There are several different kinds of sealer, but I prefer a penetrating sealer. This means that the sealer will keep spills and stains from soaking into the porous grout. You will also need a means to apply the sealer – you can use a small paintbrush, or a brush-tipped bottle or roller-tipped bottle specifically made for sealing grout.

Steps to Seal Grout:

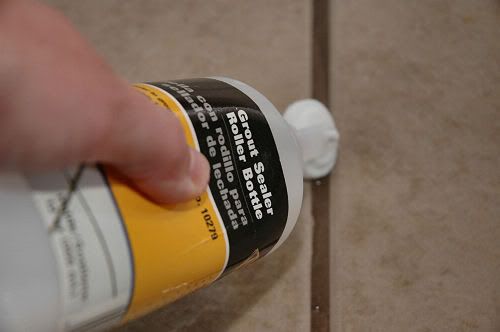
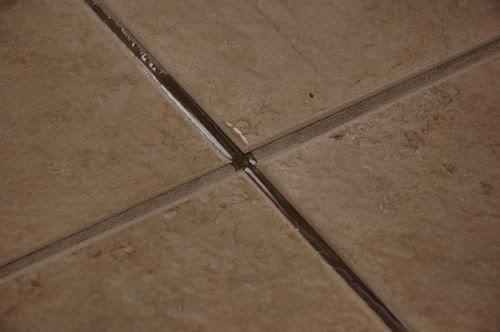
1. Paint or roll the sealer onto the clean, dry grout. If your grout is newly installed, you’ll need to wait about 48 hours before you can seal it.

Apply liberally so that it forms a little river in the valley between the tiles.

2. Just as when you cleaned the grout, it’s easiest to work in line segments. This process will be much faster than the grout cleaning. It took me about 5 minutes to seal my 30-square foot section.

3. When you have finished sealing the grout, allow the solution to soak in for about 10 minutes. Then, use a microfiber cloth, towel, or old t-shirt to wipe the excess solution off of the grout and tiles.

4. The next day, run a wet mop over the area you sealed, just to make sure you got up all of the excess solution. You may see a white residue on your tiles from the excess sealers, but it will come off when you mop.

5. Repeat the process of cleaning and sealing in about 6 months!

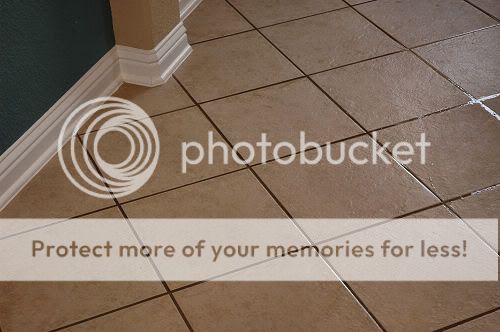
You will be so amazed at how much easier it is to clean spills off your tile floors once the grout has been sealed. A few hours of work a twice a year will help make your floors look brand new! The difference in the how the newly sealed hallway floor looks when compared with my needs-to-be-sealed kitchen floor is night and day.

Have a tip that really works for you? Join Kristen for Works for Me Wednesday at We Are That Family!

« Previous Page
Next Page »
  • Email
  • Facebook
  • Instagram
  • Pinterest
  • Twitter

About Makely

Lindsay Ballard is a former college mascot turned political geek turned roller derby playing, DIY fanatic.

Lindsay chronicles her projects, design ideas, and lifestyle tips here at Makely, where she shares tutorials and inspiration. Her DIY designs are bold and graphic, while her spirit is fun and full of color.


Archives

Categories

PRIVACY POLICY
Copyright © 2009-2019 Makely School for Girls | All Rights Reserved | Posts may contain advertising content or affiliate links