Makely

Let's Make Life Awesome

  • Home
  • Decorating/DIY
    • Create Your Decor
    • Decorate Your Home
    • Paint Your Walls
    • Transform Your Furniture
  • Healthy Living
    • Essential Oils
    • Family Wellness
    • Household Care
  • Project Gallery
  • Contact
You are visiting: Home » Decorating/DIY » Page 228

Ridding the World of Mushrooms

by Lindsay Ballard on October 29, 2009 41 Comments

I really hate mushrooms.

Now, before you’ve think I’ve gone off the deep end and have started ranting about pizza toppings, let me clarify. I don’t hate mushrooms: the fungi. I hate mushrooms: the lights.
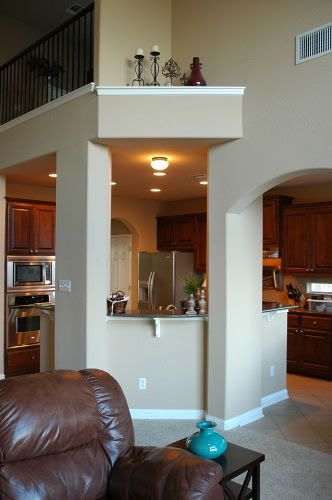
See that one above my kitchen sink? It makes me completely crazy. It gives off very little light, and it’s pretty much just an eyesore that you can see from both the kitchen and the living room.

In my effort to rid the world of mushroom lights one fixture at a time, I knew that this one had to go. I wanted to wait until I found the perfect chandelier to replace, and I luckily stumbled upon it at the City-Wide Garage Sale last weekend.

What do you think of the new chandy that replaced that ugly fungus of a light?
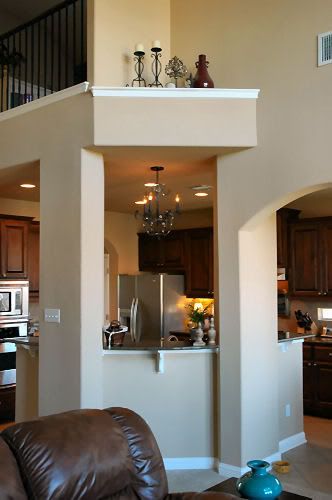
Come closer my pretties…

Still closer…
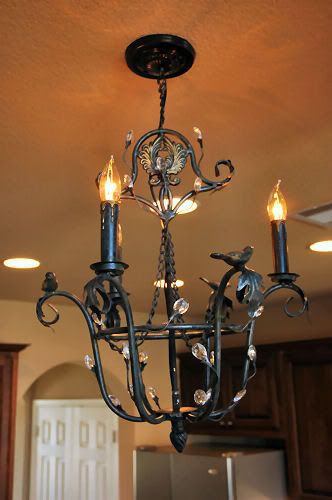
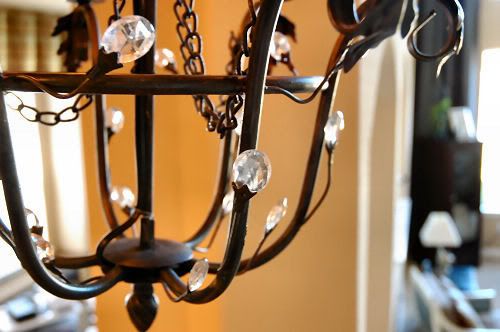
Ahhh, isn’t it fantastic? It has three “candles,” three different little birdies, and lots of bling. It’s impossible that I could love a light fixture any more than I love this one. We installed it on a dimmer, so we can make it as bright or as dim as we would like. It’s nice to have the bright light while working in the kitchen, but we like to have it softened in the evenings when we are enjoying our living room.
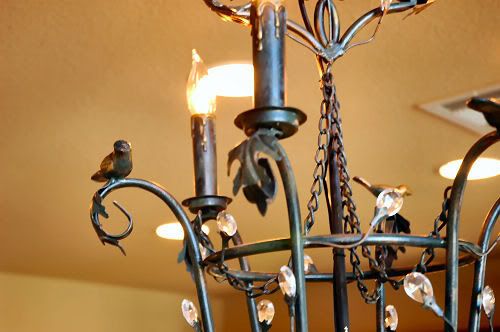
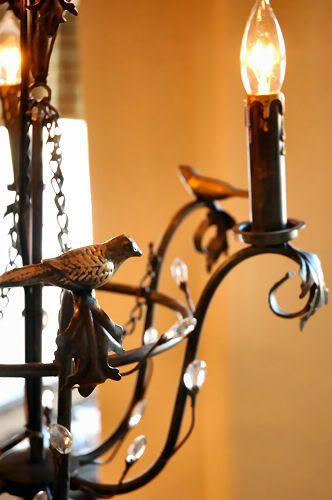
The thing is, Tom didn’t love it when I brought it home. In fact, I think his exact words were, “Where are you going to put that ugly thing.” Tsk, tsk.

Sometimes, Tom’s right, though. He helped make some upgrades to the chandelier that really made a big difference. Before, it seemed too long for our space and just looked very heavy.
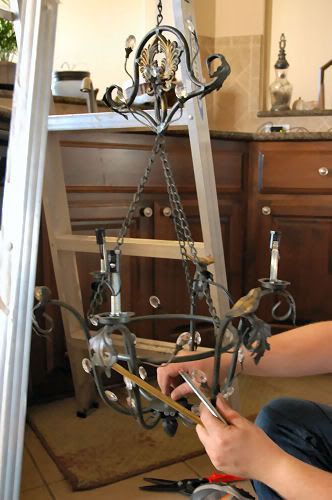
He suggested making some changes to the shape of the fixture. What a catch I have, huh?
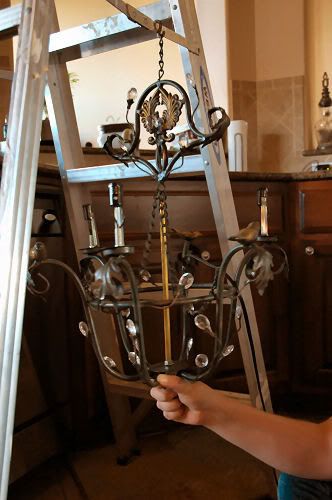
After adding a length brass tubing, some wire to hold it up, and a touch of black craft paint, Tom even loves it. Hooray for a smart husband and a “ghetto” fix. Whatever works, right?
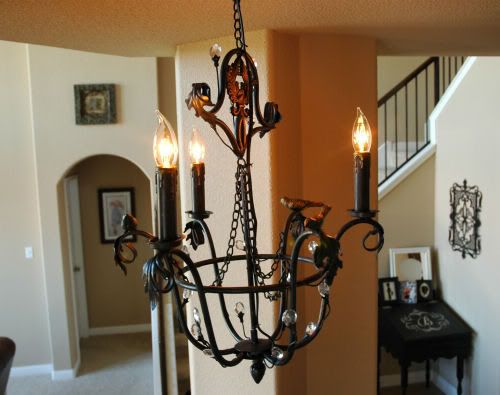
So much nicer than a cheap, boring mushroom light, don’t you think? Now, I just have to find replacements for the six (!) other ones in our house.

The $7 Burlap Table Runner

by Lindsay Ballard on October 15, 2009 54 Comments

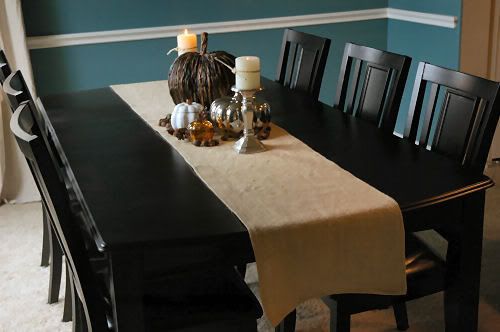
I wanted to create a year-round decorating solution for my dining room table. I’ve mentioned that I tend to change my centerpiece with the seasons and holidays, but I needed something else on it to give it more texture and visual interest.

I will be the first to admit that I’m not a big fan of burlap. I think it’s itchy and sheady, but I also have weird issues with some textures (For instance, velvet and upholstery foam send shivers down my spine. Yep, I’m odd.), so don’t listen to me in that regard. However, I decided that a table runner made from burlap would satisfy my need for more texture on my table, my need to have something that would work year-round, and my need for something cheap. And since I don’t really have to touch it all that often, that works for me, too.

The runner was so cheap and easy to put together, that I want to teach you how to make one, too. You’ll love having this on your table.

For this tutorial, there are three different versions I’m going to show you:

  1. Sew version – using a sewing machine (what I did);
  2. Semi-sew version – using stitch witchery or no-sew hemming;
  3. No-sew version – just cut and go. I will add the special no-sew instructions in italics.

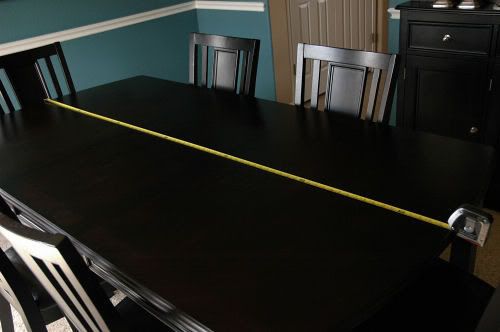
Begin by measuring the length of your table. Mine is 79″ long.

Next, you will need to figure out the dimensions of your runner. I generally like my runner to overhang the length of the table by 6-8″ on each side. I personally think that runners that only overhang a few inches or don’t overhang at all look a little anorexic, but that’s just me. Runners are also generally 14-18″ in width, but again, choose what works for your table.

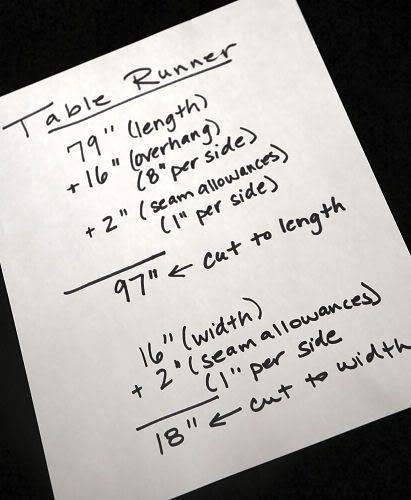
Because I’m one of those people who likes to see everything in writing, I wrote out my dimensions to use for cutting the burlap. If you are going to create the sew or semi-sew version of the runner, be sure to add in the 2″seam allowances as I did. If you are going to create the no-sew version, leave the 2″ seam allowances out of your calculations.

Are you following me?

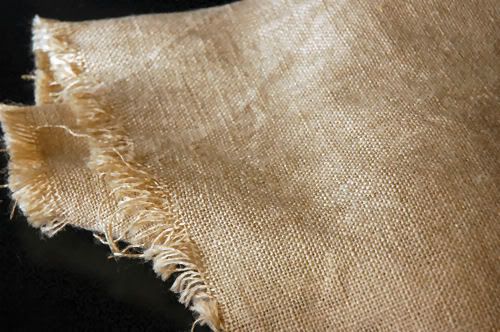
If you don’t already have a stash of burlap on hand, head to a fabric store and pick some up. It’s generally less than $3/yard. For my runner, I needed about 2 1/4 yards. Burlap comes in an array of colors – white, black, natural, red, orange – so choose what works best for your decor.

Once you are home with your burlap, throw it in the washer and dryer if you are doing the sew or semi-sew version. If you are doing the no-sew version, do not wash it now. We’ll do that in a bit.

Now we’re ready to cut. Spread out your burlap on the floor and use a yard stick or tape measure to mark of your dimensions you calculated earlier. Follow the weave of the burlap to cut your lines as straight as possible. If you have already washed your burlap, go ahead and cut off the frayed selvage edges before you cut out your runner.

For the no-sew variety, now all you have to do is fray your edges! Throw your cut piece into the washer and dryer to soften the fabric and fray the edges. When it’s dry, or almost dry, iron the piece on a high setting and place on your table. Congrats! You’re finished!

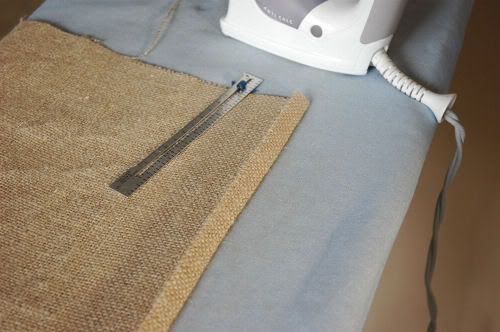
For the sew and semi-sew varieties, fold under each edge 1/2″ and press. Repeat by folding under each edge 1/2″ again and press. I generally like to do the double folds on the long sides first and then the short sides so that I end up with nice square corners.

Now you can either add a strip of stitch witchery underneath the folds and iron it according to the directions on the package or you can run it through the sewing machine, as I did mine. Regardless of your method for seaming the edges, your are now ready to enjoy your simple new table runner!

There are so many different ways to embellish the burlap if you would like to. I will probably end up stenciling B’s on the hanging parts of the table runner (of course) once I get tired of the way it looks now. Check out Tiffany’s easy burlap stenciling technique at la*T*da. Love it!

Do you see a $7 burlap table runner in your future?

« Previous Page
Next Page »
  • Email
  • Facebook
  • Instagram
  • Pinterest
  • Twitter

About Makely

Lindsay Ballard is a former college mascot turned political geek turned roller derby playing, DIY fanatic.

Lindsay chronicles her projects, design ideas, and lifestyle tips here at Makely, where she shares tutorials and inspiration. Her DIY designs are bold and graphic, while her spirit is fun and full of color.


Archives

Categories

PRIVACY POLICY
Copyright © 2009-2019 Makely School for Girls | All Rights Reserved | Posts may contain advertising content or affiliate links