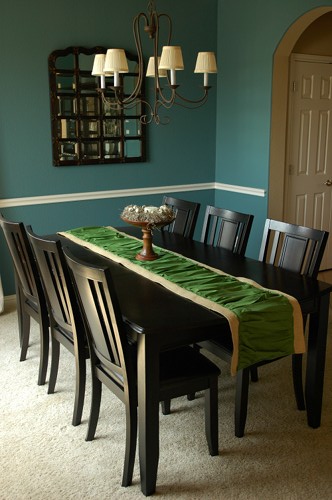
Once upon a time, there was a well-loved dresser who was destined for a new home. My friend had gotten it from her mother, who had purchased it second hand. The dresser was headed to a thrift store, but my friend asked if I would like it instead to practice some different refinishing techniques. But, of course I would!
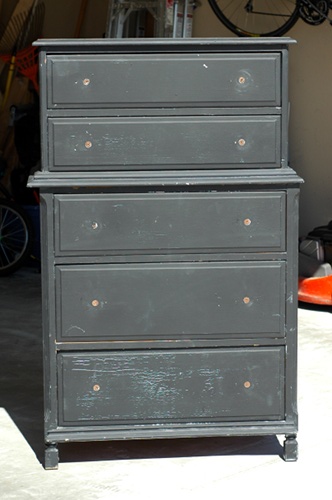
Once I had the dresser in my garage, I realized that she would be a beaut if my husband and I tightened it up. Experiment? No way! This practice piece was going to find a new home in my master bedroom redo.
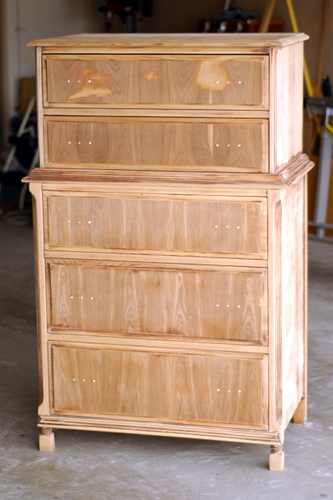
I sanded, and sanded, and sanded. There were probably 3 different shades of paint, a few coats of primer, and the original varnish. I spent about three days over different weekends trying to get down to the bare wood, since the paint was in such bad condition. Luckily, I had a sweet little helper.

The paint eventually began peeling off in sheets – which was great for me, but is a testament as to why it’s so important to do the grunt work to properly prepare any furniture piece you are refinishing – you don’t want that to be YOUR hard work peeling off! Once it began peeling, I was able to scrape it with a paint scraper and then run my sander over it with a medium grade sandpaper.
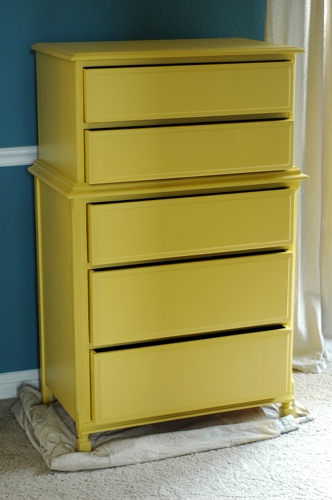
Using the techniques detailed in Mandie’s fantastic e-books on refinishing furniture, I primed and painted the dresser in (Behr paint tinted to) the Sherwin-Williams Decisive Yellow I previously shared with you as part of my inspiration.
I did try to use the Behr Ultra Plus paint and primer in one, but I had horrible results with it on bare wood. I have heard great things about it, but after three coats, the wood was still sucking up the paint. I would try it again on walls or previously painted wood, but never again on completely bare wood. After priming it with Kilz and painting it with regular Behr paint, I couldn’t believe the difference in the results.
After the yellow paint was dry, I glazed it with Ralph Lauren glaze tinted to RL Black Silk. This was my first attempt in glazing, and it went pretty well. Again, I used Mandie’s glazing techniques from her e-book and also a little try and error myself. As with any new technique, you should practice on a piece of wood before you work on your own piece. I was a little heavy handed because I wanted it to look more “urban” and less “French-y”, but I’m very happy with the results.
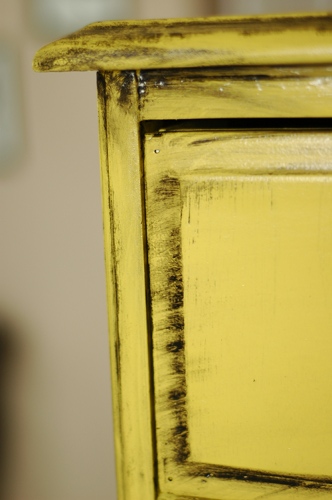
The last step was to add pulls to my dresser. I bought an assortment of vintage pulls off of Etsy, cleaned of the tarnish with steel wool, and spray painted them flat black. I love that every pull is different, and I have named her Miss Matched.
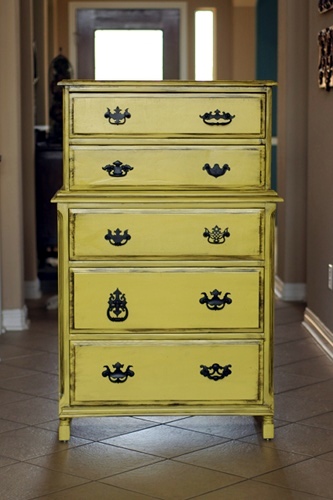
Sure, she’s the only part of my master bedroom redo actually completed, but you have to start somewhere!
And, now for a bunch of photos of my new beauty (which I know will drive my friend Emily crazy):
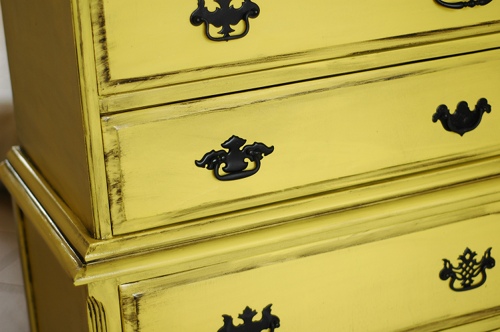
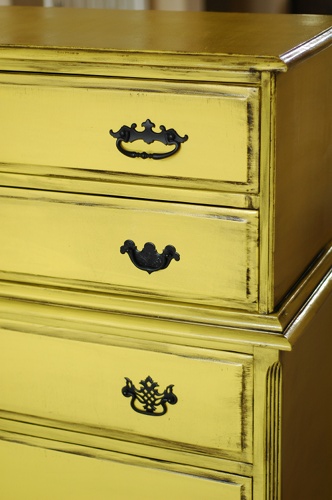
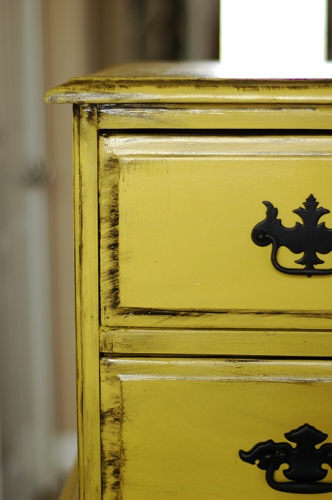
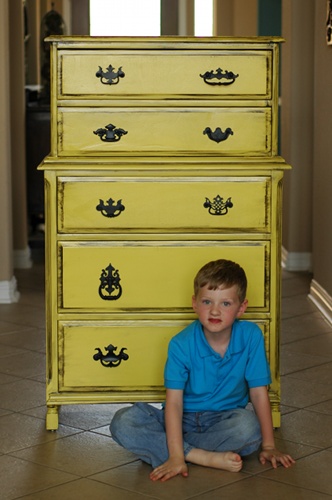
I would marry Miss Matched if I wasn’t already married. Plus, I guess if I was married to a dresser, my first born wouldn’t be that darn cute.
P.S. I am an affiliate for Mandie’s e-books, so I get a couple of bucks when you buy one from my link. In turn, I use those few bucks to buy more paint and glue sticks. It’s a vicious cycle, but someone has to do it!
P.P.S. I linked this post up to Gina’s Transformation Thursday party over at The Shabby Chic Cottage.