Makely

Let's Make Life Awesome

  • Home
  • Decorating/DIY
    • Create Your Decor
    • Decorate Your Home
    • Paint Your Walls
    • Transform Your Furniture
  • Healthy Living
    • Essential Oils
    • Family Wellness
    • Household Care
  • Project Gallery
  • Contact

Finding Privacy Solutions for Uncommon Windows

by Lindsay Ballard on July 9, 2009 374 Comments

When we built our house last year, our neighborhood was just in the beginning stages. Only four streets had been added to this former farm land, and our home was one of the only ones on the far west side of the neighborhood. With no neighbors on either side and no neighbors behind us, we could look out of the rear windows onto an open plain and see every star in the big Texas sky. As you can imagine, it was absolutely tranquil.

Then, the hammering started. And new roads were built. And more and more neighbors came to join our community. We absolutely love having families nearby with children the same age as Zack, but we really miss the privacy we used to have.

As the homes behind us are being built at an alarming rate (seems fast to us, but I’m sure it’s taking FOR.EV.ER for the families waiting on them!), we’re suddenly realizing that we have a problem. We have a two-story living room which I absolutely love, but that means two-story windows. The windows let in so much light that we never have to turn on any other light source until it is pitch black outside, so we opted for static window treatments on either side of our bank of windows.
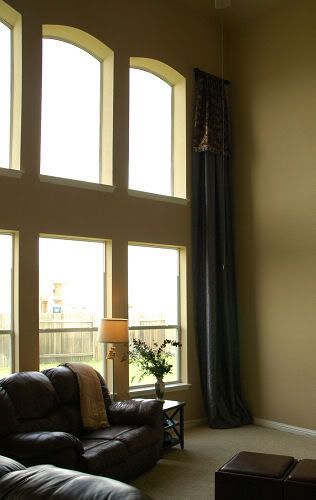
I’m not too concerned with our privacy during the day since we don’t turn on any interior lights and you really can’t see in these windows at that point. My main concern is at night – especially if the house directly behind us is going to end up being a two-story home, too. You would be able to see directly into the lofted second story catwalk and playroom of our home if the lights are turned on. Even if there is nothing “good” to see, I just don’t like the feeling of someone being able to see me walking up and down the stairs and playing with my son in his playroom.

I have started to look for privacy solutions for these windows, but I haven’t found anything I think will work for us. My options seem to be:

1. Frosted privacy film – This film, which you can apply yourself, lets light in through the windows, but makes the windows translucent enough that no one can see in. The film is great for privacy at night, because it even blocks the the view into your home when it’s dark outside and light in the house. My problem with this is that if I used it on all six windows, I wouldn’t be able to actually see out into the backyard, which is a major deal breaker for me. I guess I could use it on just the top windows, but I think it would look odd to only have some of the windows frosted.


This product, by Gila, is available in DIY kits at Home Depot.
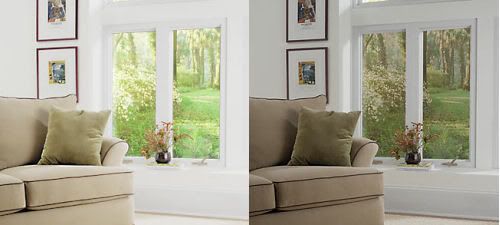
2. Mirrored privacy film – Like the frosted film, privacy film is also available in a mirrored finish. Like the interrogation room windows you see in cop movies, you can see out, but no one can see in. I thought this would be a great solution, until I realized that it only works during the daylight. Once lights are turned on inside the home, the film is useless. For my needs, the mirrored film is pretty much useless.


Another Gila product available at Home Depot.

3. Wood blinds – Wooden blinds seem like the most reasonable solution to my problem, with one exception. It would be a nightmare to have to open and close the ones on the top windows. I think I would want the top windows open during the day so I wouldn’t have to give up my light. There are options available for motorized blinds and shades, but I’m scared to even price those!

One option would be for me to make (or purchase?) a really, really long tilt wand that would hang down low enough for me to tilt the blinds.


Image from House Beautiful

6. Shutters – I absolutely love the look of interior shutters, but again we have the question of how to open and close them. I feel like the shutters would be even more difficult to adjust than the blinds.
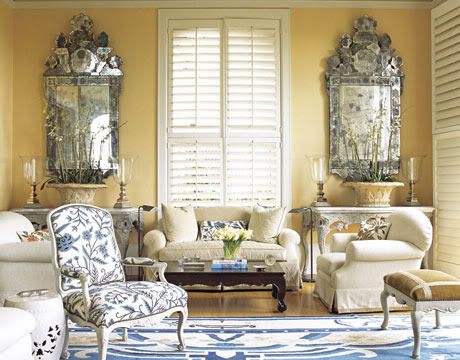

Image from House Beautiful

5. Hope for the best – The last option I can come up with is just hoping for the best. Maybe our new neighbors will never look out of their windows and it we won’t have anything to worry about, right? If the houses behind us are single stories, maybe we won’t have to do anything at all…

If you were in my situation, what would you do? Can you think of any other options that I haven’t considered? What do you think would work out best for my windows? Help!
Breathing New Life into an Old Chair

by Lindsay Ballard on July 6, 2009 156 Comments

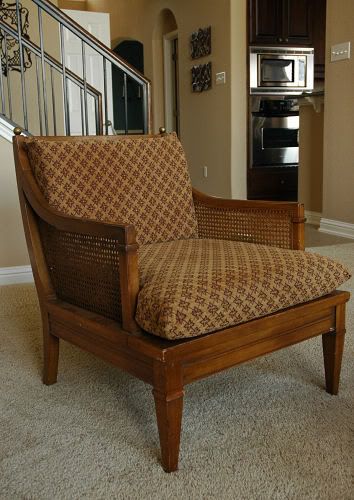
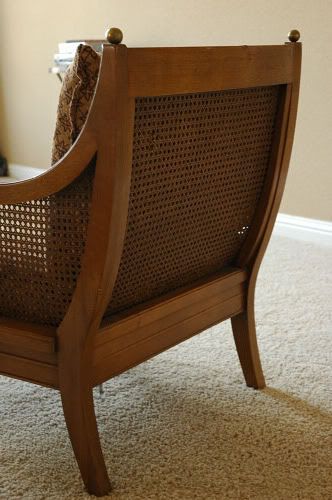
Sometimes when you hit the thrift stores, you really have to check out every inch of the place to score a great find. On a recent trip to Goodwill, I found this chair tucked underneath an old dining table.

It was hidden out of sight, yet it was the treasure of the store. I immediately carried it to the checkout and paid for it just so no one else had the opportunity to touch it. Surprisingly enough, it was only $19.99. I was going to make it look like a million bucks.

I was lucky that this Drexel piece was in nearly perfect condition. I think it was manufactured in at least the mid-1960s (according to the label), so I wanted to replace the batting and fabric in the frame of the chair. I knew that all I would need to do was replace what was already there, so as I took it apart, I photographed each layer so I could remember exactly how it all went together. I’ll explain these steps in a bit.

Next, I sanded the chair with 220 grit sandpaper and sprayed it with Dove White spray paint (I used the Krylon Fusion line, only because it was the only line that carried the color I wanted to use). I was so excited about the chair that I totally forgot to use primer (Um, yes. I’m that easily excitable.), so I had to use about 3 cans of spray paint. Dork.

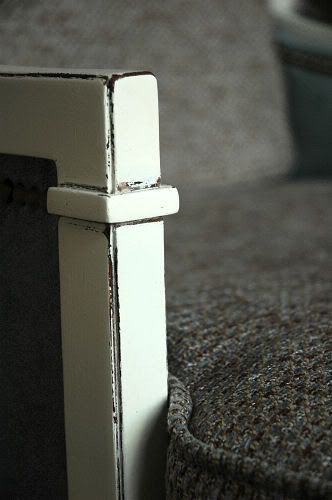
After the paint was dry, I distressed the edges with a sanding block and applied two coats of rub-on poly. The poly really gave it a nice sheen and will protect my paint job.

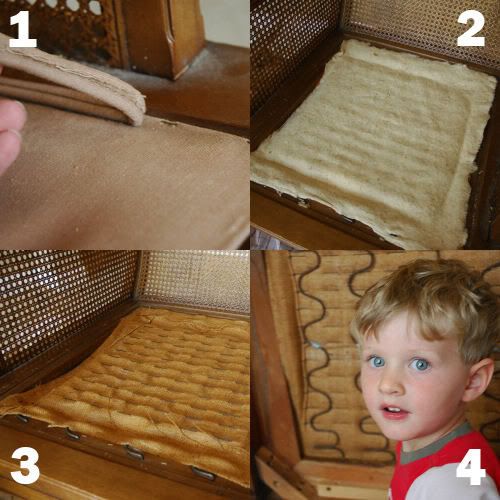
When the poly was dry, I replaced the pieces of the chair that I removed for painting. The bottom layer (3 in picture above) is a new layer of canvas with 18 gauge wire woven in it (to make it more sturdy when pressed against the springs). The middle layer (2) was a new layer of batting. The top layer (1) was a new layer of duck cloth. I simply stapled each layer in place with a staple gun and cleaned the springs on the bottom of the chair (4). Please, don’t shy away from doing tasks such as this when rehabbing furniture. It was very easy to do, and it made sure that years of dust and filth weren’t trapped in the chair.

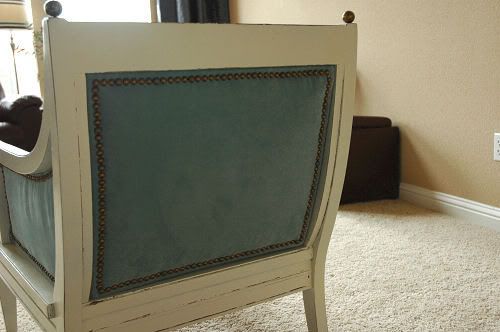
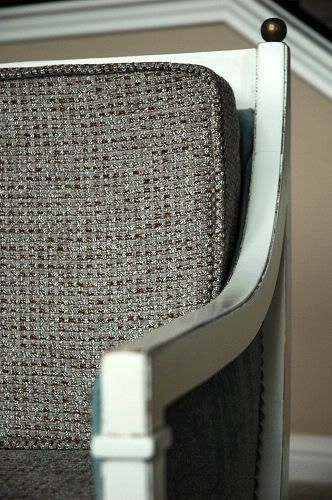
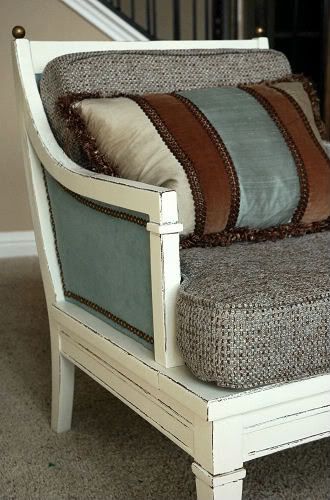
I wanted to cover the caning to make the chair look more upholstered, so I followed Kate’s excellent tutorial on the process over at Centsational Girl. I used matting board purchased at a craft store for the “bones” of the inserts (it’s pretty stiff, yet flexible enough to bend if you need to fit something like a curved chair back). I attached a thin layer of batting and a layer of light blue faux suede over the board with my glue gun and then hot glued them over the caning. I lined each section with the nailhead trim Kate recommended, and it worked great.

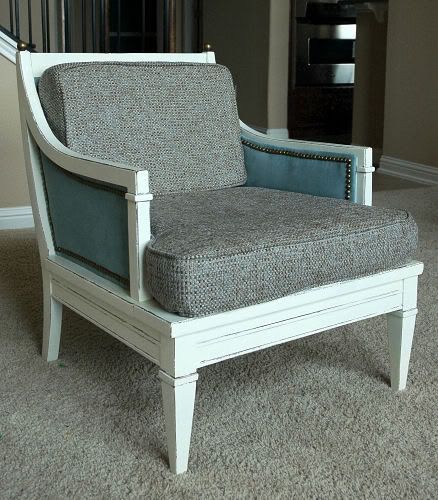
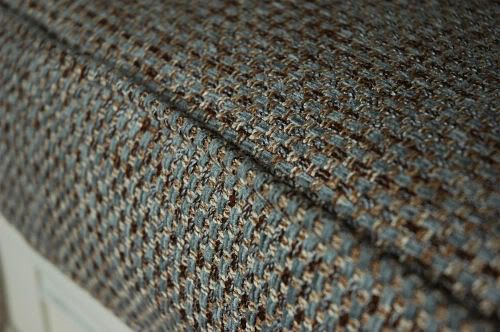
Now that the chair itself was finished, I turned my attention to the cushions. Luckily, the original cushion cover on the bottom cushion was underneath the fabric the previous owner used to (very lazily) recover the cushions, so I simply pulled it apart and used the pieces as a pattern to cut out my new fabric. I had to wing it on the back cushion since the original cover wasn’t there, but I think it turned out okay. Not perfect, but good enough. I won’t explain how I did it since both pieces have hidden zippers and piping covered in self-fabric. I’ll just say that 1): I totally rock for teaching myself how to insert the piping without instructions and 2:) if you ever need to insert a zipper in a cushion, follow this tutorial from Curbly (as it’s way easier than the other methods I’ve learned).

So now, my chair and the cushions were ready for their big reveal.

At this point, I realized that I wanted a little pillow for the chair to break up some of the pattern on the cushions. I had some extra blue faux suede, but I couldn’t decide if I wanted a square or rectangular pillow shape. I grabbed a rectangular pillow I had on my window seat to see if I liked the shape on the chair.

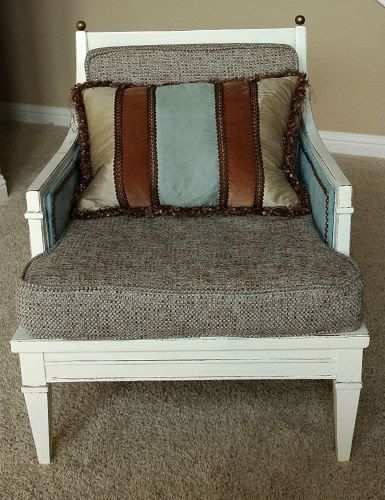
Not only did I like the shape of the pillow, but I loved that pillow itself on the chair. The colors are perfect. Score one for the home team! This is an example why it’s so important to try to use what you have before you make or buy something new.

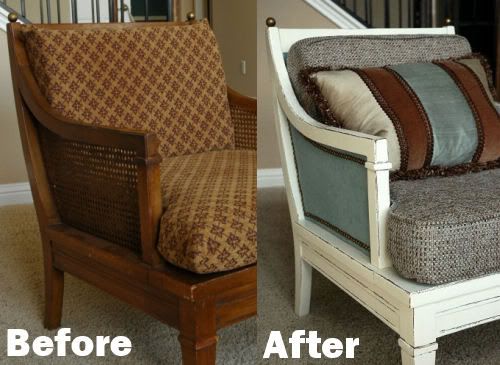
I couldn’t be happier with my chair. It looks so elegant in my living room and adds much needed seating to the room where we spend most of our time. Here’s a little before and after, just because I pink puffy {heart} before and after shots.

Don’t be afraid to try something new with an old piece of furniture. You just never know what kind of new life you may be able to breathe into it.

I’m adding this post to Kimba’s DIY Day Party at A Soft Place to Land. Visit ASPTL to see all of the projects!

« Previous Page
Next Page »
  • Email
  • Facebook
  • Instagram
  • Pinterest
  • Twitter

About Makely

Lindsay Ballard is a former college mascot turned political geek turned roller derby playing, DIY fanatic.

Lindsay chronicles her projects, design ideas, and lifestyle tips here at Makely, where she shares tutorials and inspiration. Her DIY designs are bold and graphic, while her spirit is fun and full of color.


Archives

Categories

PRIVACY POLICY
Copyright © 2009-2019 Makely School for Girls | All Rights Reserved | Posts may contain advertising content or affiliate links